This article will provide a general overview to the Assets section in imPowr
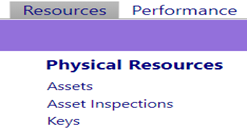
1. To access Assets, Hover over Resources/ Physical Resources and click Assets:
2. Like in other screens, the header bar on the screen gives you options related to the section you are on.

Here are:
    a)	Sites/ Locations: (for Agency owned / operated locations),
    b)	New Asset: where you load a new vehicle,
    c)	Asset Tags: is to create a barcode label and
    d)	Return: to go back to the previous page.
3. To search for vehicles, enter the agency bus / vehicle number in the Name field and click the refresh button.

There are many other filters that can be used to narrow down your search.
4. Below the filters, there are check box fields. By checking a particular box, the data for the asset will appear in the listing below.
For example, to view the Registration Date...when the checkbox is clicked and the screen is refreshed, the registration dates will display in the list.

5. To open a vehicle, click on the imPowr ID number for that vehicle.

The header for the vehicle will contain:
    a) the Asset name (our bus number)
    b) the type of asset
    c) the status of the asset
    d) the Agency Asset ID- this was the ID number in the old warehouse
    e) Division / Program the vehicle is assigned to
    f) Site – Location where it is parked

6. The middle of the screen has several tabs.

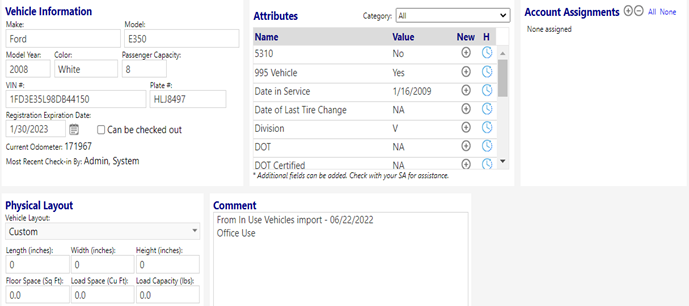
7. Details tab contains information about the vehicle.
The Current Odometer reading is determined from the Usage tab, completed tasks, and completed inpsections.
The attributes section has a host of data elements. This section can even be used to capture the vehicles tire sizes for the Parts Inventory section in IMPOWR.
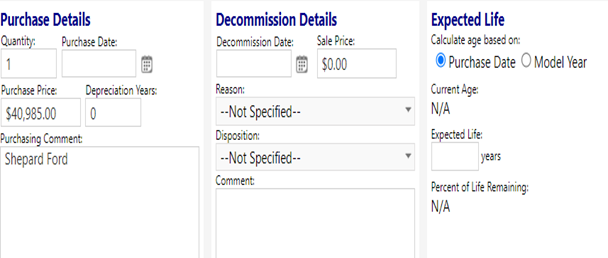
8. Lifecycle contains the vehicle’s purchase and decommission information
9. In addition to other tasks, Odometer Triggers are used to scheduled tasks for maintenance work.
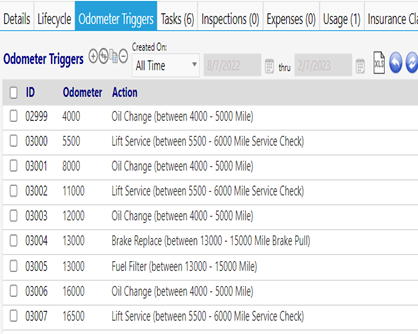
Once the odometer hits a trigger, a task is auto generated for the agency to address.
10.Tasks is the section where the maintenance work is recorded.
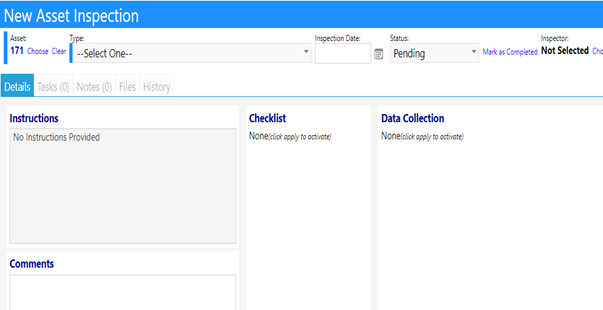
11. Inspections is where the inspections that are performed are documented.
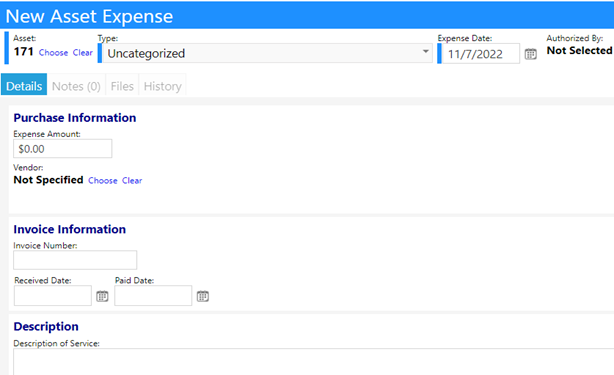
12. Expenses is where any costs for the vehicle are tracked.
13. Usage captures the Check Out- Check In details. Once completed, this section feeds to the odometer triggers and auto generates tasks for the maintenance work.


14. Insurance Claims is where agencies can track any claims submitted to their carrier.

15. Notes and Files: Notes allows users to enter notes to track details or data to be shared with the Management team about that vehicle.

Files is a section where users can upload documents relevant to that vehicle.