The following article will describe how to use imPowr for a Laundry Business.
NOTE: This article assumes you have been assigned the appropriate privileges
within imPowr. Your System Administrator can grant you these privileges if
needed.
imPowr has a set of Entrepreneurial Tools which can be used to manage your
Laundry Business. This article will describe the overall process, from
inventory (including bills of material) through invoicing. While there are
many ways to run a Laundry Business, this specific article is based on the
following overall process assumptions:
- An initial quantity of linens and other laundry items are removed from the Laundry's inventory and are delivered to a customer.
- A customer order is placed for either a delivery of new, fresh items or a pickup of used, soiled items.
- The items are delivered or picked up
- The received items are weighed, washed, and counted.
- The items are returned to the Laundry's inventory.
- An invoice is generated from the count of the items. (The system can also invoice based upon the weight of the items collected from the customer.)
- If any items are lost or damaged by the customer, they are replaced from the Laundry's inventory. They may be invoiced for immediately, or they may be invoiced along with the other items being returned.
While the above may not reflect your laundry process, this is an actual
process being used by one of imPowr's current customers. Changes to this
process, which may be needed to meet your exact business needs, are possible -
please contact your Continual Care Project Manager for more details.
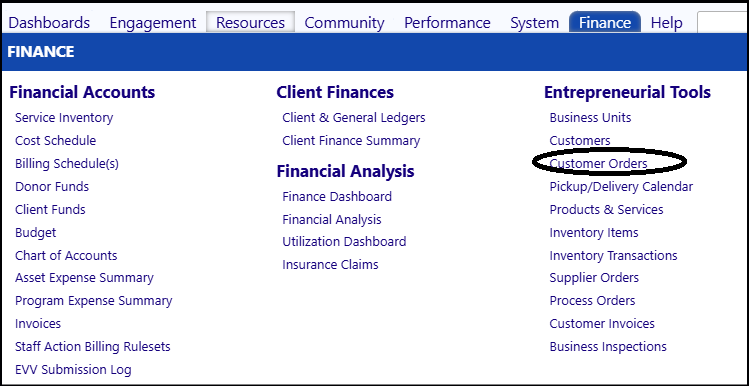
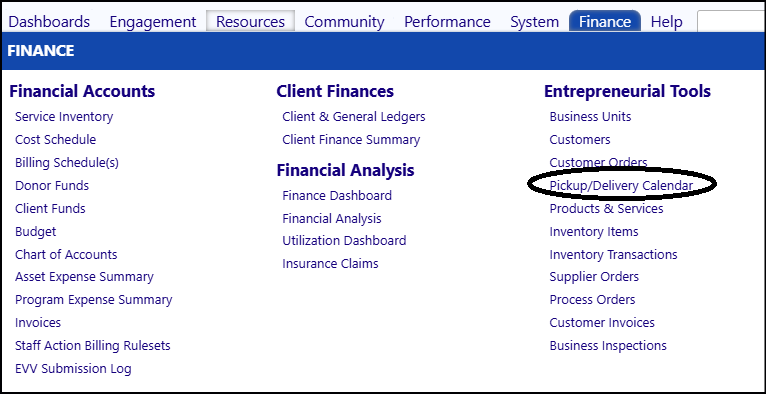
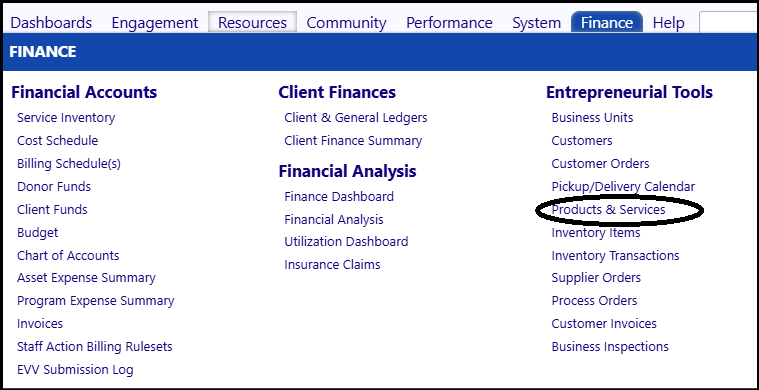
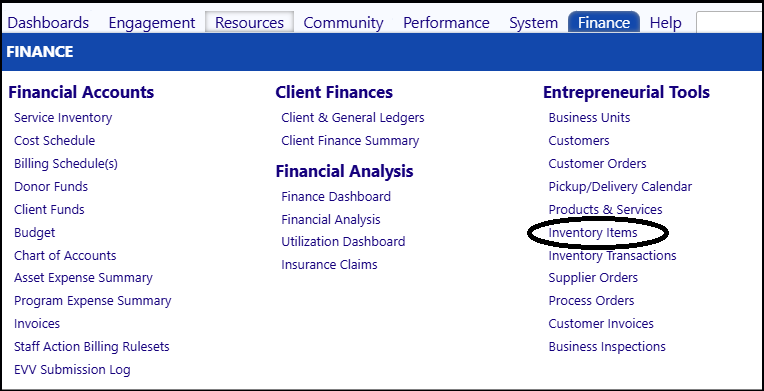
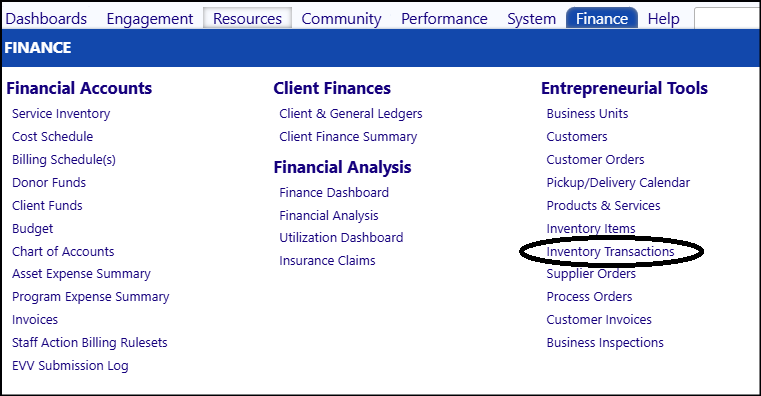
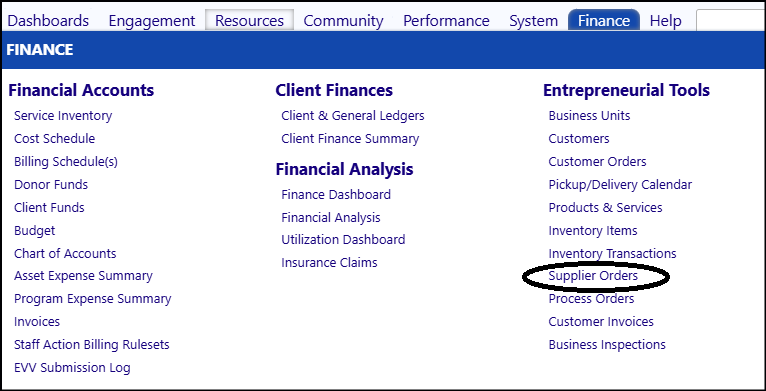
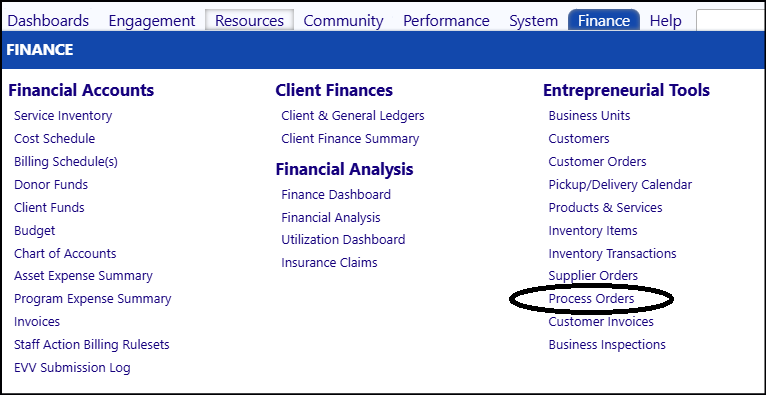
The Entrepreneurial Tools module is located on the Finance Menu in imPowr:
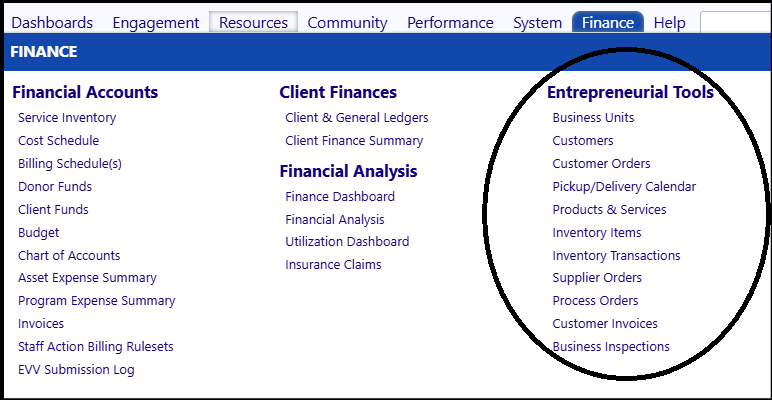
In order to manage any kinds of businesses in imPowr, there are some initial
setups required.
1. Set up the business units
2. Set up the customers associated with the business
3. Set up the Account Roles and ensure the proper privileges have been granted
4. Set up your customer defaults
5. Create the inventory items
- Set up the Business
The Business Units can be accessed in the Entrepreneurial Tools section of the
Finance menu:
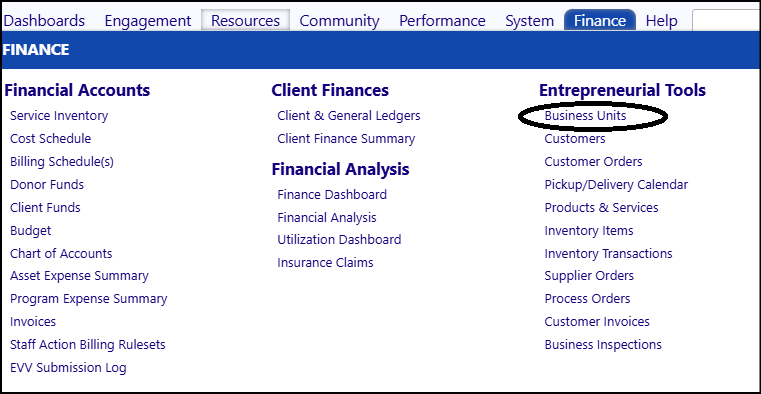
- Click Add New.

A new window will display.
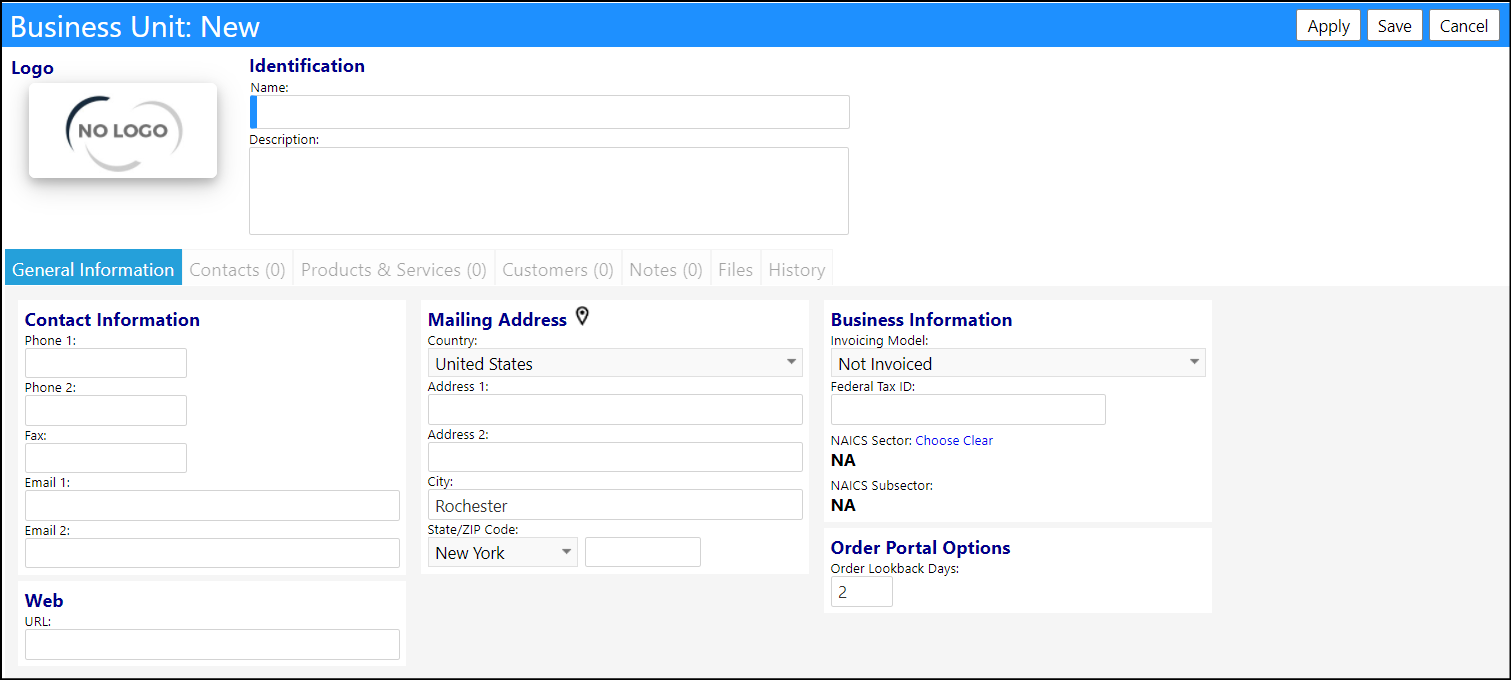
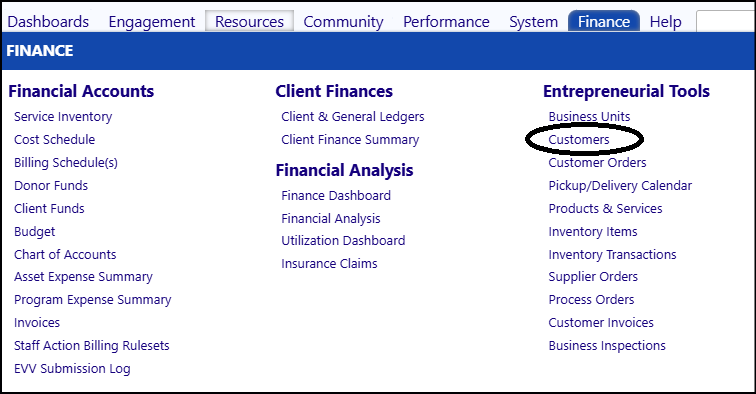
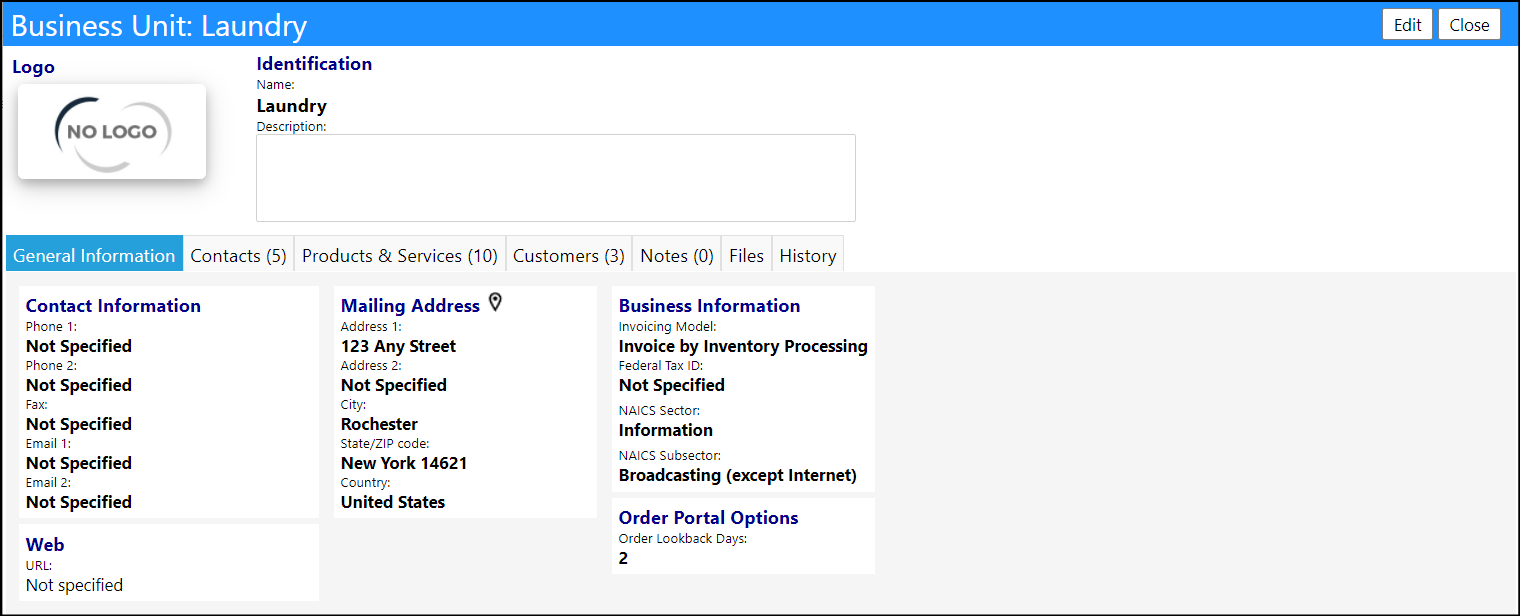
- Enter a Business Unit. Example: Laundry
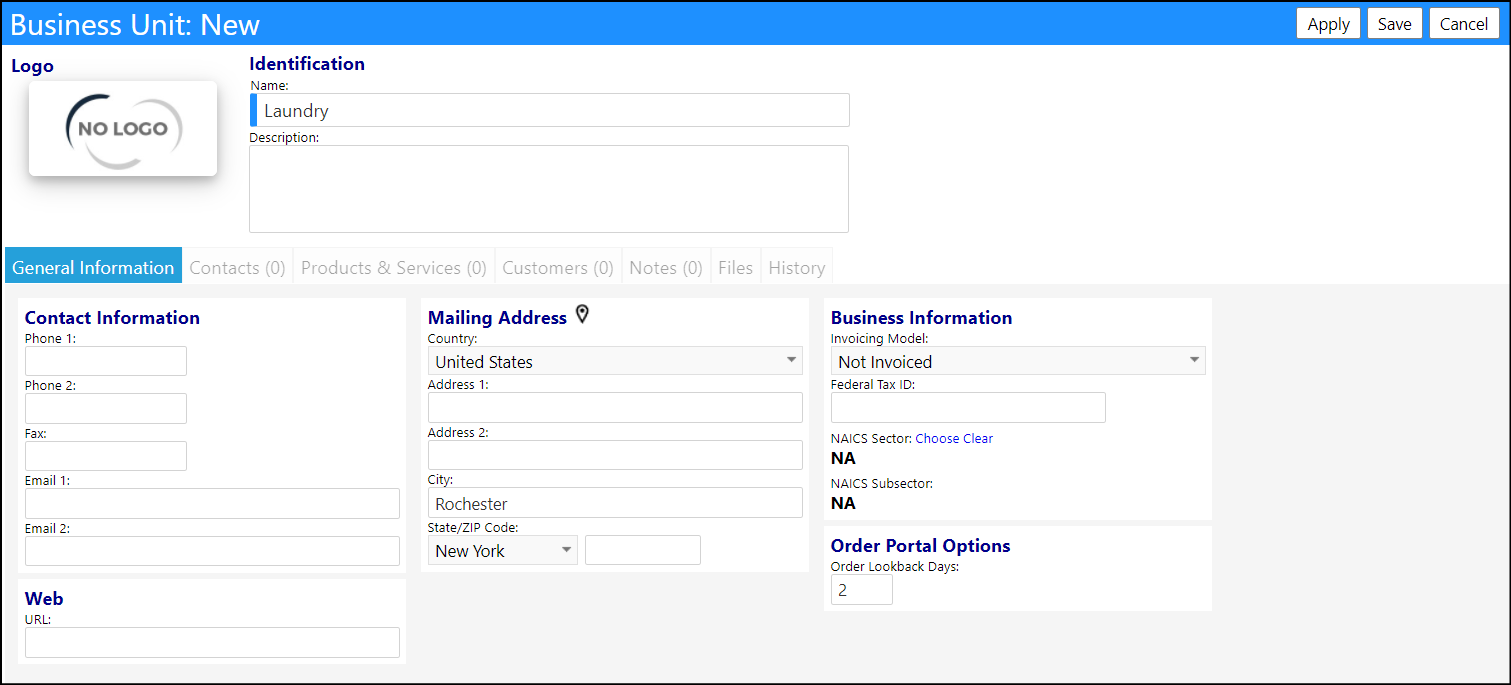
- Enter optional contact information.
- Enter optional mailing address information.
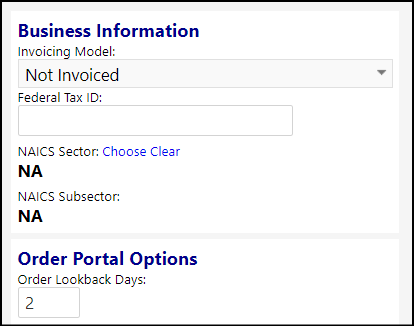
- Select your Invoicing Model from the drop-down list:
-
Select 'Invoice by Inventory Processing' if you would like to invoice based off of the count of inventory items transacted.
-
Select 'Invoice by Product Shipment' if you would like to invoice based off of the weight of the items picked up.
-
Enter the Portal Order Lookback Days (Default = 2 days). This value allows you to look at the orders which were placed during the previous number of days.
-
Select the optional NAICS Section and SubSection, if needed for your financial records.
-
Click Apply. This will activate the remaining tabs on the page.
In order for you to work with this business, you must be associated with this
business.
- Enter all names associated with this business, as a contact, on the Contacts tab.
- Click on the '+' so you can choose their account from the account selector list. Conversely, if you wish to delete an account, select the account by clicking in the box to the left of the account ID and click the '-'.

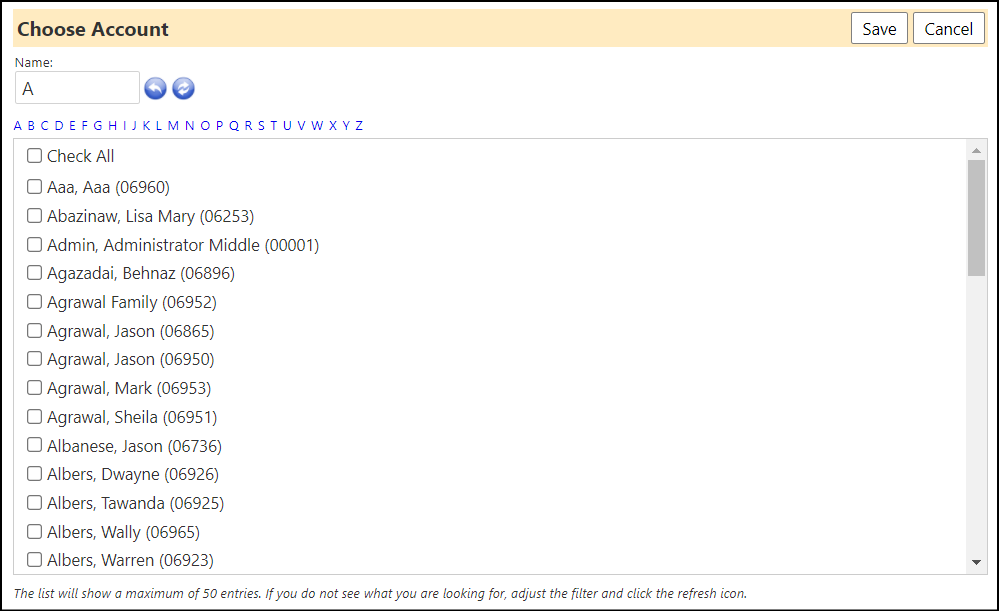
NOTE: If an account does not exist in the system, they must be created before
they can be added to this business.
Now that your business is set up, you need to set up your Laundry business
customers.
The set-up of customers can either be done via continuing to the Customer tab
in the Business Units (which is the process we will follow for the purposes of
this article) or by adding customers via Customers in the Entrepreneurial
Tools section of the Finance menu.
-
Enter all customers associated with this business, as a customer, on the Customers tab.
- Click on the '+' so you can add a business unit customer. (Conversely, if you wish to delete a customer, select the customer by clicking in the box to the left of the customer ID and click the '-'.)

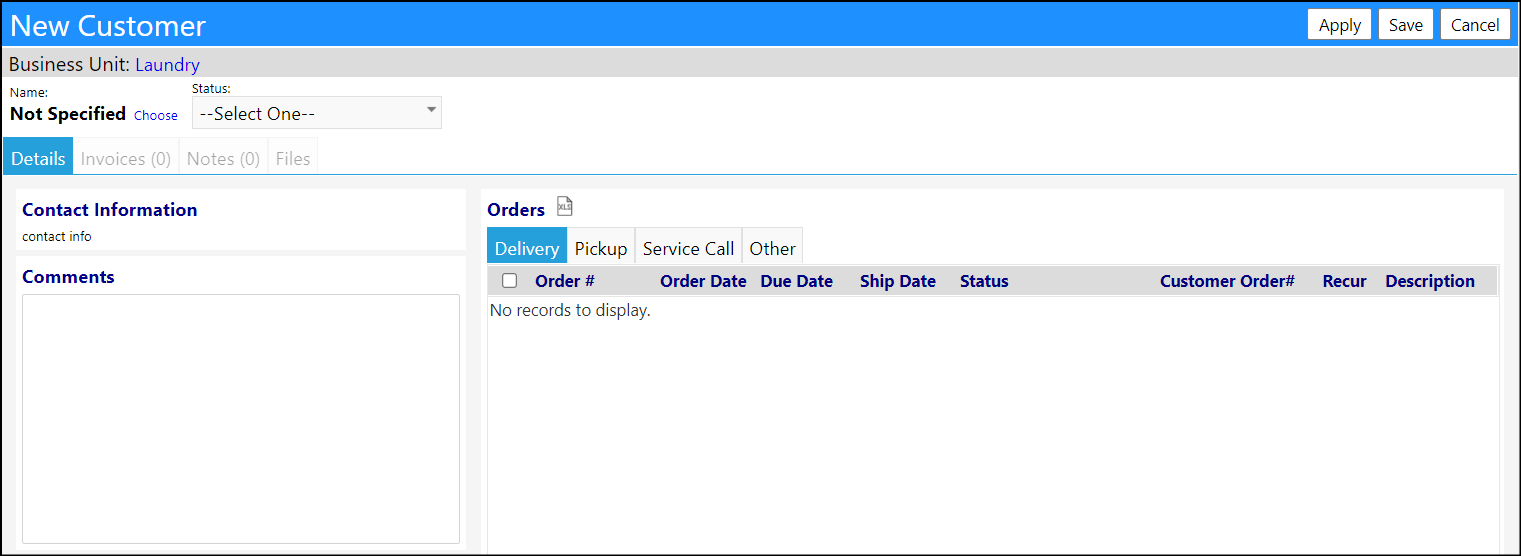
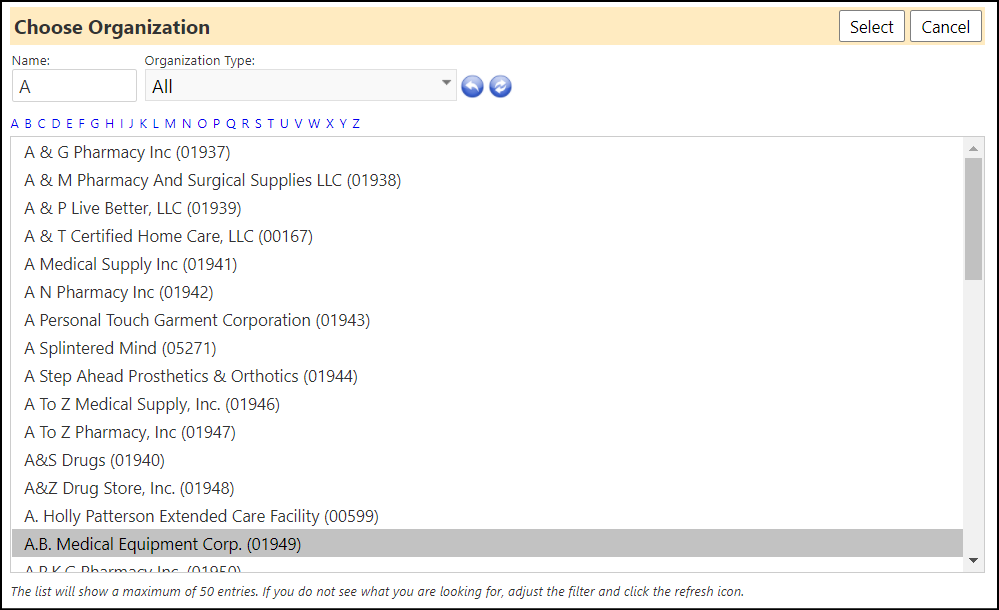
- Click Choose to select the customer from the Organization List.
- Select a status from the status drop-down list.
- Enter any desired optional Comments.
- Click Save.
Your Business Unit and Customers are now set-up.
NOTE: Additional customers can always be added via the Customers tab in the
Business Unit or via Customers in the Entrepreneurial Tools section of the
Finance menu.
- Set up the required Account Roles and Privileges
Privileges for Entrepreneurial Tools are set up in the Account Role by your
System Administrator. At least two types of Account Roles will be needed: one
for a Laundry business manager or administrator, and one for a Laundry
business customer. An optional third Account Role may also be used: one for a
Laundry business staff member.
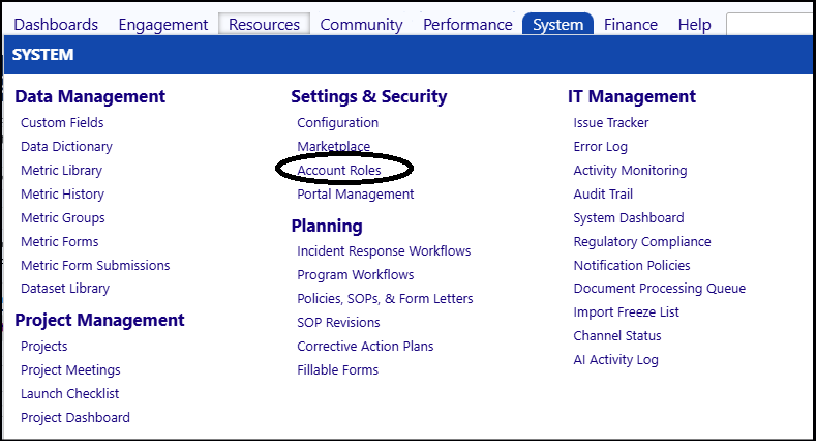
At minimum, the privileges required for the Laundry business are as follows:
Laundry business manager:
-
Settings:
- Default Entrepreneurial Business Unit: Laundry Business
-
Functional Rights:
-
General Access
- Application Login
-
-
Entity Rights
- Business: View, Add, Edit
- Business Customer: View, Add, Edit
- Business Inventory Item: View, Add, Edit, Delete
- Business Inventory Transaction: View, Add, Edit, Delete
- Customer Order: View, Add, Edit, Delete
- Inventory Item: View, Add, Edit, Delete
- Inventory Location: View, Add, Edit
- Inventory SubLocation: View, Add, Edit
- Product: View, Add, Edit, Delete
- Supplier Order: View, Add, Edit, Delete
-
Portal Rights
- Order Portal: Delete or Edit Invoice
- Order Portal: Delivery & Pickup
- Order Portal: Ready
- Order Portal: View Weights
- Order Portal: Wash
- Order Portal: Weigh
- Portal: Order Fulfillment
Laundry Customer:
-
Settings:
- Default Entrepreneurial Business Unit: Laundry Business
-
Portal Rights
- Order Portal: Delivery & Pickup
- Order Portal: View Weights
- Portal: Order Fulfillment
NOTE: Be sure to save your privilege selections when you are done creating the
Account Role.
- Set up your customer defaults
If you only work with a single customer and/or if you wish to be able to view
and track the weights of the items picked up by the Laundry from you customer,
you must set up the default business customer you are working with and/or wish
to view the weights of.
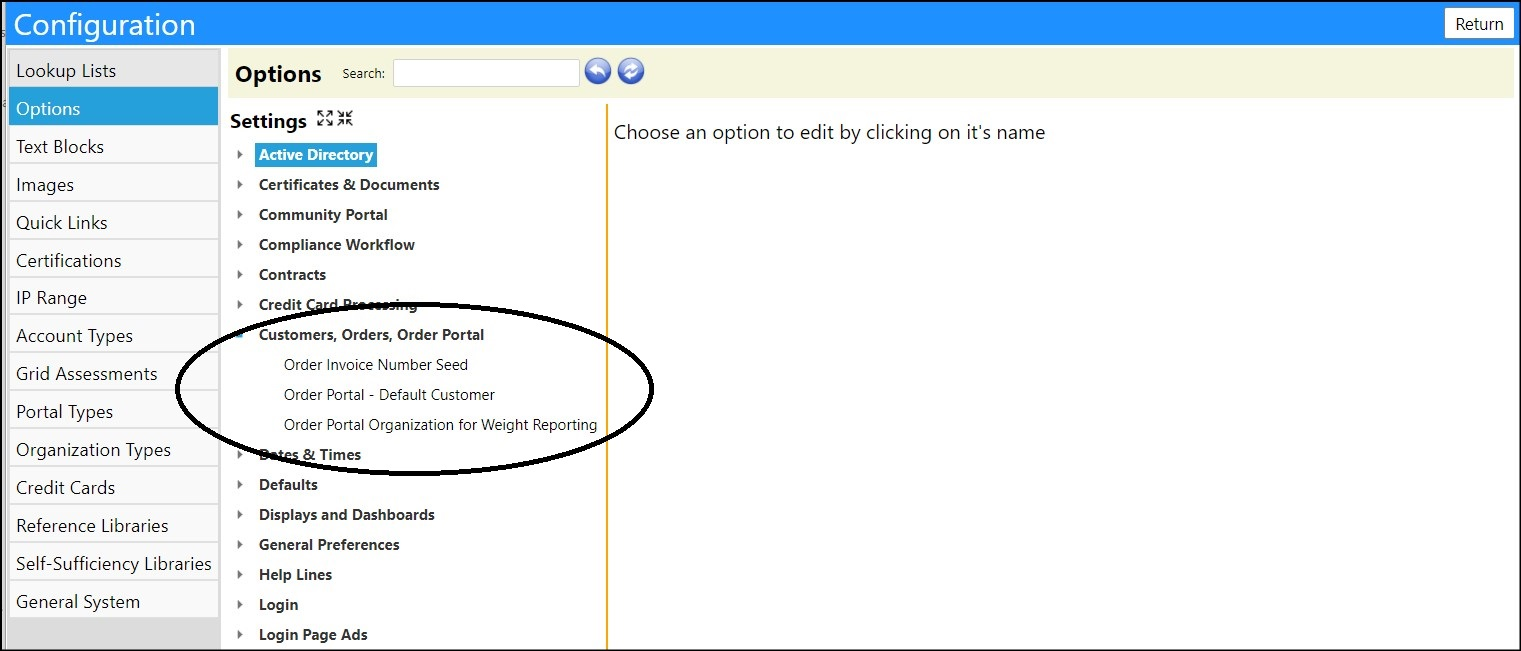
- Access the Configuration screen in the Settings & Security section of the System menu:
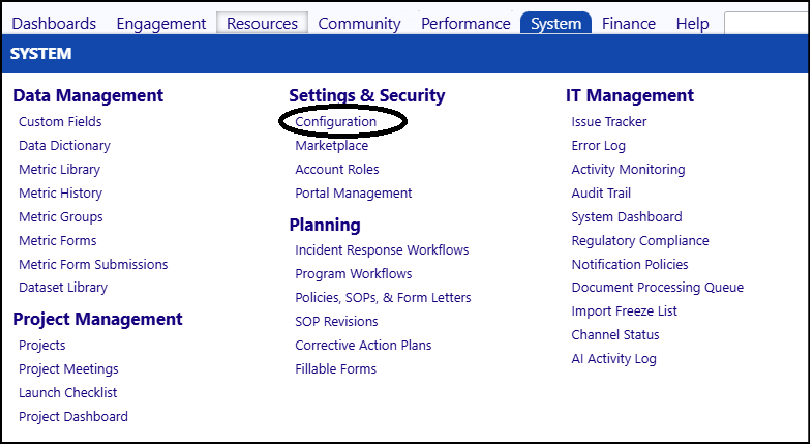
- Navigate to the Customers, Orders, Order Portal options:
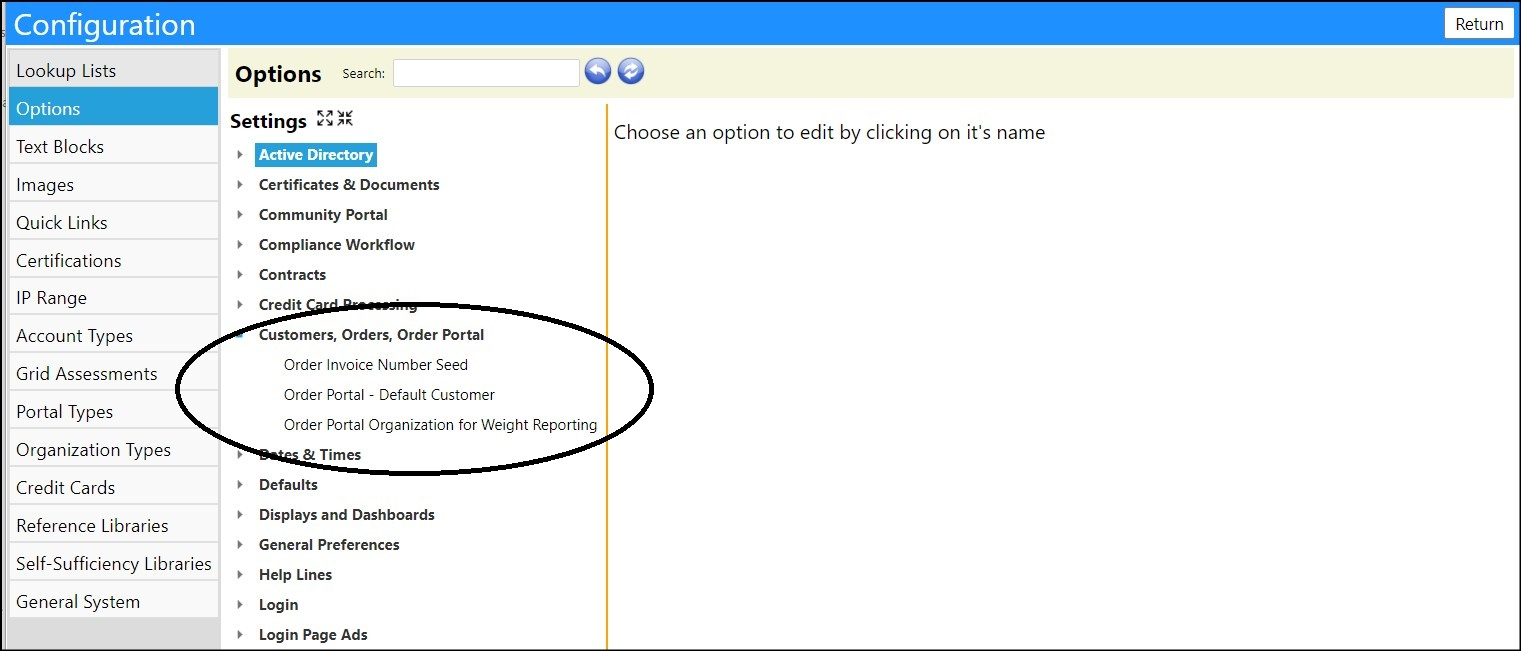
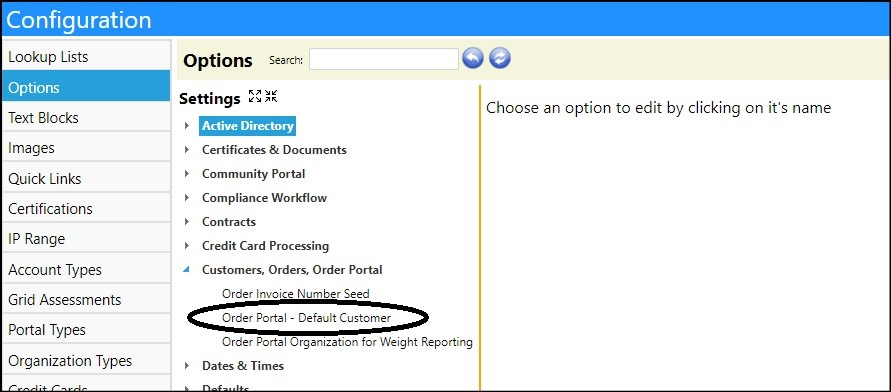
- To set up a default customer to work with, click Order Portal Default Customer.
- Enter the ID number for your Laundry customer.
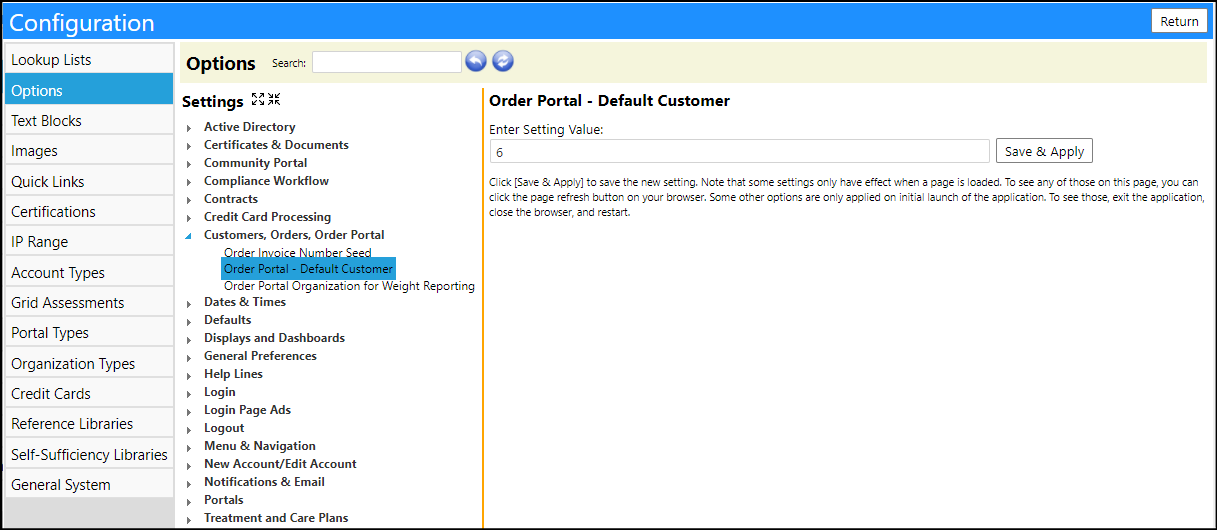
The Customer ID number is available either via the Business Unit Customers
Tab, the Customers module in the Entrepreneurial Tools section of the Finance
menu, or via the Organizations you have set up in your instance (capture the
Organization ID).
- To enter a Customer ID based off of the Business Unit Customers tab, enter the Customer ID from that tab.

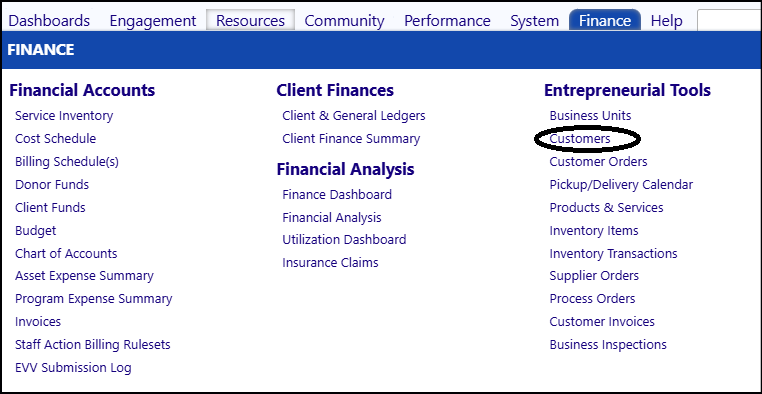
- To enter a Customer ID based off of the Customers in the Entrepreneurial Tools section of the Finance menu, enter the Customer ID from that tab:

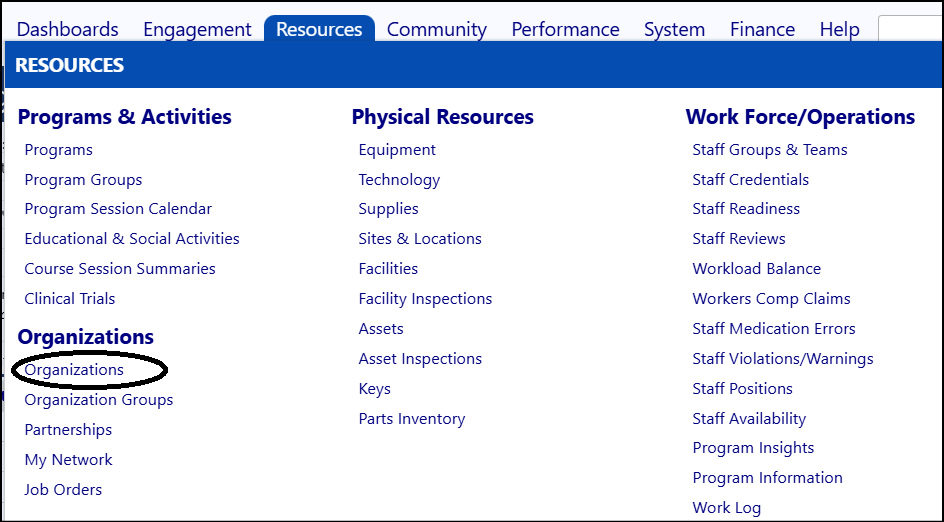
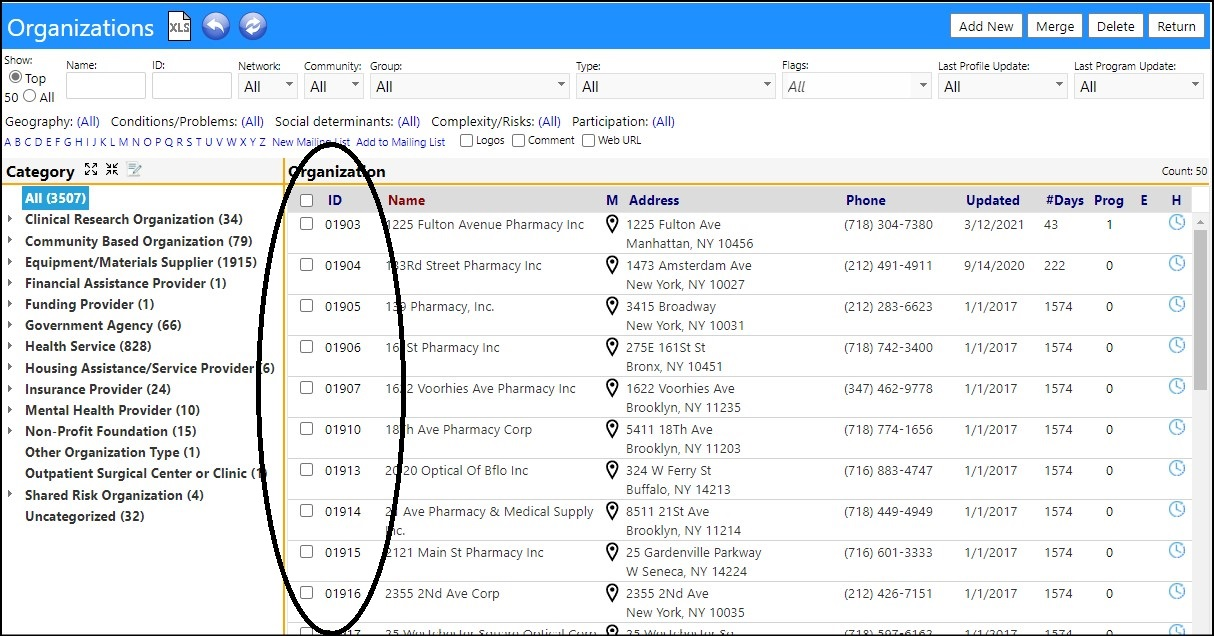
- To enter a Customer ID based off of the Organizations in your instance, enter the Organization ID from the Organizations List, found in Organizations, in the Organizations section of the Resources menu:
- Click Save after you have entered your Laundry customer ID. This will cause "Saved" to display for a few seconds, to the right of your entry.

- To set up a default customer to view the weights in the portal with, click Order Portal Organization for Weight Reporting.
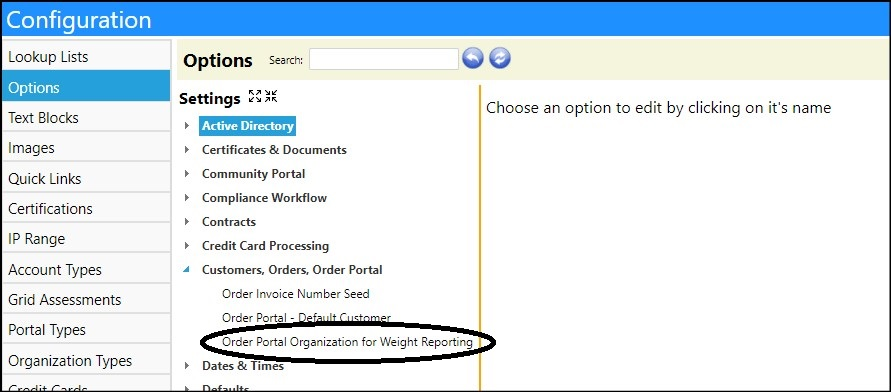
- Enter the ID number for your Laundry customer, using one of the methods identified above.
- Click Save when completed with your entry.
Your Laundry Customer Defaults are now all entered.
- Create the inventory items
Step 1: Creating an Inventory of Items
Step 2: Creating and managing Customer Orders
Step 3: Scheduling Customer Deliveries or Pickups
Step 4: Processing the Customer Orders
Step 5: Invoicing
- In the menu, a new item has been added: Customers
-
Customers displays the names of the customers you are working with, and summarizes the orders.
-
When you click on the customer ID, you can view the customer’s status, order and invoice details. You can also attach notes and files.
-
When you click on the invoice tab, you will have a list of all new invoices created, the invoice date, the total net invoice amount (gross amount minus the NYSID fee), and a status that you can set. You can also view invoices from here by clicking on the ‘eye’.
-
And, if you have been granted the proper privileges, clicking on the invoice ID allow you to add or deleted invoices or change that.
-
NOTE: access to the customer page is set up in the Account Role Functional Rights. The ability to Edit or Delete Invoices is set up in the Account Role Portal Rights.
- Because you now need to select a customer when you do your washing and loading…
- That customer can be defaulted in the Configuration Options: (the setting value, i.e., the customer, is the customer ID from your Customers page), so you do not have to select a customer for the wash & load each time.
- Invoicing continues to be done from the Inventory Transaction page, first selecting your Business Unit (you can default this on the Settings tab of your Account Role), then selecting the Customer
-
Once you set your date range and then refresh your screen, the Generate Invoice button should be activated for you, and you can now invoice. Any items already invoiced will display with a green checkmark, along with the invoice number, to the right of the display.
-
From this page, you can
-
Update the item quantity to be invoiced, even if it already has been invoiced, by clicking on the ID of that item… changing the quantity and saving.
- The invoice quantity and date of the invoice will be updated, and new charges will apply.
-
Delete an existing invoice by selecting that invoice
-
Generate a new invoice by selecting the inventory item ID(s) and clicking on Generate Invoice BUT when you do that, you are presented with 2 Choices: Create a New Invoice or Append an Existing Invoice (to add the things you may have missed on the original invoice)
-
When you select Create New Invoice, and click on Proceed, the invoice is IMMEDIATELY Generated and a new checkmark is displayed to the right of that display, along with the new invoice number
- That invoice will display in the Customer Page:
-
If you select Append to an Existing Invoice, and then click Proceed, you will get an alert informing you that you need to select an existing invoice or create a new one first:
-
When you click on OK, you are presented with a new screen where you can select the invoice to Append to: (the invoice to append drop down list contains all of the invoice numbers from your display - including any which were previously deleted, including the dates of those invoices to make it easier to identify the one you want to use)
-
The newly selected items to be invoiced and appended will IMMEDIATELY be added to your invoice and will display the green checkmark to indicate they have been invoiced, along with the invoice number:
-
-
-
-
You can view the updated invoice via the customers page
-
Changes like creating invoices and creating quantities on existing invoices are captured in the audit trail (some additional actions have been submitted to our development team to be captured):
-
One last thing to note - the ability to Edit quantities on existing invoices OR delete inventory transaction items are managed by Entity Privileges in the Account Role:
