This article will tell you how to create, view, copy, and delete a community event.
Table of Contents:
-
View Event Details
-
Copy/Delete Events
- Copy Events
- Delete Events
-
Creating a New Event
View Event details:
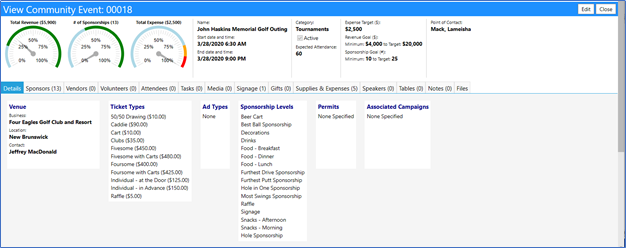
You can filter the applicant list and when you see the one you want, click the event ID#. The event detail screen will appear.
The event details are shown – along with tabs showing various aspects of the event:

**Copying and Deleting Events **
To Copy or Delete an existing Community Event, click in the box to the left of the Community Event and then press the “Copy”, or “Delete” button:

**Copying Events **
If you select “Copy”, a duplicate of your Community Event will be created in the list
The only items which will be duplicated are the following: the event name, the start and end dates and time, the event category, the point of contact, the ticket types, add types, permits, the volunteer activities, signage, and tables
Edit the event information to update it or add any information which was not copied over. Click on “Save” to apply the changes
Deleting Events
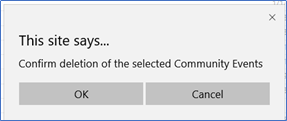
If you click Delete, the system will prompt you to confirm deletion before anything is deleted. Clicking on ‘OK’, will cause the event to be deleted

**Creating a New Community Event **
To create and add a New Community Event, click on the “New Community Event” button:

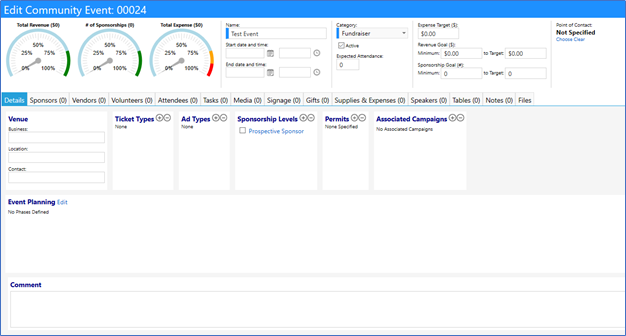
Doing so, will open another screen, in which you can add…
- the name of the event
- the start and end dates and times for the event
- the event category
- the expected attendance
- the target expenses
- the revenue and sponsorship goals and…
- the point of contact
This is also the screen where all other details about the event are added
Once you click on “Apply”, the other fields will be activated, and you can begin to enter more information about your event.
