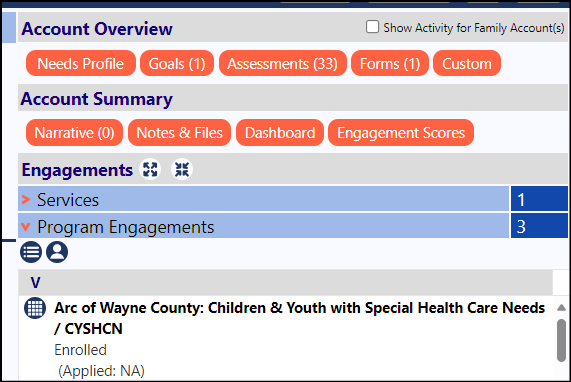
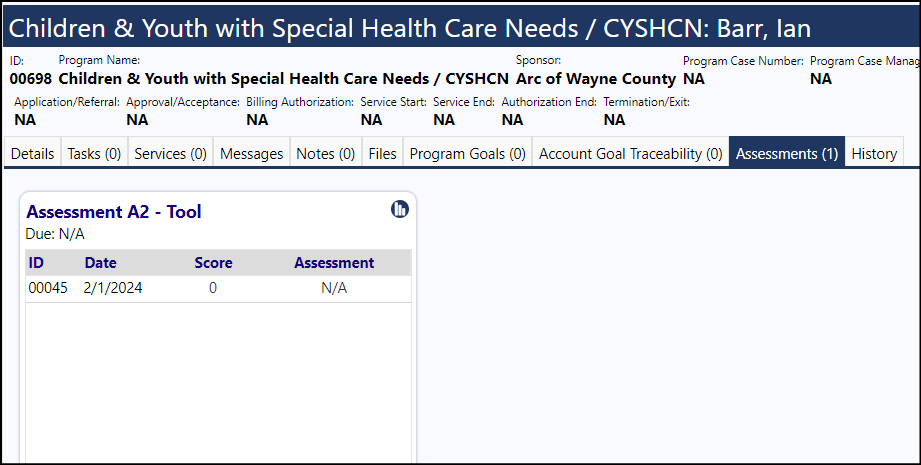
There are 2 kinds of assessments in IMPOWR:
Grid-Based Assessments
Question-Based Assessments
The grid-based assessments are addressed in the following Knowledge Base document and will not be covered in this document. Grid-Based Account Assessments
This article will focus on the Question-based Assessments.
Creating Assessments
The first step in creating assessments is the creation of the assessment form template…
Create the Assessment Form Template in the Form Library**
Access the Form Library from the Communication section of the Performance menu.
- Select the Assessments tab.
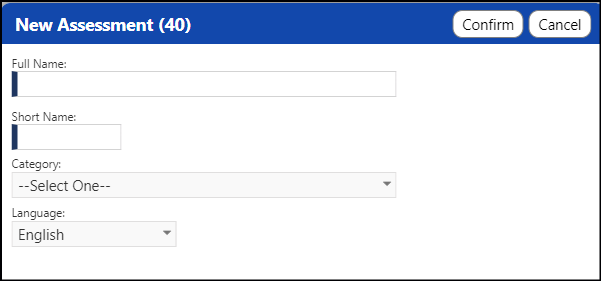
- Click New Form.
- Enter the Form Name.
- Enter a Short Name for Portal Access.
- Optionally Select an assessment Category from the drop-down list of categories. (you can configure the categories by clicking on the gear next to the word ‘Form Category’)

Create the Form Questions and Scoring
Click on the ID of the newly created assessment.
Creating form pages
Just like you do with other forms, Click on the Edit symbol in the New Page tab.
- Change the Page Title, if desired.
- When complete with your changes, click Save.
- Add additional pages by clicking on the '+' sign.
- Delete pages by clicking on the red 'X'.
Creating sections on each page of the form
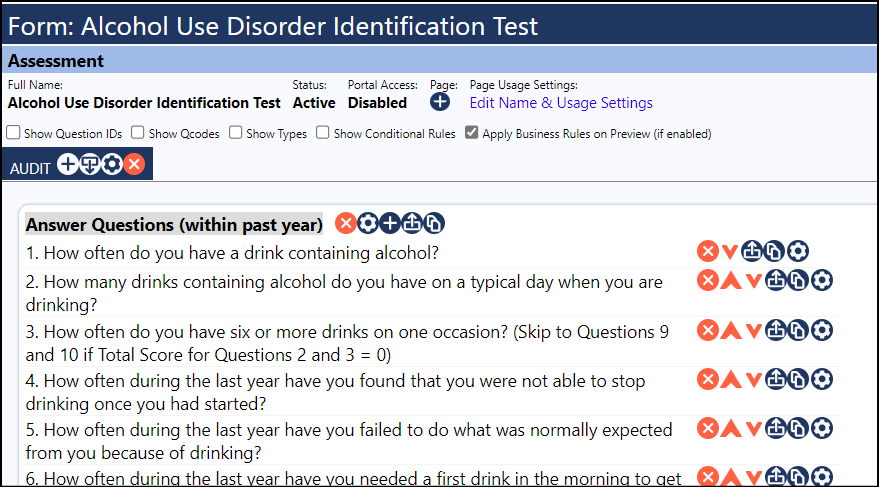
Click the New Page '+' sign to add sections to the page...and subsequently, add your questions.
- Click the Edit icon to change the Title of the New Section.
- Save your updates.
- Add additional sections by clicking on the '+' sign on the New Page tab.
- Delete sections by clicking on the red 'X'.
Adding questions to each section of the form
Add questions by clicking on the '+' sign.
- Enter your question in the Question Text field.
- Select your Data Entry Method from the drop-down list. These are the types of answers users will need to select from or answer - ones where the user selects from a drop-down list, ones requiring a yes/no answer, ones requiring a text answer, or some other type of selection.
By selecting Dropdown List (Value), Listbox (Value), or Radio Button (Value), the question can be automatically scored. Other methods require manual scoring.
If the question type is only text, select Textbox. This type of question would be an essay question and would not be scored automatically.
- Enter any invalid Entry Text (i.e., any text you will not allow included in a Text answer).
- Depending on the type of Data Entry Method selected, there may also be some default List Choices available, as well as the ability for you to enter your own choices which can be chosen from. (All List Choices must have a value assigned to them.)
- Select one of the default List Choices from those provided, by clicking on their name, or enter your own list of choices, by clicking on the '+' sign.
- The choices will display with a point value next to them. You may overwrite that value if desired, but each value may only appear once and all List Choices must have a value assigned to them..
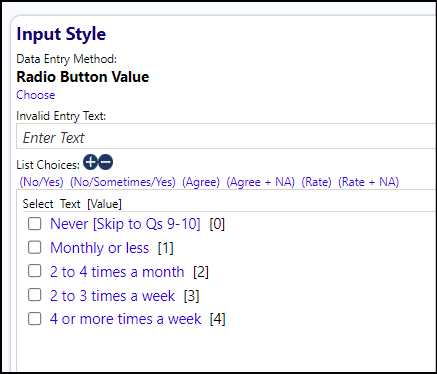
If you enter your own list of choices, you must select a point value for each response, similar to the provided lists.
- Click Apply to save your question entry.
Scoring Answers to questions
By selecting Dropdown List (Value), List box (Value), or Radio Button (Value), the question can be automatically scored. Other methods require manual scoring.
Manual Methods of Answer Scoring
When you select a Data Entry Method that is Not Automatically Scorable, you must score the question manually. Textboxes, for example, are manually scored - enter the Maximum Points you will allow for this type of question.
Automatic Scorable Methods of Answer Scoring
If the Data Entry Method for your question is Automatically Scorable (e.g., Dropdown List (Value), List box (Value), or Radio Button (Value)), choose if you want only a single answer (Single Answer) to be allowed.
- When only Single Answers are allowed, only the correct answer will receive points, or if users can select from multiple answers (Selection Value) (the point value will change depending on what answer is provided).
- If your Answer Scoring method is to only award points for a single correct answer, select the Single Answer radio button.
- Enter the Correct Value of the answer.
- Enter the number of Points assigned to that answer. (i.e., the point value assigned to the correct answer in the List Choices).
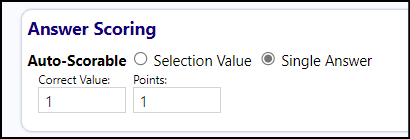
- If your Answer Scoring method selected is to allow a choice of multiple responses and the award points based on the response, select the Selection Value radio button.
- Enter a Weighting Factor. The number of Points assigned to the response will be the point value assigned to each answer (in the List Choices) multiplied by the Weighting Factor.
- Click Save to save your entries.
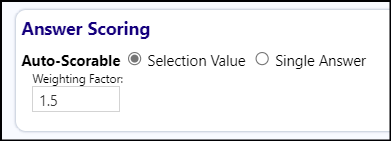
Example, for the above, if someone entered “2 to 4 times a month” they would get 3 points (2 points for ‘2 to 4 times a month’, multiplied by the 1.5x weighting factor).
- Repeat to enter other questions.
Moving sections and questions on the Form
Instead of entering new questions, sometimes changing their order makes more
sense.
- Move questions between sections by clicking on the Move to another section icon.
- Move sections up and down within a page by clicking on the section up and down arrows.
- Move questions up and down within a section by clicking on the question up and down arrows.
Copying Form sections and questions
To save time, sometimes copying a question or section makes sense.
- Copy sections by clicking on the Copy section icon.
- Copy questions by clicking on the Copy question icon
- Click Apply when you are done with your questions.

Form Settings
When your assessment questions are completed...
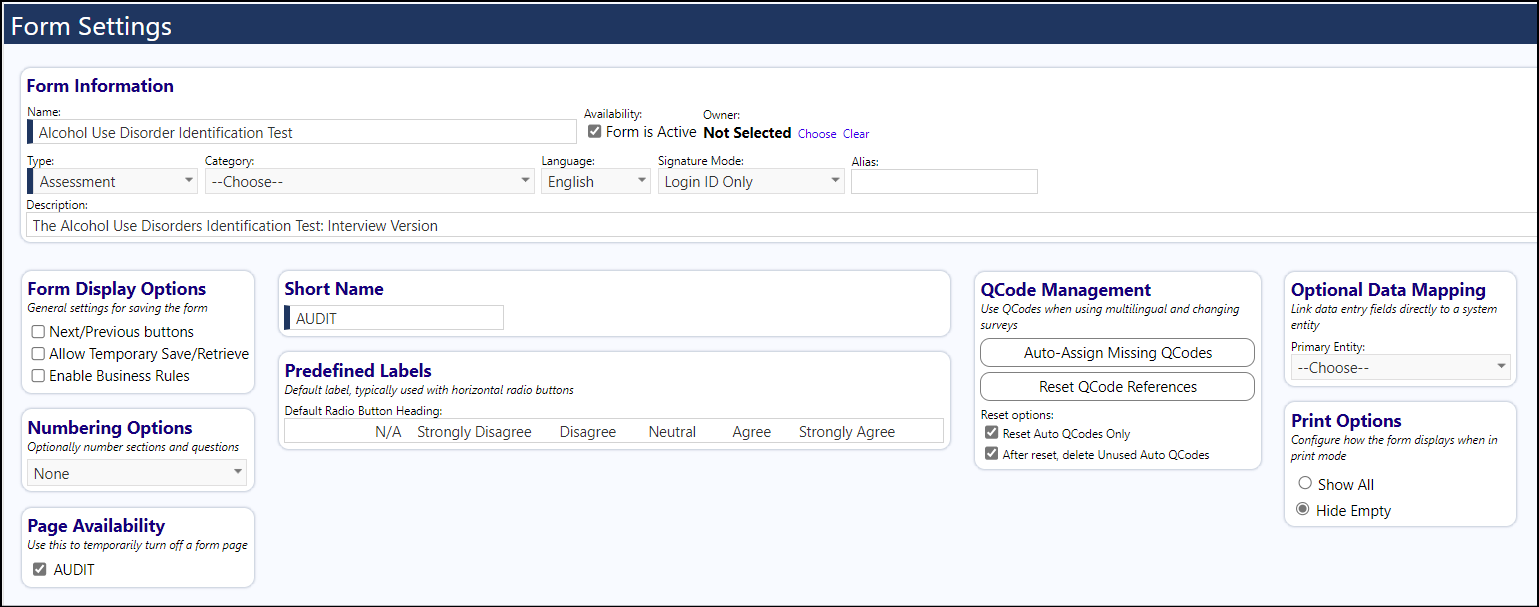
- Click on Settings.
- Make changes to the Survey Name, Owner, Category, and/or Description if desired.
- Determine if you want the questions numbered and if so, how (by section, by page and section, or just sequentially). Select the Numbering Options from the drop-down list.
- Save the form by clicking on ‘Save’, so the form remains open.

Verifying the Scoring
- Click the button “Scoring” on the top header of the page.

- For each question, the scoring rules will display… View the question, type of input, choices, their value, your scoring method, and score calculation.

- You can make changes by clicking on the Checkerboard icon (Edit) to the right of the row (this brings you back into the edit mode of the form).
- When done, click on Save.
The form is now complete.
Attaching the Assessment Form Template to the Assessment Tool
Access the Assessment Tools (Configuration > Reference Libraries > Assessments & Screening Tools).
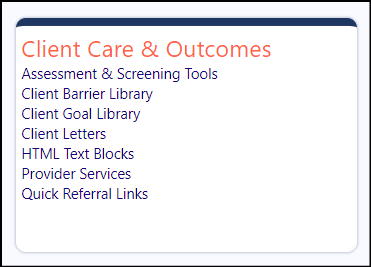
- Click on Create New Tool.
- Enter the name of the new Assessment Tool.
- Select the Function (Assessment).
- Select the Type (Question Style).
- Select a category.
- Enter reference and Licensing text (required fields).
- Click Apply.
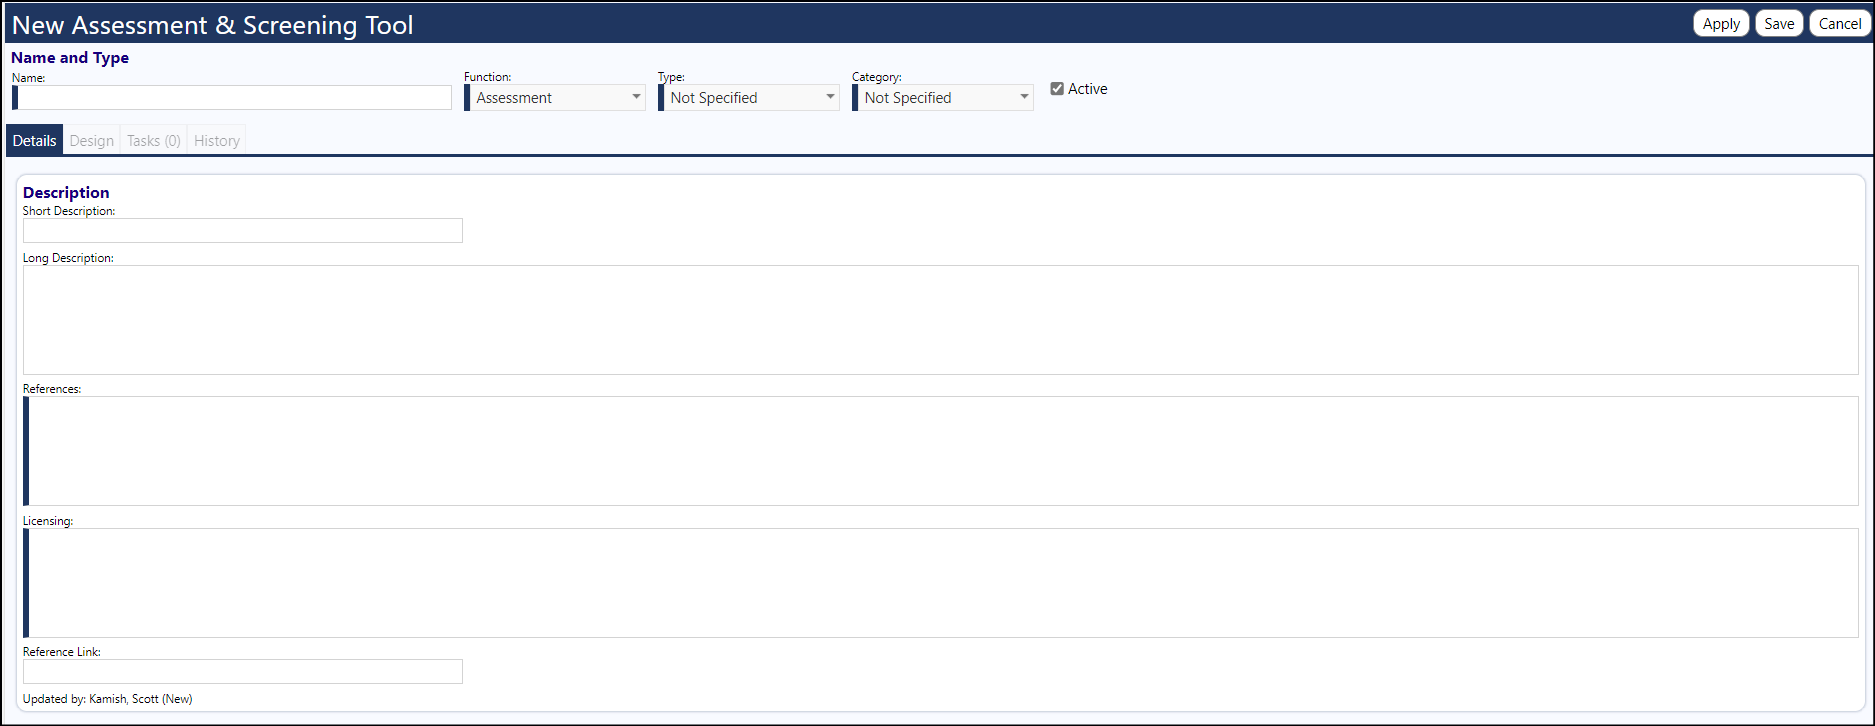
- Go to the Design tab.
- Click on Edit to go into the edit mode.
- In the Assessment Questionnaire panel, click on Change the linked Questionnaire.
- Select the form you created from the Questionnaire list.
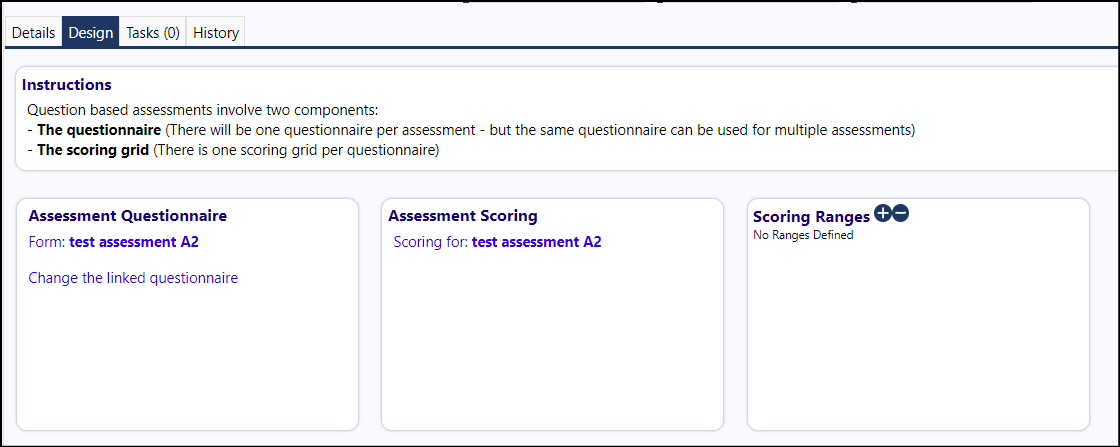
The form is now attached to the assessment tool.
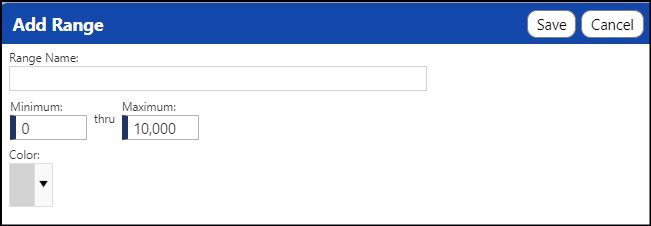
- If you wish to optionally identify if a person is at risk or want to set levels of risk (by color) you can set up scoring range by clicking on the ‘+’ in the Scoring Ranges panel .
- Enter the name of the range level.
- Enter the range (the score will fall into these ranges).
- Select the color.
- Click Save.
- Repeat for other ranges, if desired (Note the ranges cannot overlap – if one ends at 5, the next one has to start at some number greater than 5).
- Save your entries.
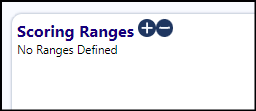

The assessment tool is now saved and can be linked to an account type or a program.
Linking the Assessment Tool to an Account
To link to an account type, in Configuration, under Account Types, you must select that new assessment.
- Under Classic Assessments, click the ‘+’ to add a new assessment.
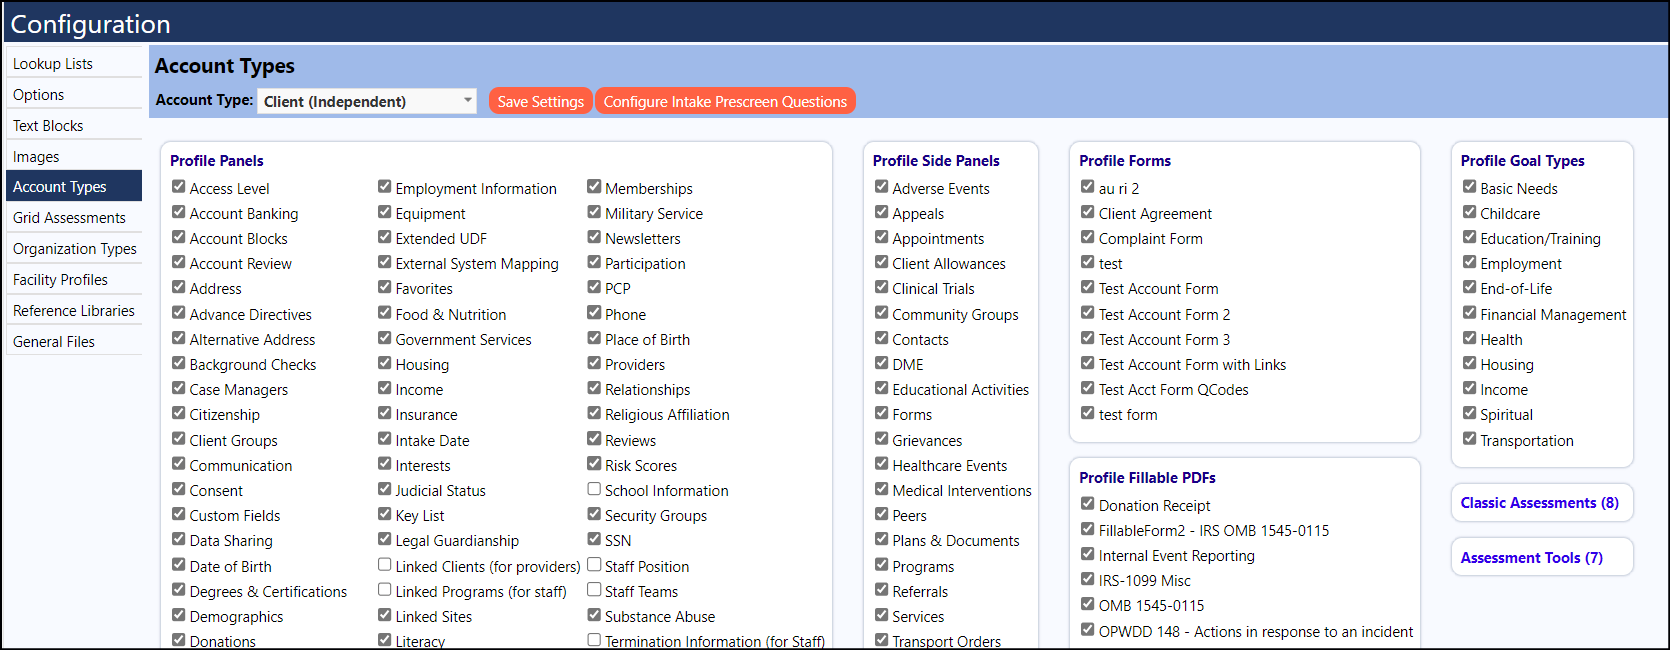

- Select the assessment you want to add.
- In the window that opens, click on the name of the assessment you just added.
- Select the frequency for how often you want the assessment performed, from the drop-down list.
- Choose the start date of the assessments.
- Enter a fixed date OR...
- Enter a reference date (select one of the options).
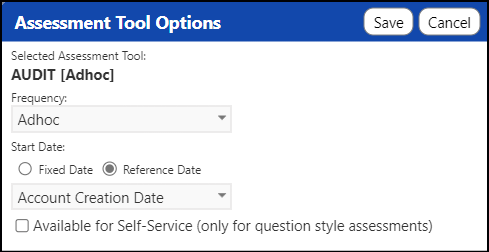
- If you have a question style assessment (as compared to a grid based assessment)...
- optionally Check the box next to “Available for Self-Service (only for question style assessments)”.
- Click Save and close the window.
- Save your account type settings by clicking on the Save Settings button.
Performing an Account-Based Assessment when in a Client Account
When you are in that type of account…
- After selecting the client, click on the Assessments button to access the Assessments created via the Assessment Tools.
- Enter a new Assessment by clicking on the ‘+’ in that assessment panel.
- Fill out the Assessment Form.
- Save the Assessment.
- Enter the date of the Assessment and then confirm and Save.
- Repeat as needed.
- Save the Client.

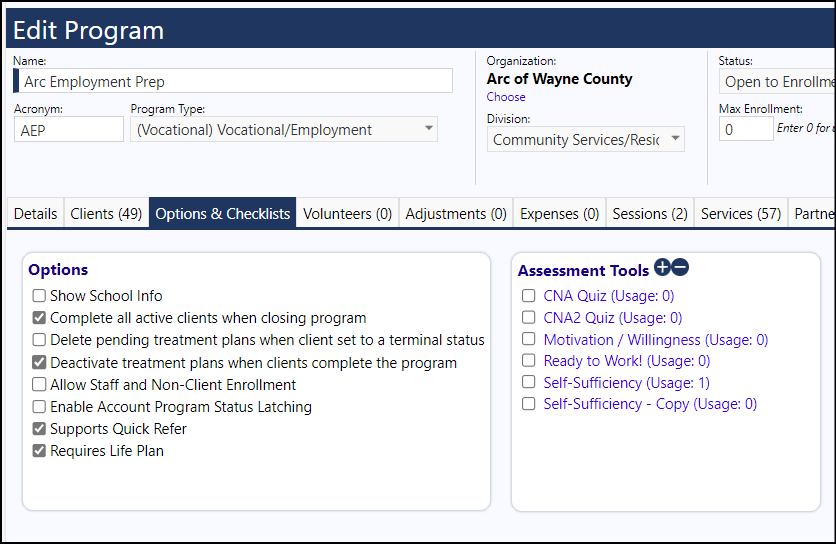
Attaching the Assessment to a Program
Access the program.
- Go into Edit mode.
- In the Assessment Tools, click the ‘+’.
- Select the Assessment tool you created.
- Save the program.
- Open a Client.
- Go into Edit mode.
- Add the client to that program which you added the Assessment Tool to.
- Click Save.
Performing a Program-Based Assessment when in a Client Account
Go to their Programs side panel in the client's account profile.
- Click on the Edit button (looks like a checkerboard) to the left of the program name.
- Select the Assessments tab.
- Enter the Assessment by clicking on the ‘+’.
- Save the Assessment.
- Save the account.
