This article will tell you how to create and change account assessments.
THIS HAS BEEN REPLACED BY THE DOCUMENT: 'HOW DO I CREATE AN ORGANIZATIONAL ASSESSMENT'
NOTE: To create an assessment, the user must have the appropriate rights to
edit the account and/or the organization.
Creating an Account Assessment:
To create an Account Assessment, you must be assigned to the proper Account
Role which provides access to the system configuration screens
- Login to your imPowr website
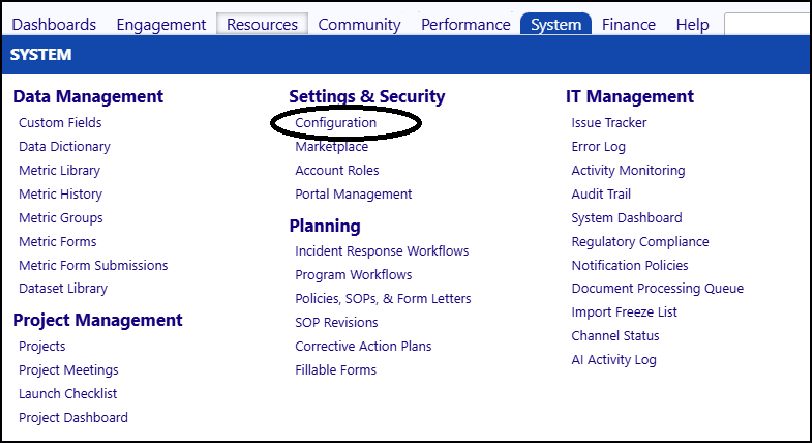
- Go to the System menu
- Click on Configuration in the Settings & Security section
- Select Grid Assessments from the list of options
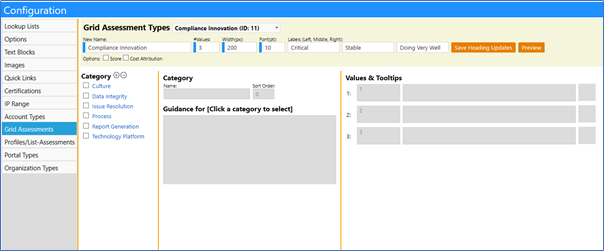
- Select the Grid Assessment Type from the drop-down list
Note: there are currently only 6 assessment types available for Accounts.
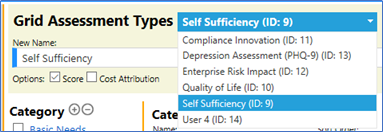
When you select an assessment type, the display will update with the
appropriate details.
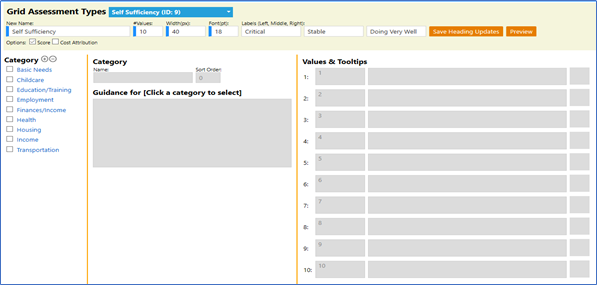
Grid Changes:

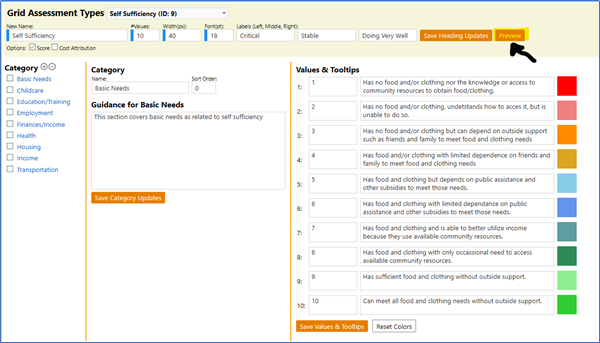
Review the following Grid Settings defaulted values and make changes if
necessary:
- the Assessment Name
- the # of Values (currently defaults to 10) (this refers to the number of columns)
- column **Width **in pixels (currently defaults to 40 [approx. 0.45 inches])
- Font (currently defaulted to 18 point)
- Left Label (currently defaulted to “Critical”)
- Middle Label (currently defaulted to “Stable”)
- Right Label (currently defaulted to “Doing Very Well”)
- Click on Save Heading Updates after you make any changes
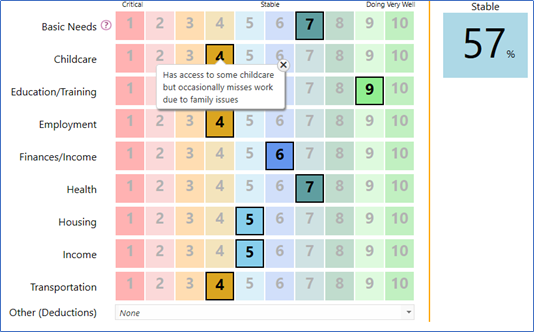
- Preview the assessment by clicking on the Preview button
Note: Width applies to all columns, including that for the Category row label.
Example of a 10 column Assessment form:
Label ->
Critical
Column 1
Column 2
Column 7
Category 1
Category 2
Category 3
Category 4
Changes to Categories:
- Delete categories by checking the box to the left of the Category name and clicking on the ‘-‘. (Similarly, click on the ‘+’ to add a new category.
- To make changes to the existing assessment, click once on each Category to see what is entered
- To rename a Category, click once on the category name to enter the Edit mode
- Rename the category in the Category Name box
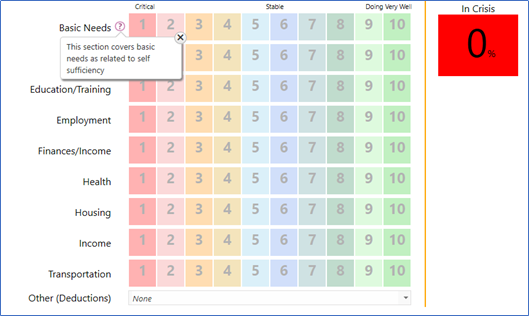
- Add an informational tooltip by entering text to the Guidance for Basic Needs (this text will appear when you click on the
 next to the category name)
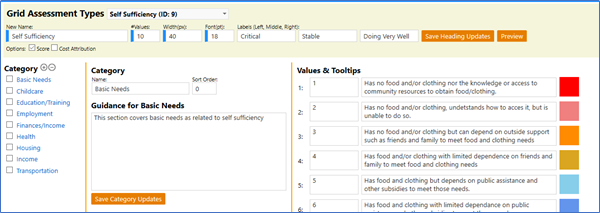
- Select the Sort Order for your category
- Click on Save Category Updates to save your changes
Changes to Values & Tool Tips:
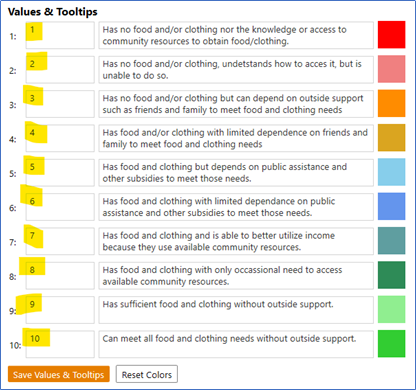
Each column is assigned a Value.
- Change the value by changing the number in the first field:
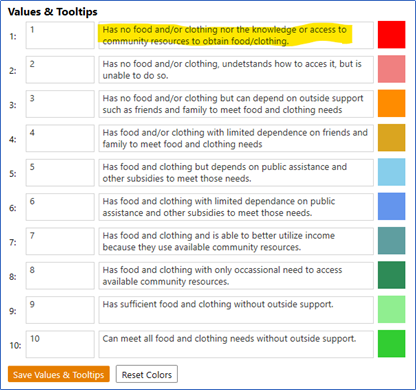
- Change the Description of the box in the column by rewording the text in the 2nd field:
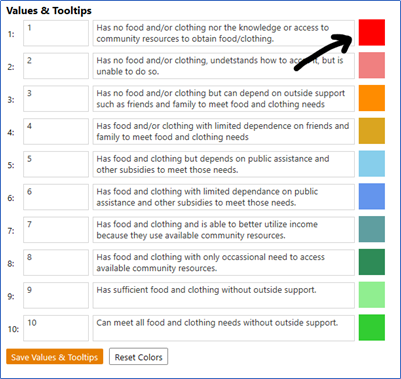
Reset colors for a box in column (on a particular row):
- Double click on a row’s color
- Click on a new color to select it
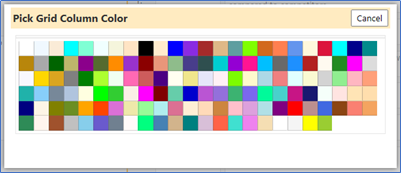
The color of the box will immediately change

In case you change your mind and wish to reset all of the colors to their
original defaulted colors…
- Click on any row in the Assessment
- Click on the Reset Colors button
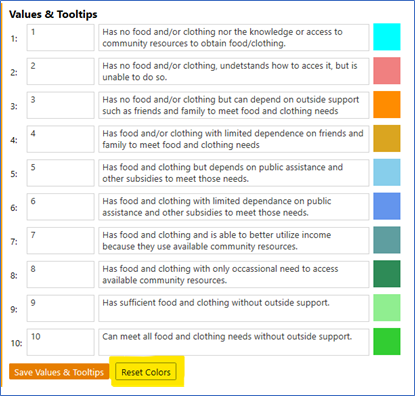
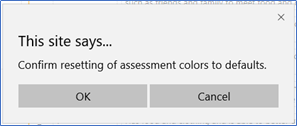
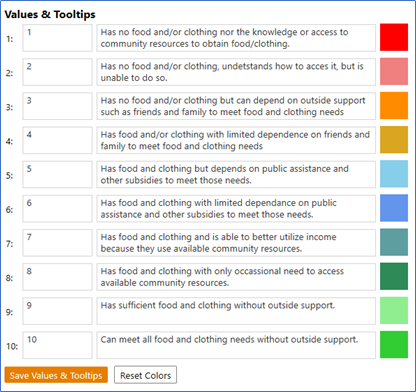
All of the colors will change back to their originally defaulted colors after
you confirm the change
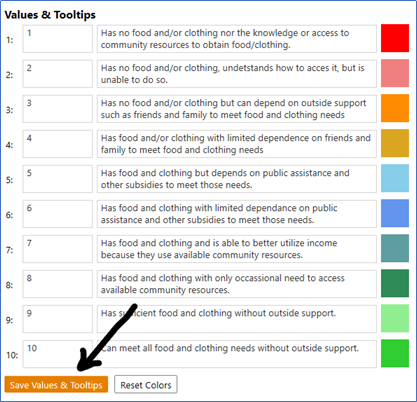
Note: Click on Save Values & Tooltips when you are completed with your
changes
- Repeat for the other Categories as desired
Note: Click on the **Save **buttons to save any changes you may have made
- Click on Preview to view your completed and fully functioning assessment
