This article will tell you how to create four different account types.
NOTE: In order to work with an Account, the person doing the set up must have been granted the appropriate security rights by the System Administrator.
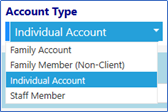
There are 4 different Account Types:
- Family Accounts
- Family Member (Non-Client)
- Individual Account
- Staff Member
All Account types are created the same way. For the purposes of this document,
we will only be considering Individual Accounts and Staff Members. Family
Accounts are covered under a separate document.
Creating a New Account:
- Login to your imPowr website.
- Go to the Engagement menu.
- Click on Non-Client Accounts in the People section.
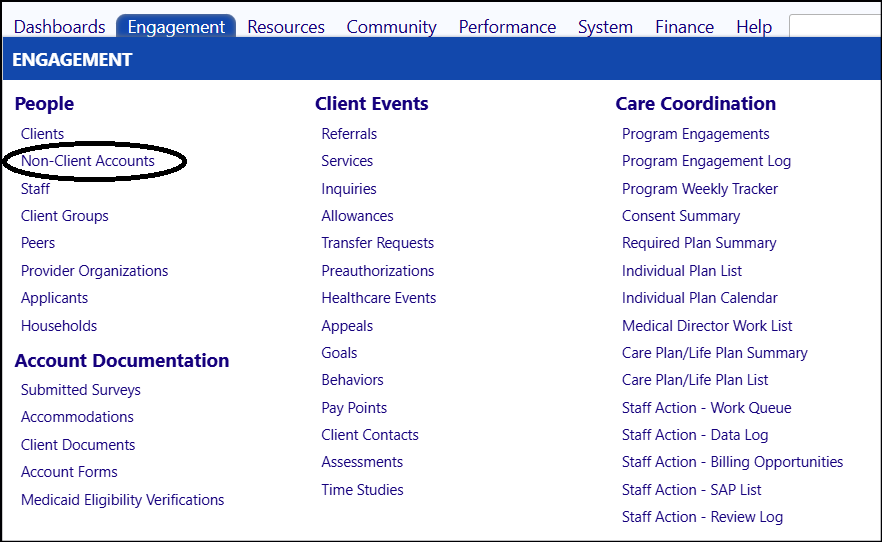
This will open a new window where you can Add, Merge, or Delete Accounts.

- Click on Add to set up a new Account.

- A New Account screen will open.

- Select the Account Type from the drop-down list.
- Enter the new Account person’s **First **and Last name.
- Optionally, add the Salutation, Middle name, and name Suffix.
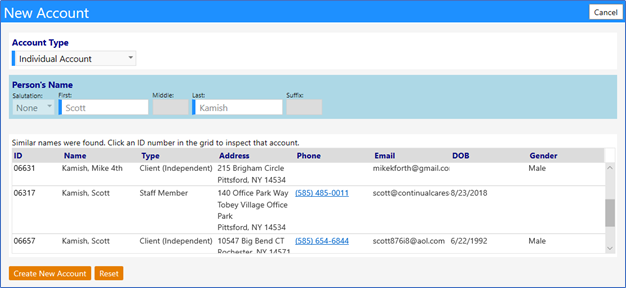
- When you are finished adding the details, review your work and click on “Check for Accounts with similar names” to see if an account with a similar last name has already been created.

- If some already exist, they will be displayed on your screen.
-
Click on the ID of those similar to the one you wish to create to view their details to if it is the same account.
-
If the account already exists in the system, click on Cancel to cancel the request.

- If the same account does not exist in the system, and you wish to continue to create a new Account, click on “Create New Account”.

OR
- If none have been created, you will just be prompted to create a new Account (without any additional similar named accounts found):
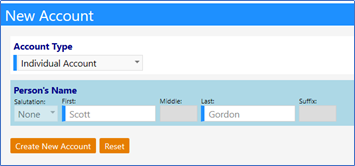
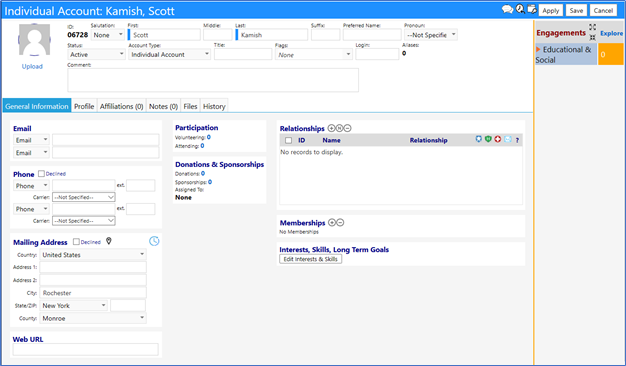
- The Account entry form will be displayed so you can fill in the missing information and update the new Account.
- Click on **Save **when you are done with your additions and changes.
- The Account will now appear in the Account List:
