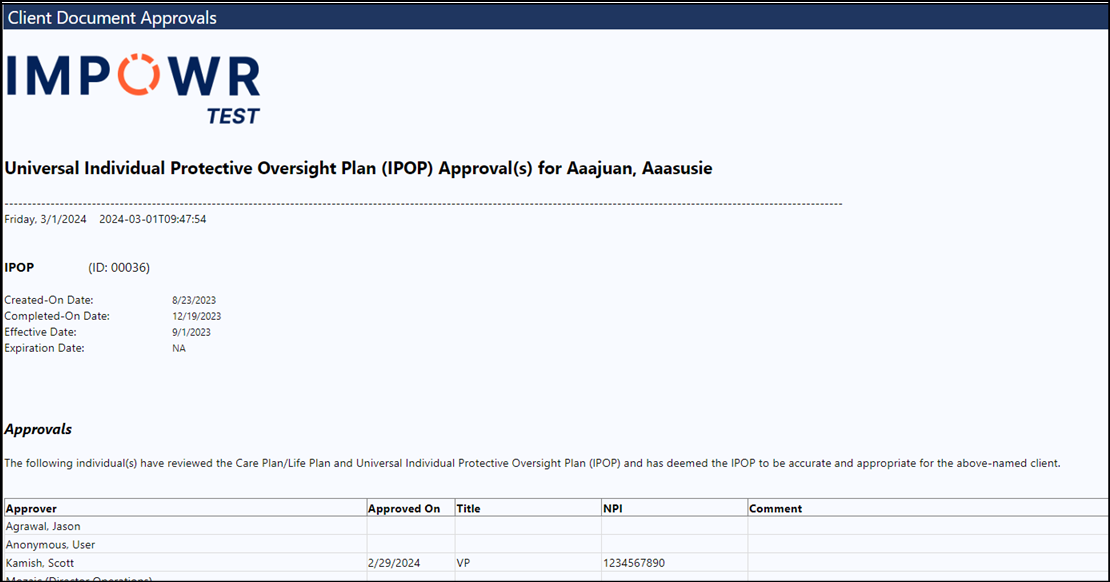
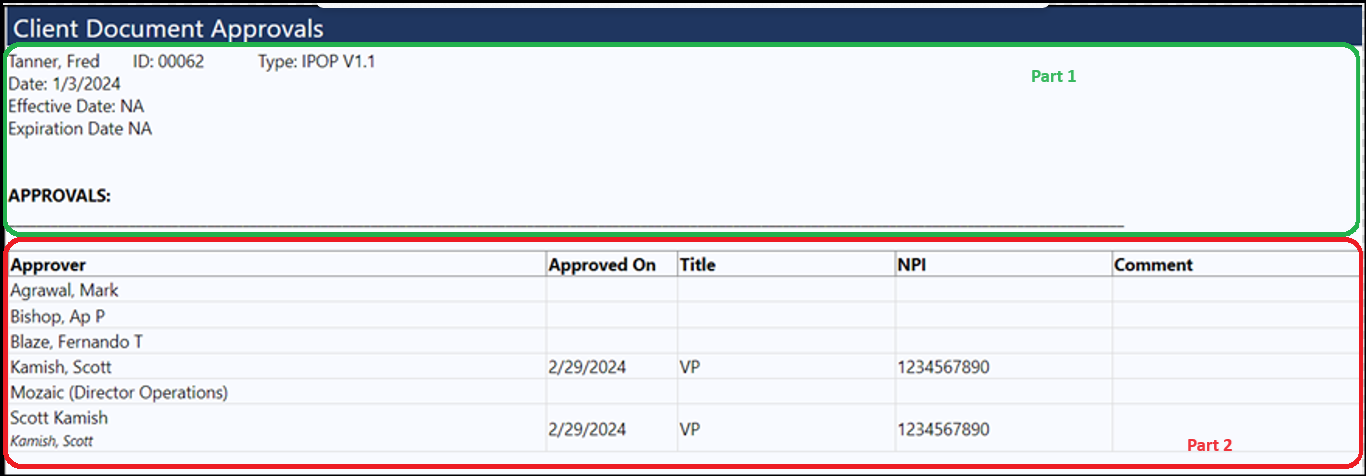
There are 2 parts to the printout…
Part 1 is created in the System > Settings & Security > Configuration > Text Blocks > Client Documents > Client Document Approvals
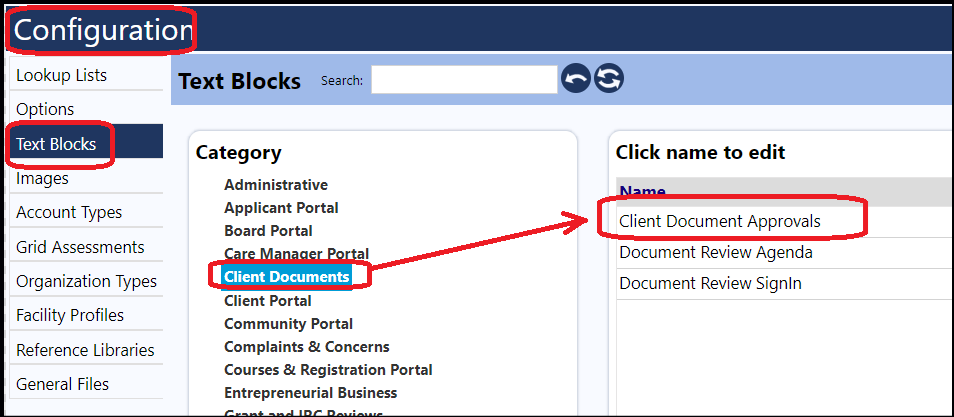
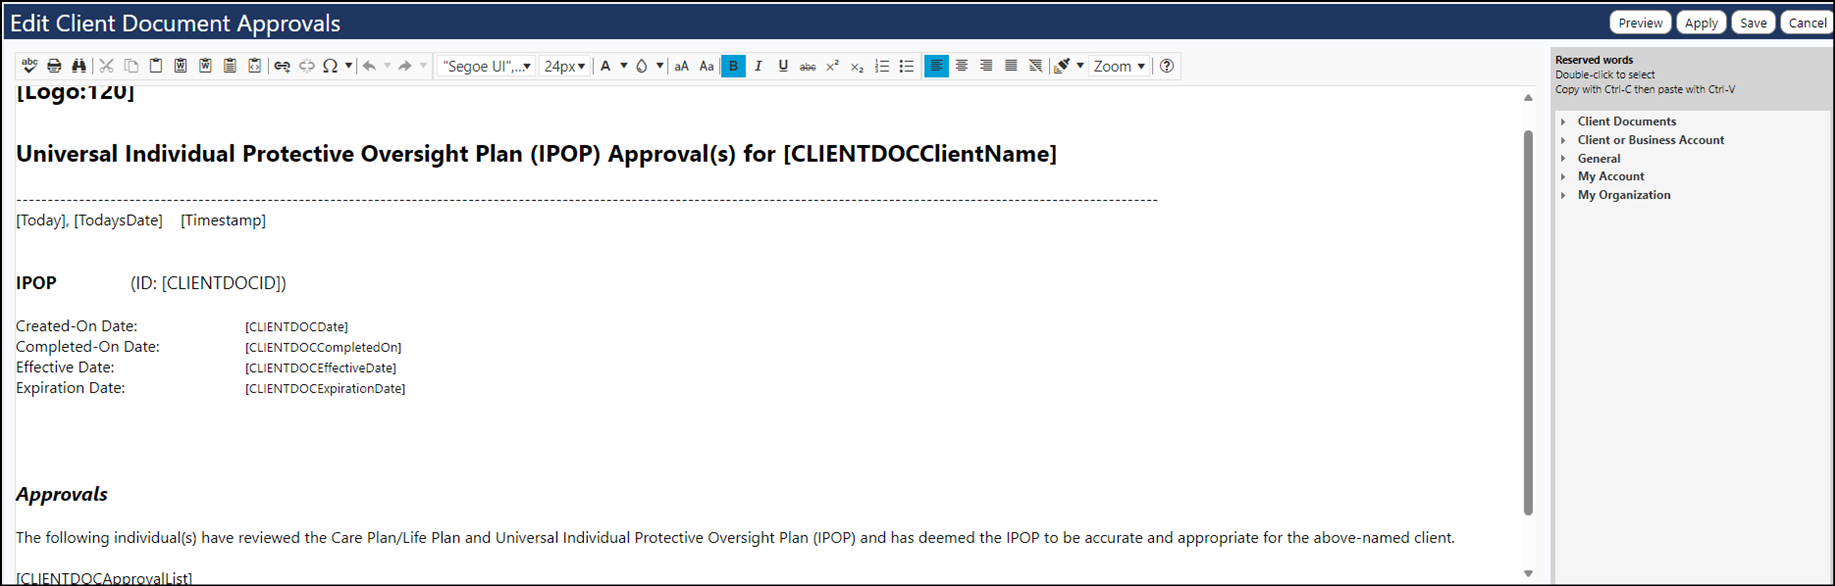
When you click on this text block, you can enter whatever text you desire, and utilize reserved words, etc.
Example:
This takes care of part one of the printout.
Part 2 of the printout is addressed by the last line entered in the Client Document Approvals text block: “[CLIENTDOCApprovalList]”.
That is what gives the grid that displays the approver, approval date, approver title, NPI, and comments.
Once this text block is created, whenever someone clicks on the print button, while on the Approvals tab in the Client Document, the text block will automatically print, containing both parts, or whatever text you have entered.