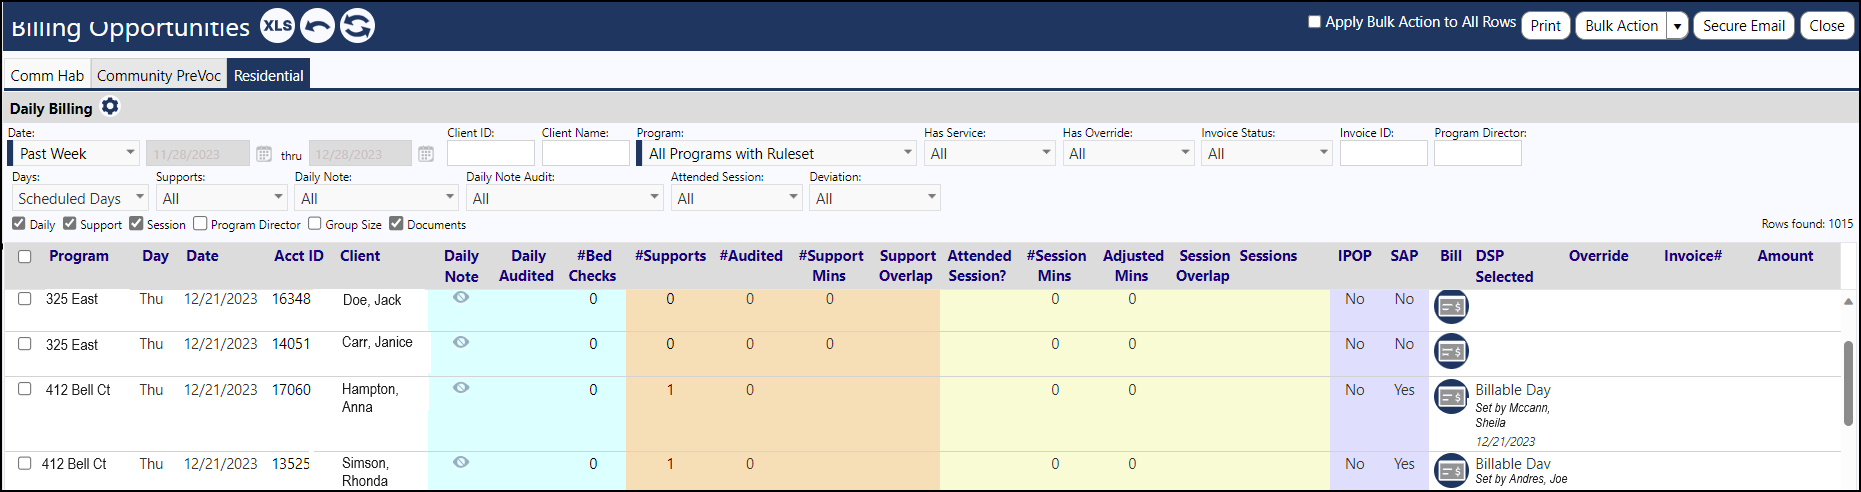
When it is time to bill, click on the Staff Action - Billing Opportunities page:

Select the appropriate filters to identify the data you want to bill. For example, select the date range and select a program. You can also select the Invoice status of not invoiced, so you only view the supports that have not yet been invoiced.
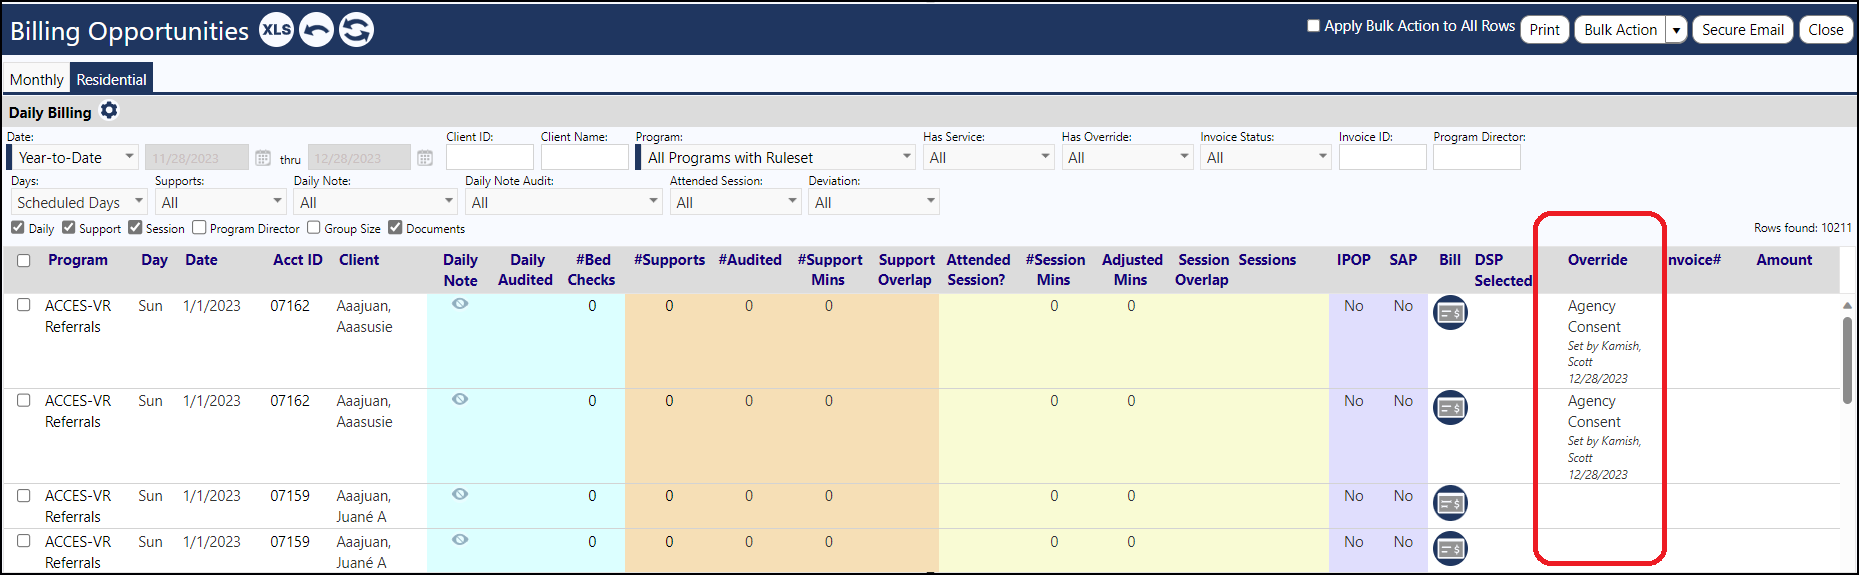
When you view the Billing Opportunities, you can see what the DSPs entered for their selected service (example: Theraputic Day, Billable Day, or Retainer Day).
Check the Billable Service based on the Billing Rules
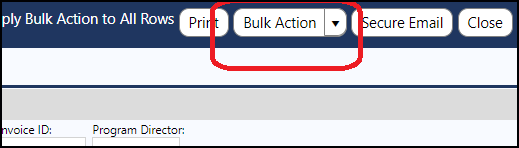
For the non-invoiced opportunities, either select all entries or select some and then click on the Bulk Action button and select Auto-Calculate Billable Service from the drop-down list.
Selecting all entries will result in multiple pages being displayed, with a maximum of 50 entries per page.
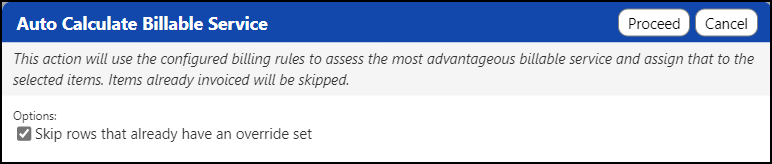
Click on the Bulk Action button and select Auto-Calculate Billable Service.
If this is the first time you are looking at the billing opportunities, uncheck the box to skip the rows that already have an override set.
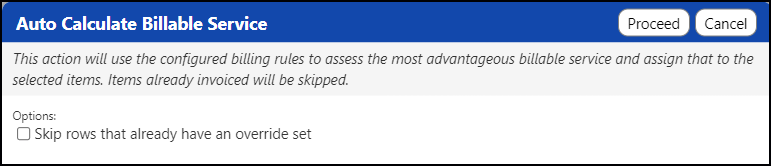
Click Proceed and the system will run the Billing Rules on each of your selections to calulate what the system thinks the Billable Service should be (based on those rules).
When we run this, the system may respond back that there are a certain number of the Billable Services that the Billing Rules thinks should be different than what the DSP entered.

We can click on the various categories for each of those suggestions and see why there is a difference in Billable Service and why the DSP may have chosen that particular service (sometimes, it is fully justified). For example, if you click on the number in the Bed Checks column, for the associated client, you can view when the bed checks were completed:

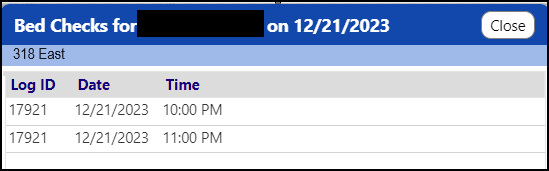
And, now that the settable hours are configurable in the Billing Rules, you can understand why some bed checks might be captured for prior day and why those checks might qualify under the Billing Rules or not. For example, maybe a DSP designated a Billable Service as a Theraputic Day because an individual went home, but possibly because of the time the bed checks were performed, the Billable Service could be designated as a Billable Day.
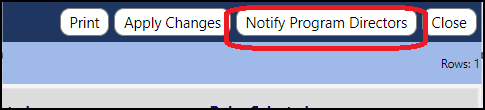
Once you have completed your review of the Billable Service differences, you can select them and send an email to the Program Directors and ask them to take a look at and review the Billable Service selections, by clicking on the Notify Program Directors button and emailing them.
Complete the Billable Service Overrides
Once the Directors get back to you, the Billing Person can select those items and click Apply Changes... and then Close the page.

Doing so will apply the Billable Services - the new overwritten Billable Services will display in the Billing Opportunties list, in the Override column:
The page can be filtered to only display the opportunities with Billable Service deviations from those chosen by the DSP, so the managers can review just those needing attention. It is up to them to check bed checks, supports, daily notes, and any of those entries that have minutes associated with them, and then fix the entries. For example, the staff can go back to the Staff Action - Work Queue and upon selecting the date and the client, they can click on Bed Checks and make their corrections. Similarly, they can call up the completed supports and make any necessary changes.
-
Remove the display of the minutes by unchecking the Support and Sessions checkboxes.
-
All changes are captured in the Audit Trail.
Once the managers make their changes, they can notify the Billing Person to them them the entries are all fixed. The Billing Person can then re-run the Billing Rules by selecting the opportunities and then selecting the Bulk Action of Auto-Calculating the Billable Service. This time around, they should check the box to skip the rows that already have an override set. (The Billing Person can manually override the Billing Service, but the box is unchecked so that the system to override the Billing Person's changes.)
Create the Billing Invoice
After the Billing Services or the overrides are correct, the Billing Person can select all of the billing opportunities and click on Bulk Action... and then select Add to a New Invoice.
A window will open so an optional invoice memo or custom instructions can be entered.
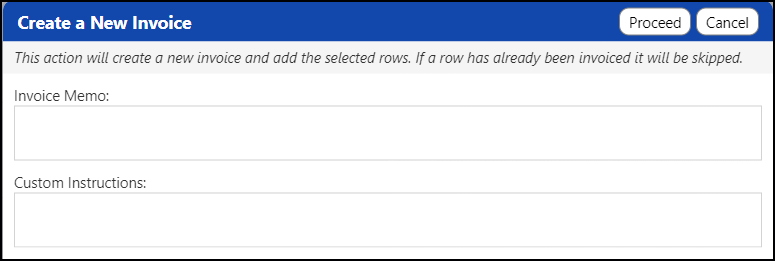
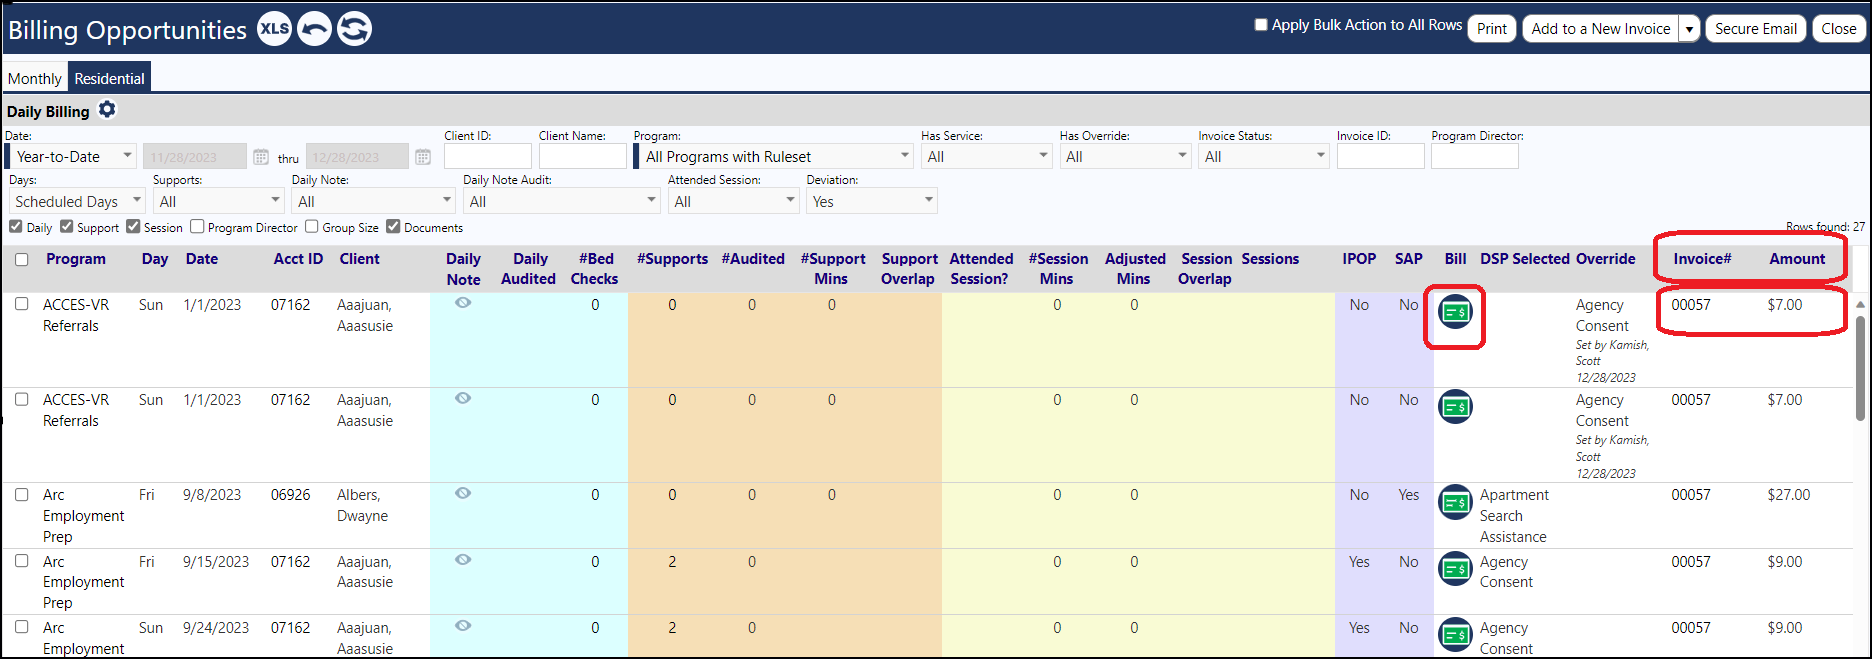
Clicking on Proceed will add records to the invoice...
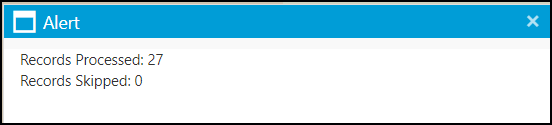
...and will change the color of the Bill icon to green, will create an invoice and will display the Invoice # and the dollar Amount of the line item in the invoice, on the Billing Opportunities page:
View the invoice
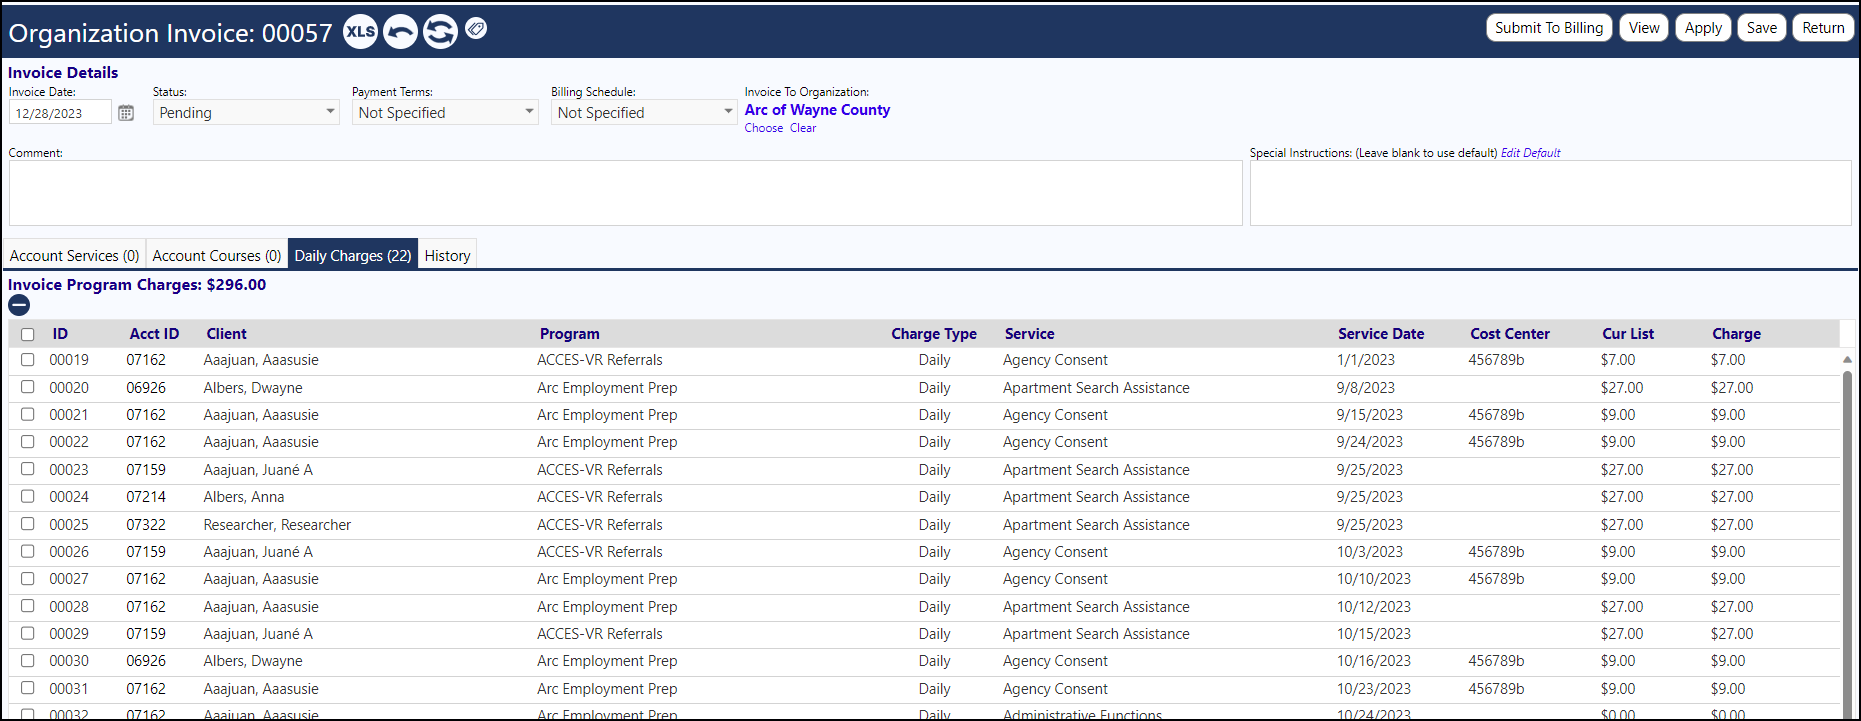
Once the invoice is created, the invoice number can be clicked on to view the individual components of the bill, including the individual services, service date, the Billable Service, amounts, and client:
Invoices can also be accessed via the Financial Accounts section of the Finance menu
Billing the Services
If everything looks okay to send to billing, create a billing file by:
1.) selecting all rows and clicking on the Submit to Billing button.
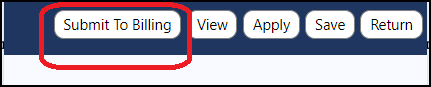
or 2.) if you are viewing the Invoice on the Invoice List (in the Finance menu), select the invoice and click the Submit to Billing button.

Select the Billing System from the drop-down list.
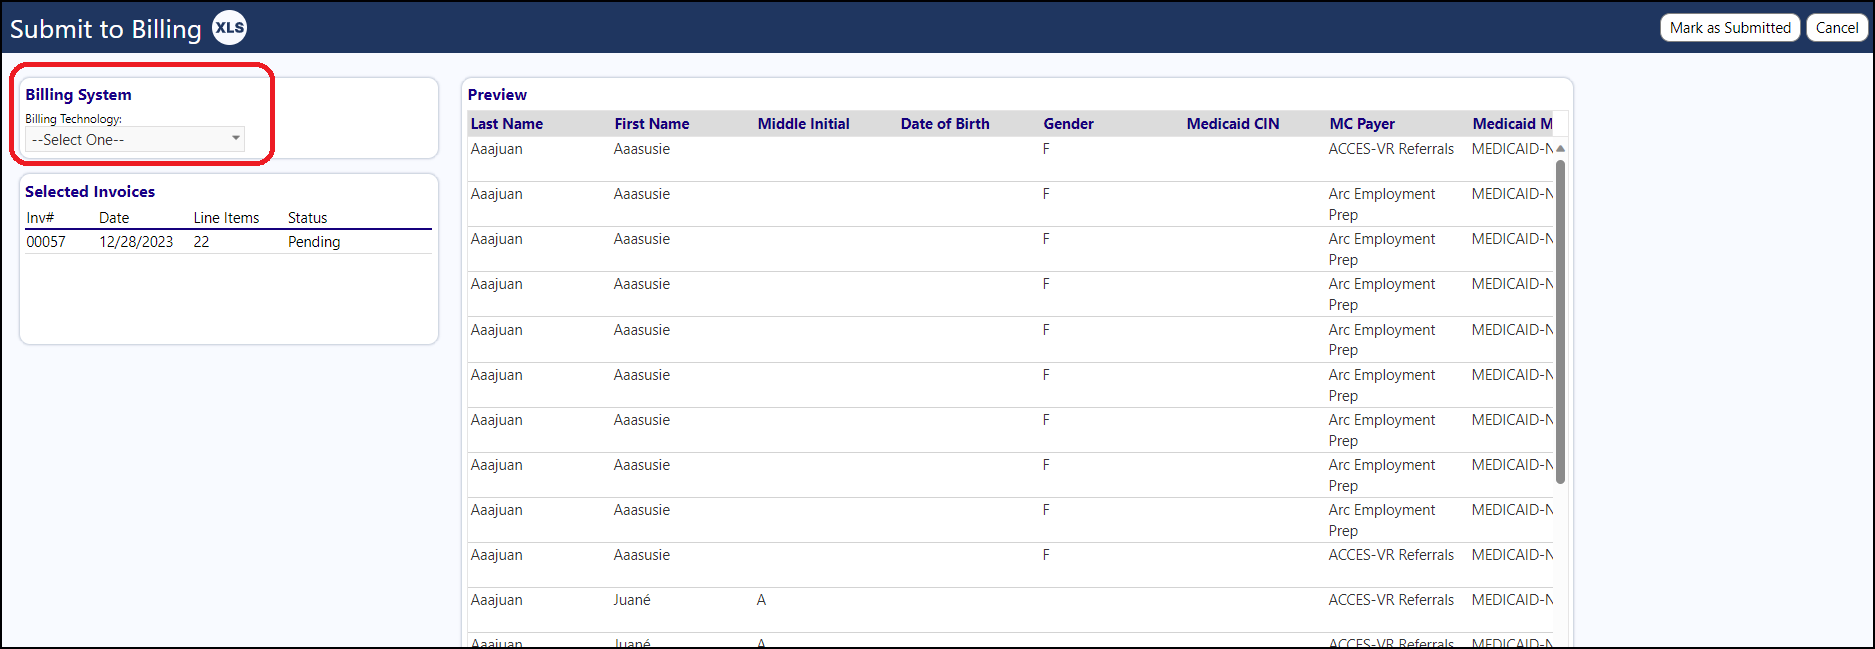
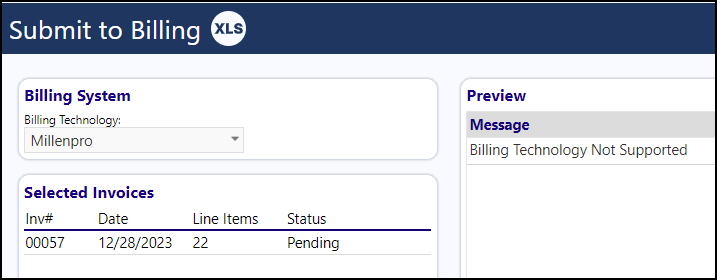
The Billing System is set up in the Technology page in IMPOWR. Be sure to select "Billing System" as the technology type. Each Billing System requires its own formatted layout (as seen in the Preview) - submit the layout to your Continual Care Solutions account representative for it to be set up in the system, prior to use. Without this formatted template, you will receive an error when trying to submit to billing, indicating the billing system is not supported:
Once the appropriate Billing System is selected, click the Export button and select "Export" to generate a spreadsheet, which can then be sent to or input into the billing system.
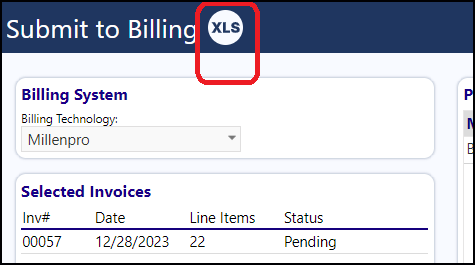
The exported spreadsheet will capture the rows and columns displayed in the Preview.
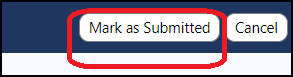
After submitting the file to the Billing System, click the Mark as Submitted button, so the system will try to prevent you from invoicing the same rows again.
The Billing Person can always export the Billing System file again, when needed, but they will receive warnings when they do, informing them they already exported the file.
After the billing as been created, the invoice is locked from the adding or deletion of any items on the invoice. The Billing Person can still add comments, but not make changes to the items. With the appropriate security rights, the Billing Person can delete the invoice if needed. Doing so removes the invoice from the Billing Opportunities page, in addition to deleting it from the invoice list, and re-enables the re-invoicing of the entries.