This article will tell you how to create and use workflows.
For this document, we will assume a Program Workflow has already been created
in the system AND access to that page has already been established.
- Login to your imPowr website.
- Click on Program Workflows in the Planning section
You can either use an existing workflow, copy (and then modify) an existing workflow, or create a new workflow
Using an Existing Workflow:
- If using the Default workflow, no action is needed here.
Customize an existing Workflow by either copying (and then modifying) or
Editing an Existing Workflow
Note: If you choose to edit an existing workflow, please be aware the Workflow
may already be being used.
If you want to customize an existing workflow…
- Identify which Workflow you with to copy or edit

- Click on the ID number to view the Workflow

- Once you have confirmed it is the one you want, check the box to the left of the Workflow ID and click Copy

- After confirming you wish to copy it, a copy of the Workflow will create (the name will indicate it is a copy)

- Select your Workflow and click on the ID to view and edit it.
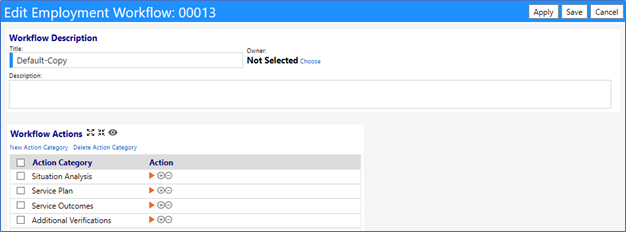
- Change the name to describe your new workflow.
Modify Workflow Actions:
- Go to the Workflow Actions section
- Add or remove Categories, or Delete Action Categories
Adding Categories:
- Click on Add Action Categories
- Enter the Name of the New Action Category
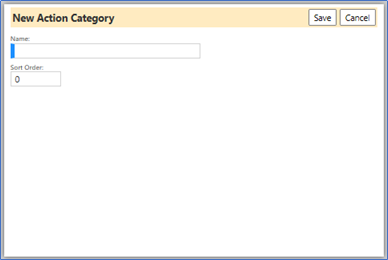
- Click on Save

- Click on the name to edit
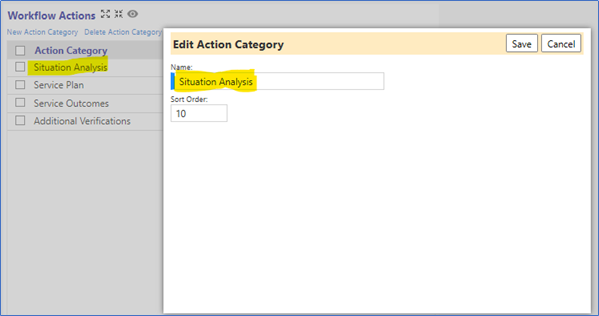
- Click on Save
Deleting Delete Action Categories:
- Check the box to the left of the Action Category and Click on Delete Action Category

Add an Action to the Action Category:
- Select the appropriate Action Category
- Add or Delete an Action within the Category
- If the section are not expanded, click the orange triangle expansion icon.

OR click on the arrows to expand the selection

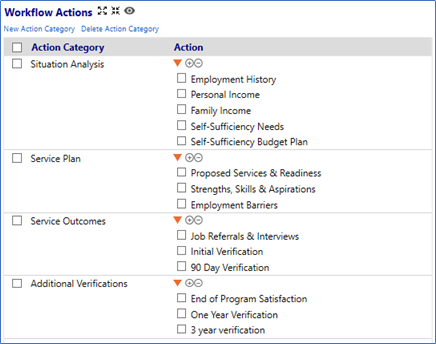
- Click on the “+” or “–“ icons, and click on the name to edit.
- Add an Action by clicking on the “+”

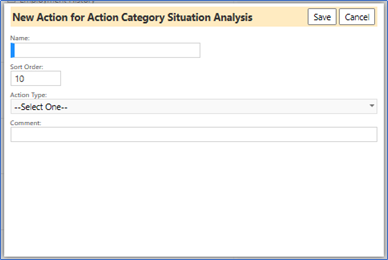
- Enter a name for the Action
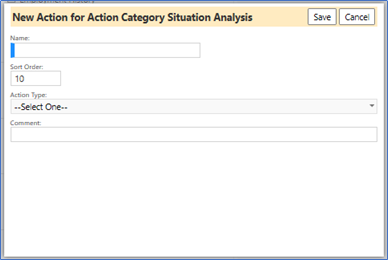
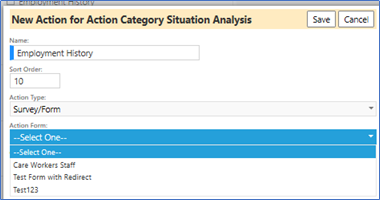
- Select an **Action type **from the Drop Down List:
Note: depending on the Action Type selected, Certain Action Types prompt
another step, such as the survey/form option shown, where you have to then
select the survey you will be using. If you haven’t yet created a survey, you
will need to do that before it will appear as an available selection.
For example, For Action Type = Employment Verification, you must enter the
number of days that must pass in order for the individual to be verified as a
full employee (i.e., a probation period). For Survey/Form, you must select the
survey you want filled out by the applicant.
 _
_
-
When completed, press Save
-
Remove an Action by clicking on the “-”
- To remove actions, check the box to the left of the Action and press the “-“ button
- Review your selections
- Make sure you **Save **when you are done making changes to the workflow.

Preview your work:
Note: As you create the Workflow, preview what it will look like by clicking
on the preview button

This will allow you to see how the Workflow will be displayed on the screen
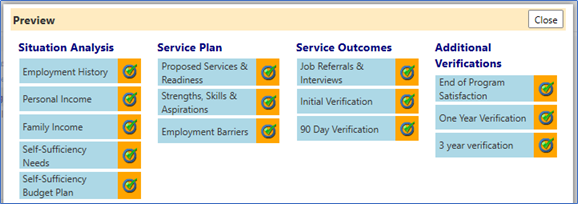
Click on Close to close the preview

Create a New Workflow:
Note: If you choose to create a new workflow, please follow the above steps
after Adding a New Workflow. If desired, you can preview the Workflow before
or after it is saved.
In order for a Workflow to be used, it must first be attached to a program
Attach Workflows to programs:
- To attach the workflow to a program, go to Resources -> Programs.
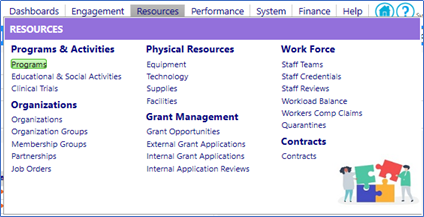
- Create a new program: by clicking on New Program

- Enter the program name, change the sponsoring organization if needed, select the division, and program type.
- You can leave the Status at Open to Enrollment unless another Status is more appropriate.
- Select the Program Workflow drop down list and select the most appropriate layout page

- To select the employment workflow, select Employment workflows. If you don’t, it will Default to the basic Program page set-up.
- Once you choose Employment Workflows for Program Workflow, another drop down list is displayed.
- Select the **Customer Workflow **drop down list. (This is where you choose the workflow you created, or another existing workflow.)
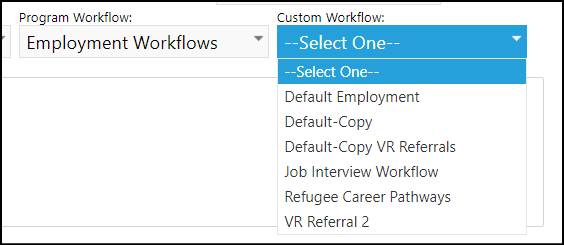
- Add an optional description to the page, along with any other details you desire
- Click on Save
Assigning a program to a client:
- Access a client via Engagement > People > Clients
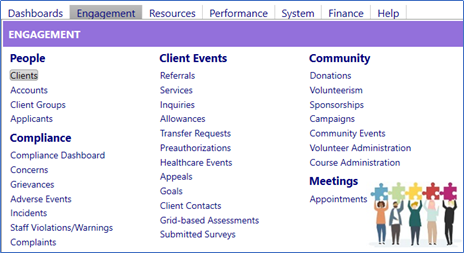
- Select the client by clicking on their ID

- Once the client record opens, click on Edit
 **
**
- Go to the Account Activity panel on the right hand side of the screen and select Programs

- Expand the Programs section by clicking on the arrow to the left of the work “Programs”

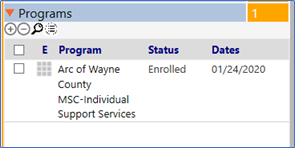
- Click on the “+” to add a new Program
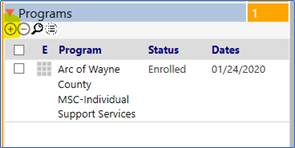
- Choose an available program from the list of programs (search for the one you just created) and click on Select
**
 **
**
- The plan will immediately populate and display (if it does not display, that just means the default template (Edit Page) was selected for the workflow

- Save the plan
This program is now saved for this client. When you are ready to fill it out,
return to the client and go into Edit mode. You can access this plan under
the client’s Programs. Click on the grid to get to this screen.
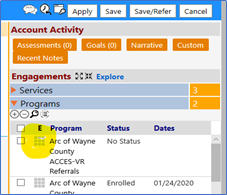
As you enter the plan, click on the grid to the right of each action to
get to the underlying information, such as forms to fill out, surveys, etc.

When you are done filling out the information, you can click in the circle to
the left of the grid, and a green check mark will appear, to indicate you
are complete with that activity:

For employment records, if you have selected Job Referrals and Interviews,
clicking on the grid will allow you to keep track of all referrals and
interviews.

Clicking on the Pending Thumbs Up status will allow you to add a placement
date and will change the status from Pending to Placed:
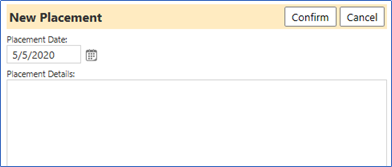


When you are all finished with your activities, click on Save to save your
results.

Save the results in your client profile, as well.
