This article will explain how to use the location roles in incidents.
Location roles is just one way we can notify a person or a group of people when a new incident is created. This article will explain how to use the location roles in incident workflows, so that you can use the roles to notify others when an incident is created. You can use locations when the people you want to notify are known in advance, as well as when the people you want to notify need to be selected.
NOTE: In order to create incident workflows, users must be provided with an Account Role containing the appropriate security rights.
Step 1. Define the notification contacts for the location.
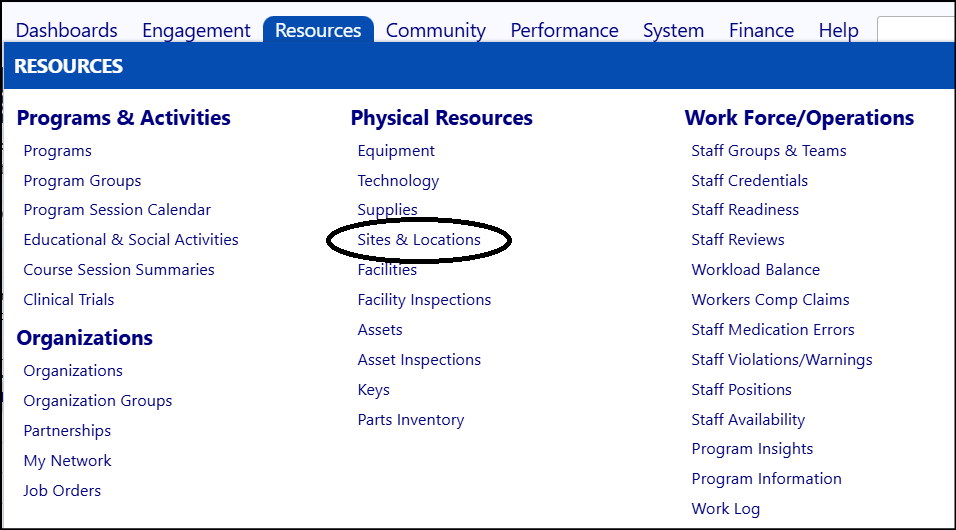
- Access ‘Sites & Locations’ in the Physical Resources section on the Resources menu.
- Click Edit to enter edit mode.
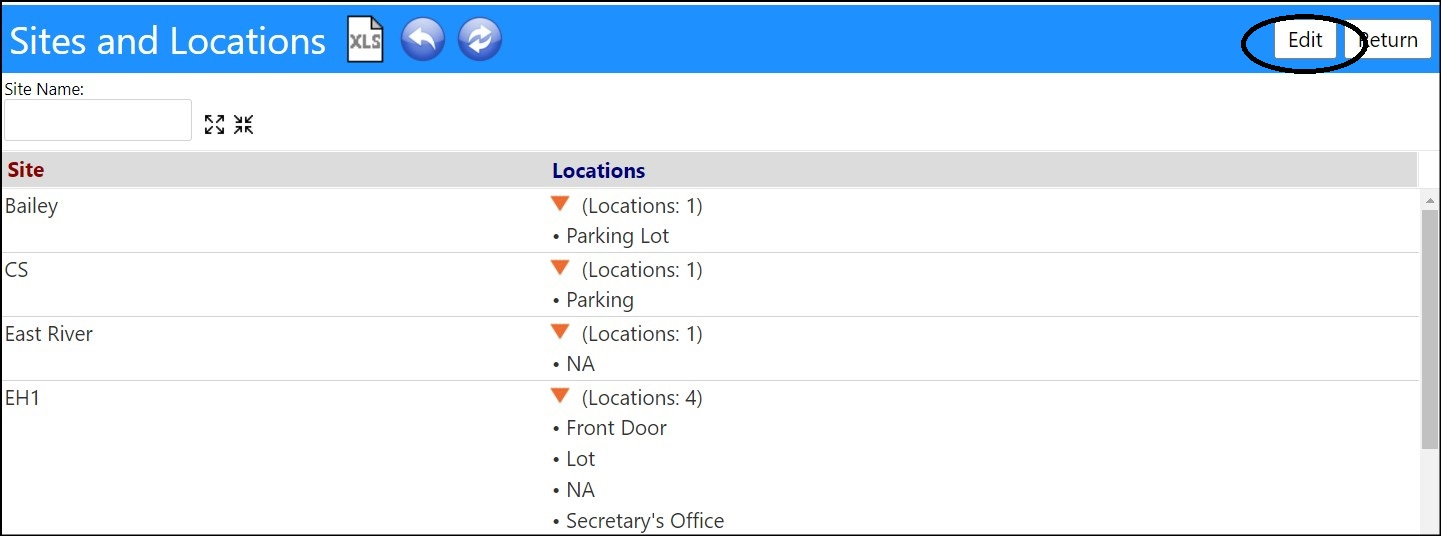
- Click the name of the site and the site details display.
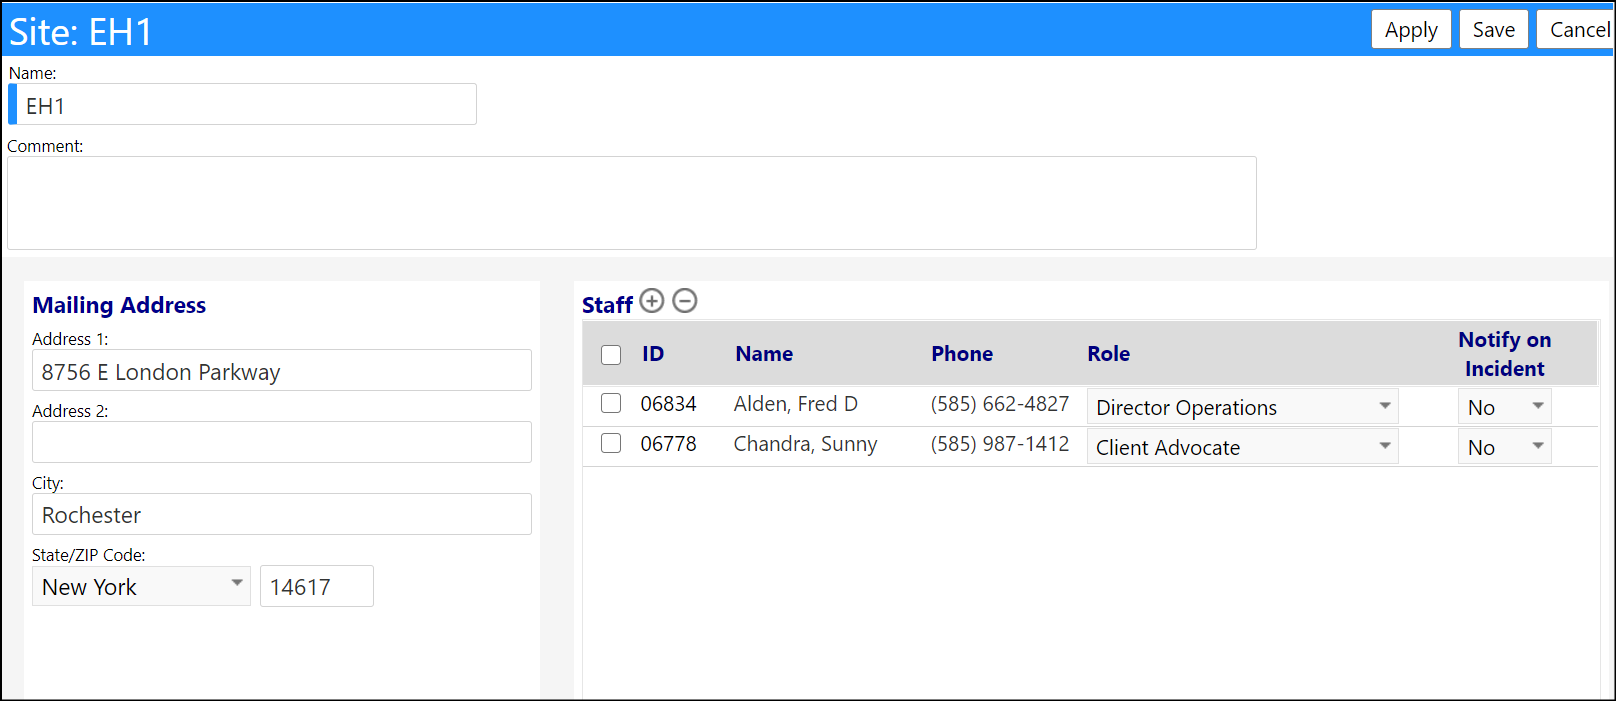
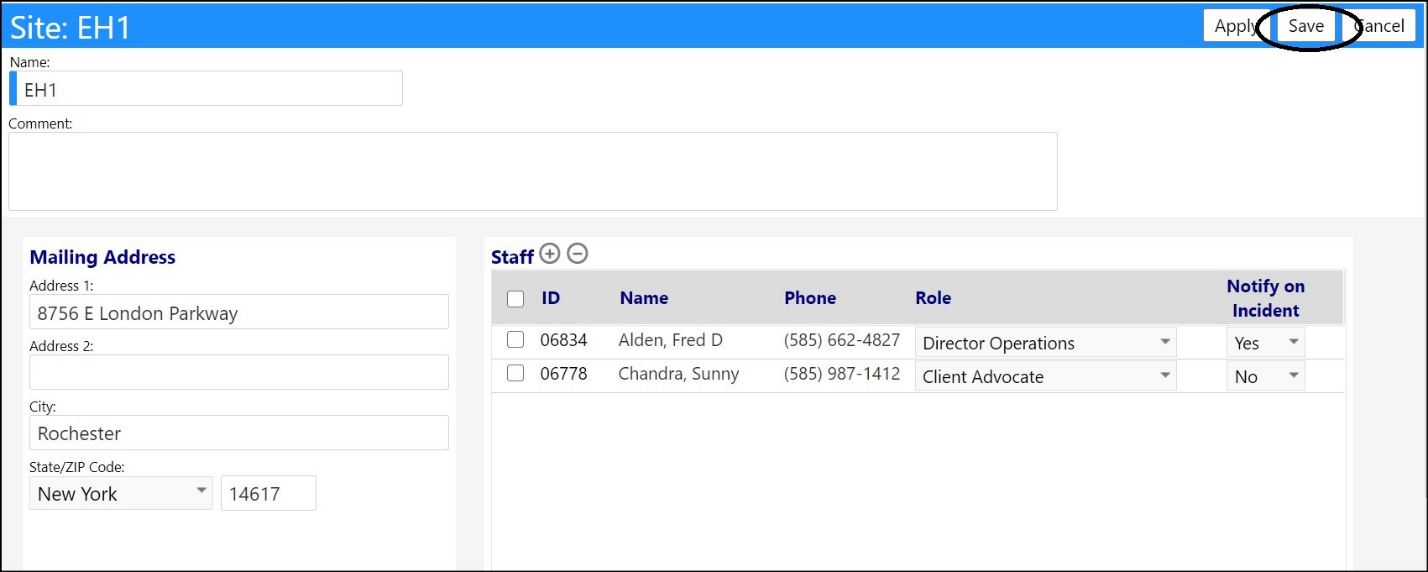
- Identify the people that get notified by selecting "Yes" for Notify on Incident. These will be the people notified for this location.

- Click Save to save your changes.
Now that the location notification has been set up you can set up the notification in the incident workflow.
Step 2: Go to the Incident workflow.
- Either edit an existing incident workflow or create a new one.
- In the Notifications on Creation section, check the "Enable Notifications" box to turn on the notifications.
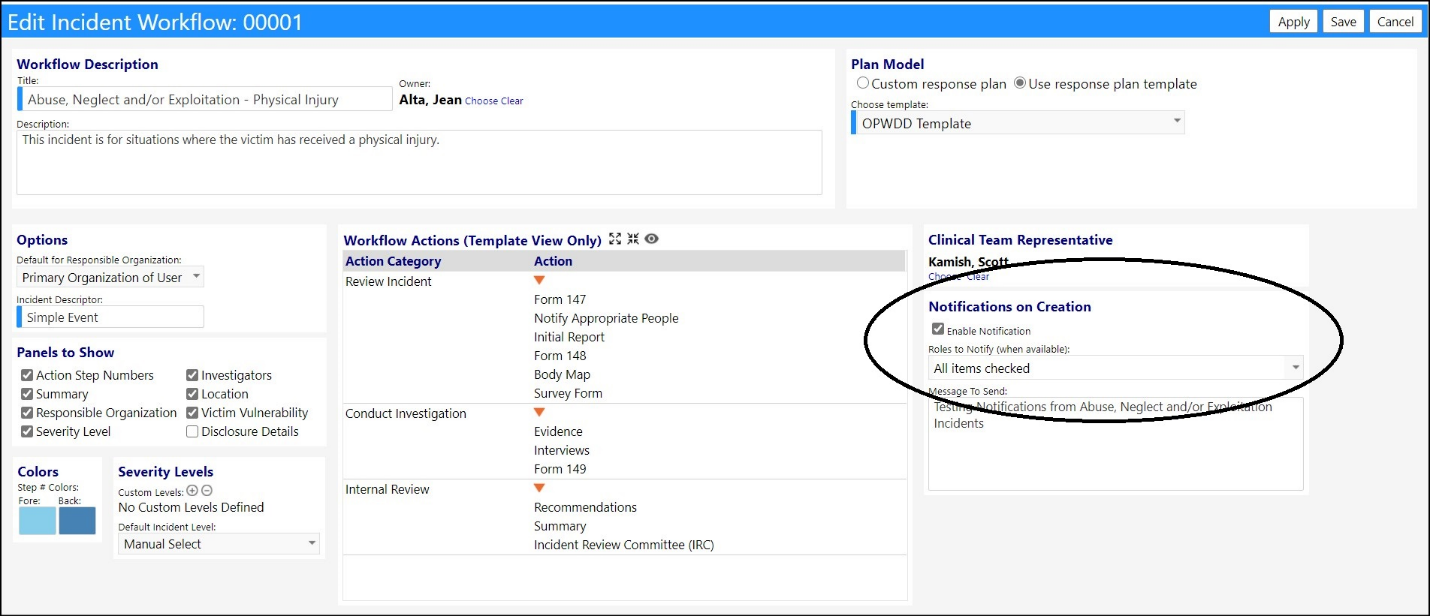
- Open the Roles to Notify (when available:) drop-down list and select “Location Contacts” as roles to notify.
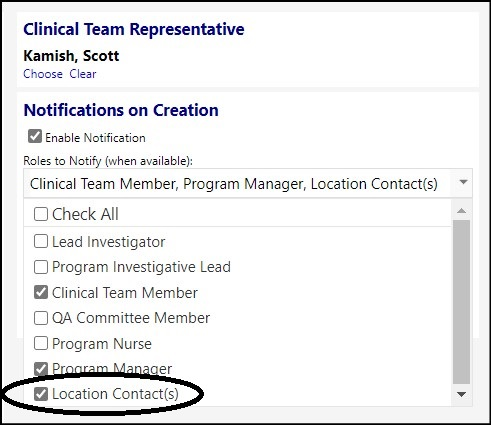
- Since you will be notifying based on location, you need to prompt for that, so make sure the Location Panel is selected to be shown.
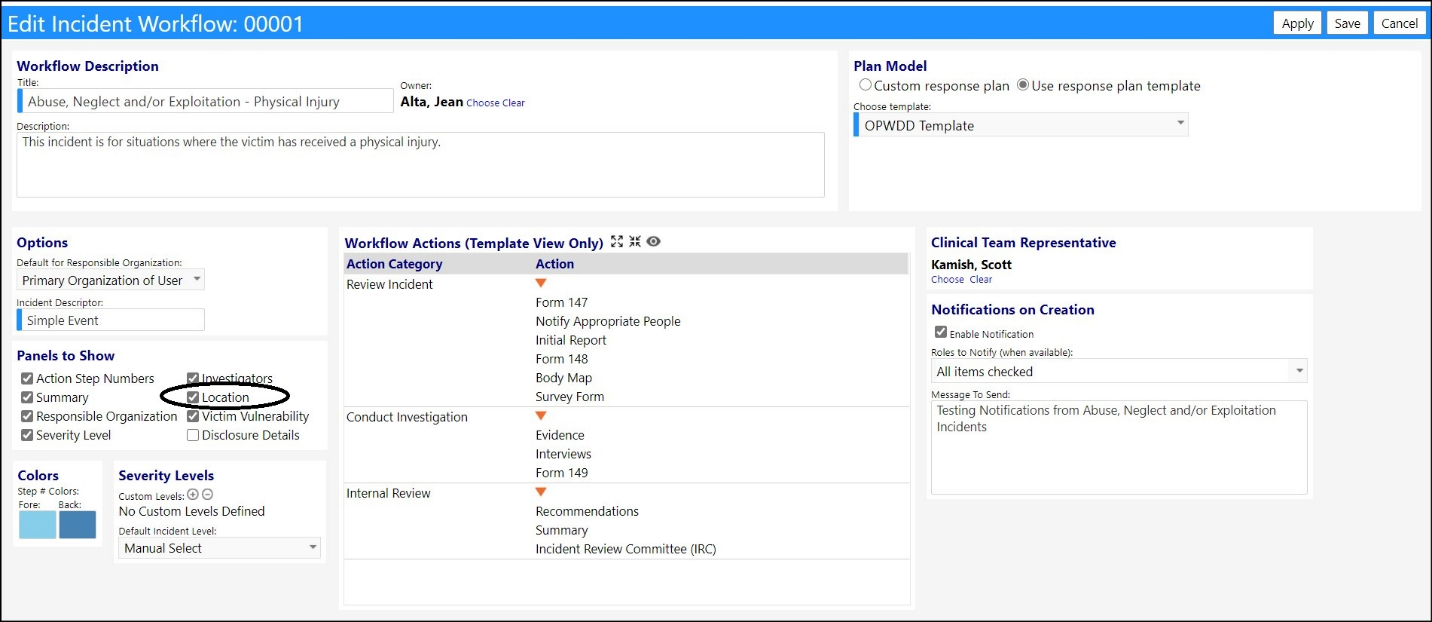
It is recommended that you also select to show the Action Step Numbers. This makes it easier for users to follow the workflow steps in the intended order.
It is also recommended that you define severity levels (including custom security levels) for incidents like medication errors.
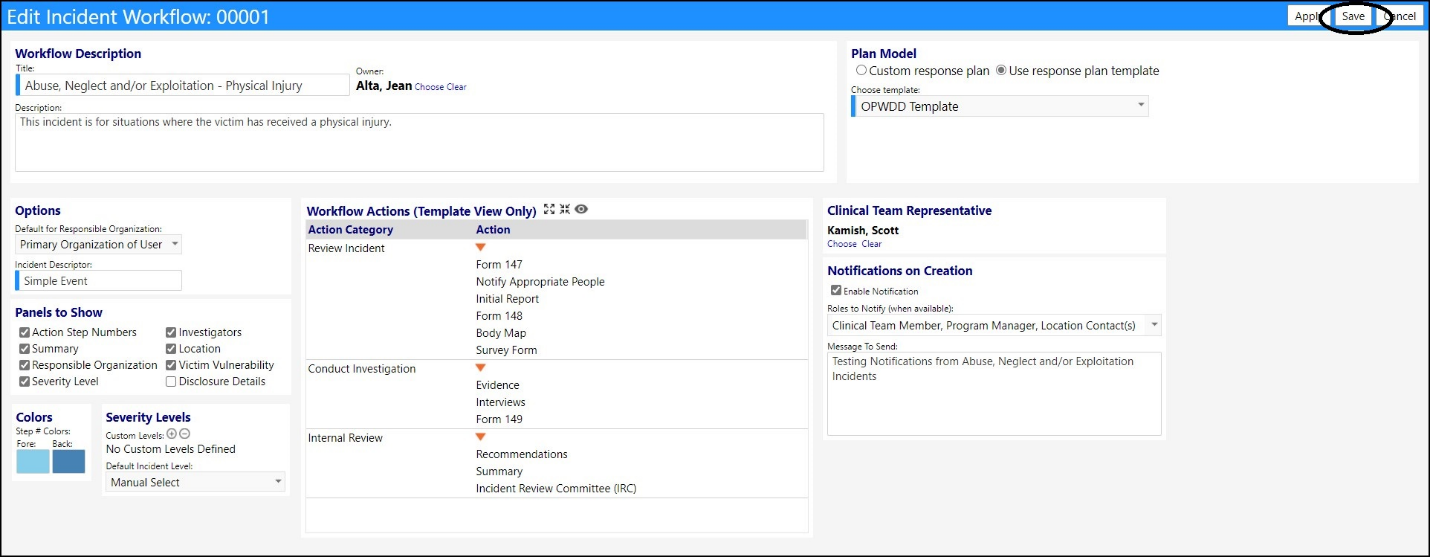
In the above example, the Clinical Team Member, Program Manager, and Location Contact were selected to be notified upon creation of the Incident.
- Click Save to save your changes.
Step 3: Go the Incident list and select a Location.
- Access Incidents in the Compliance section of the Engagement menu.
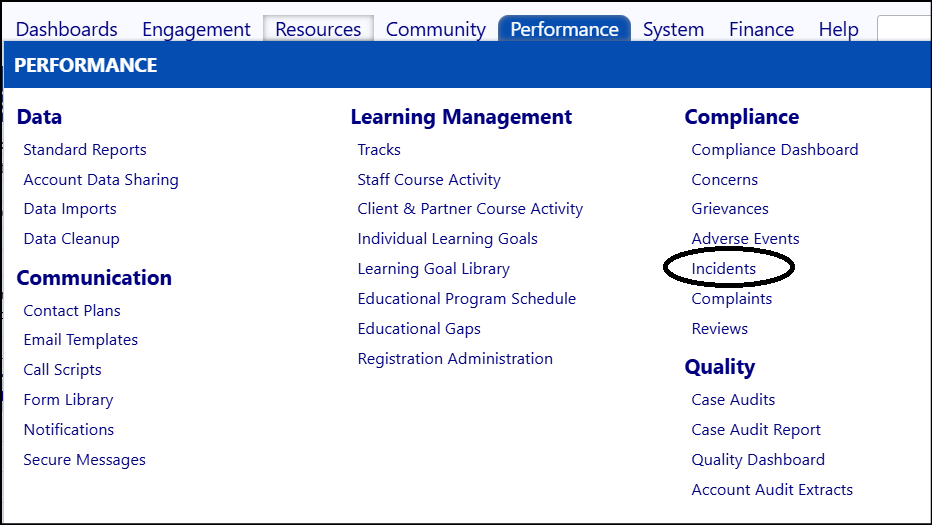
- Click New incident.
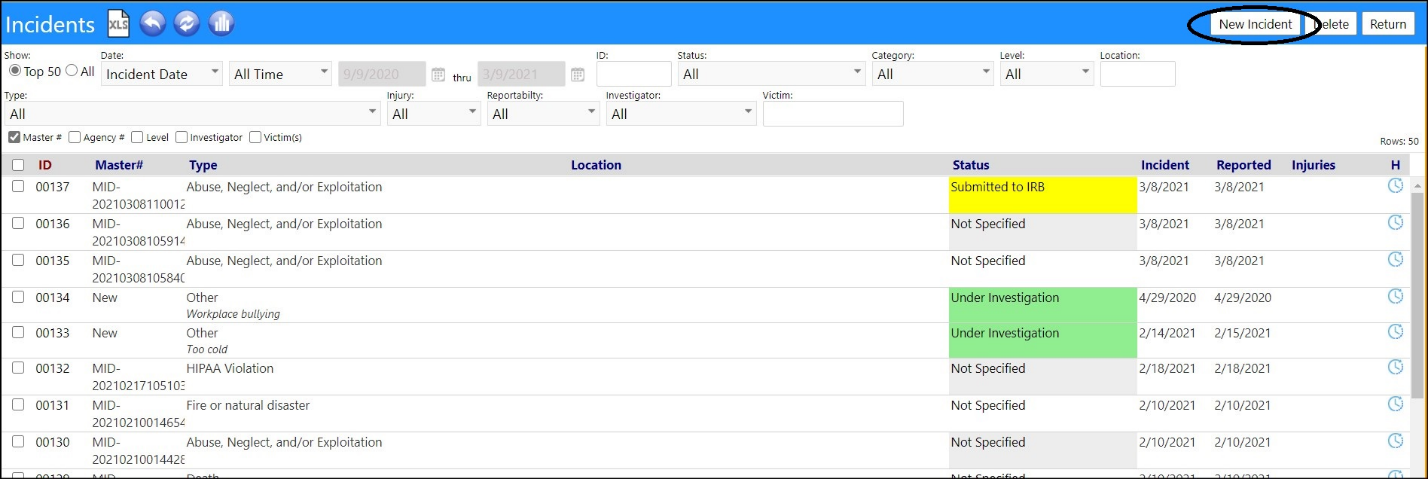
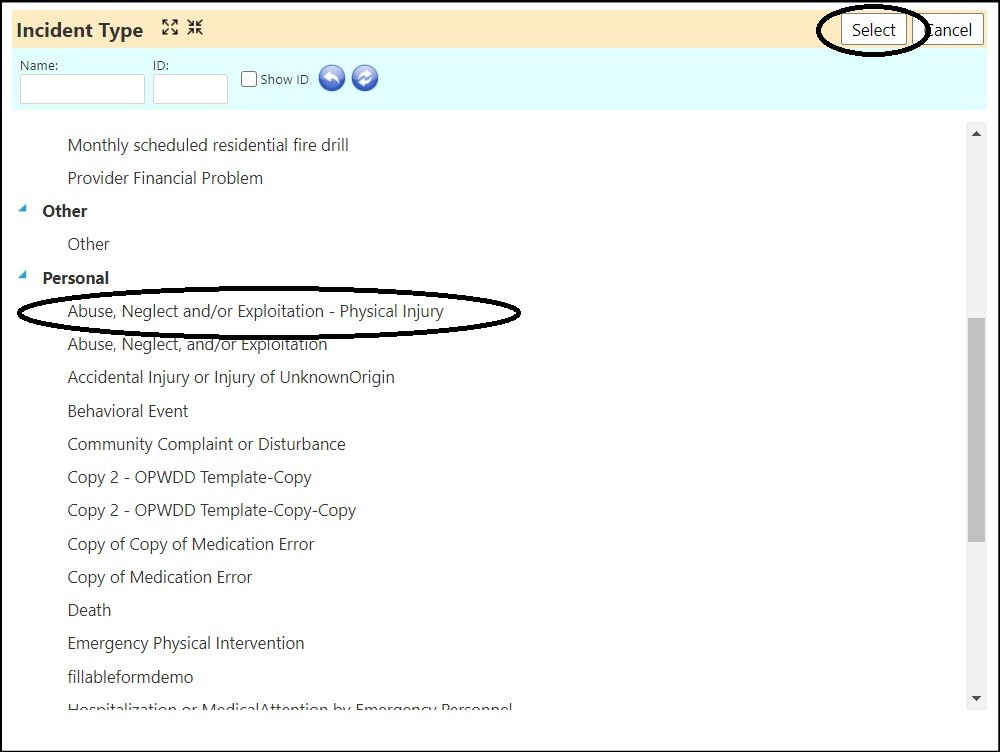
- Choose Abuse, Neglect and/or Exploitation - Physical Injury.
- Click Select.
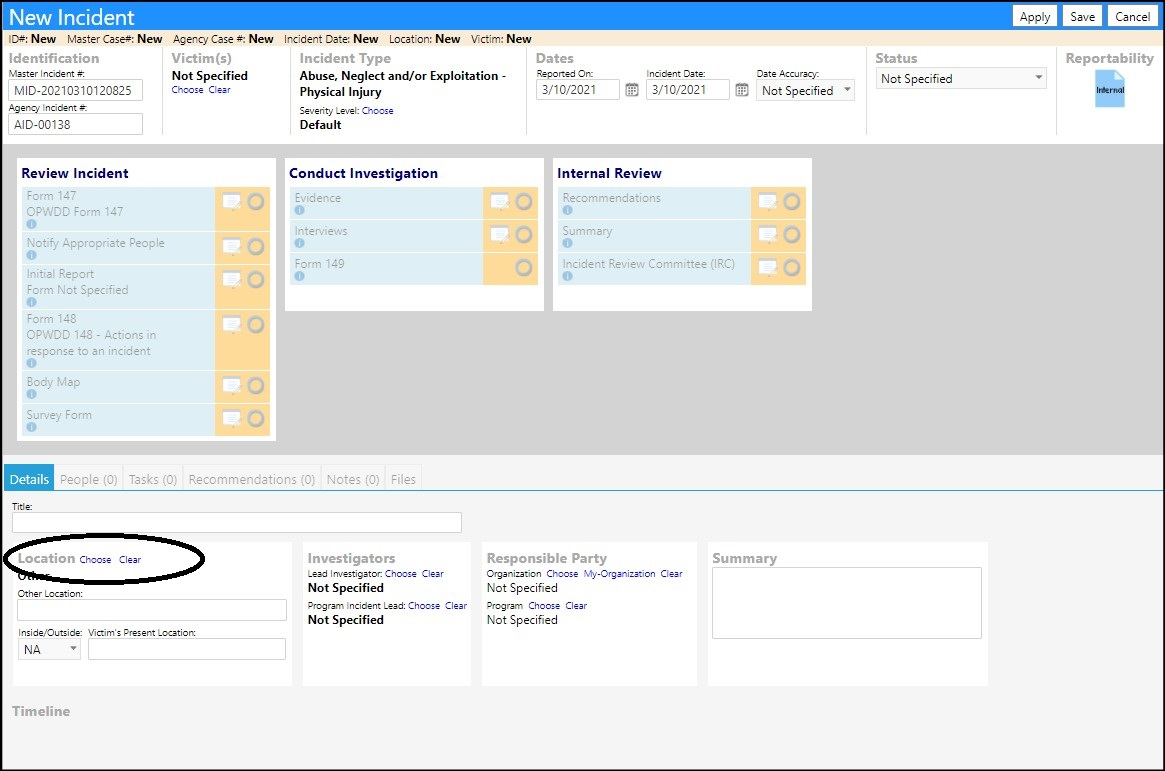
- Click on Choose a Location.
NOTE: Just as a reminder – this is where you pick the location (it requires the location panel to be turned on).
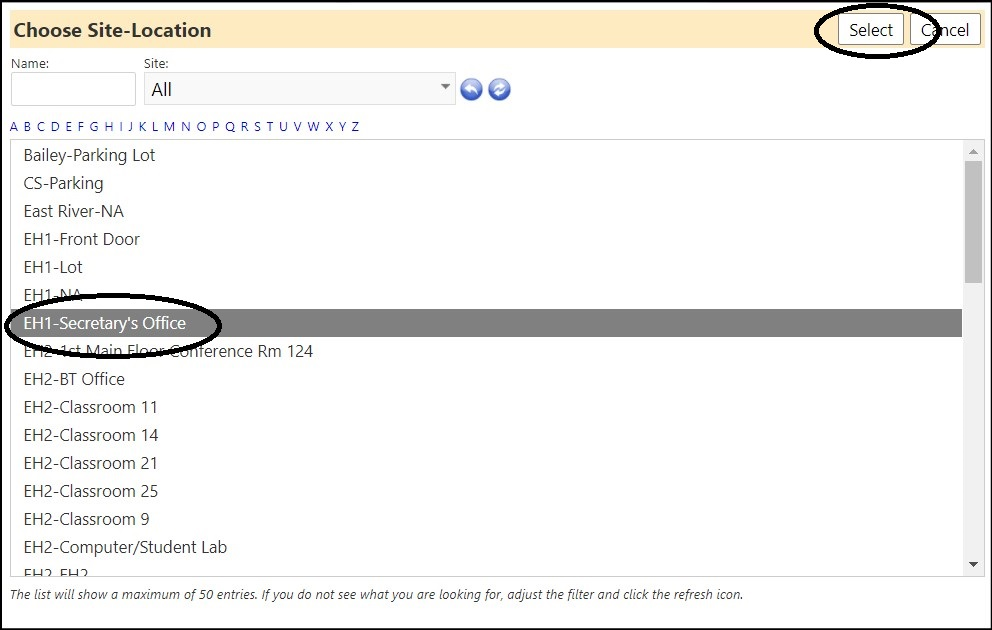
- Choose the Site-location and click Select.
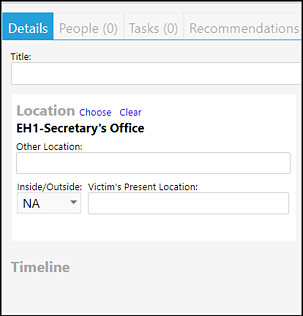
The location will be displayed in the Incident.
- Select a victim if desired.

- Click Apply or Save.

When you click ‘Apply’ (or Save), the notification screen will display.
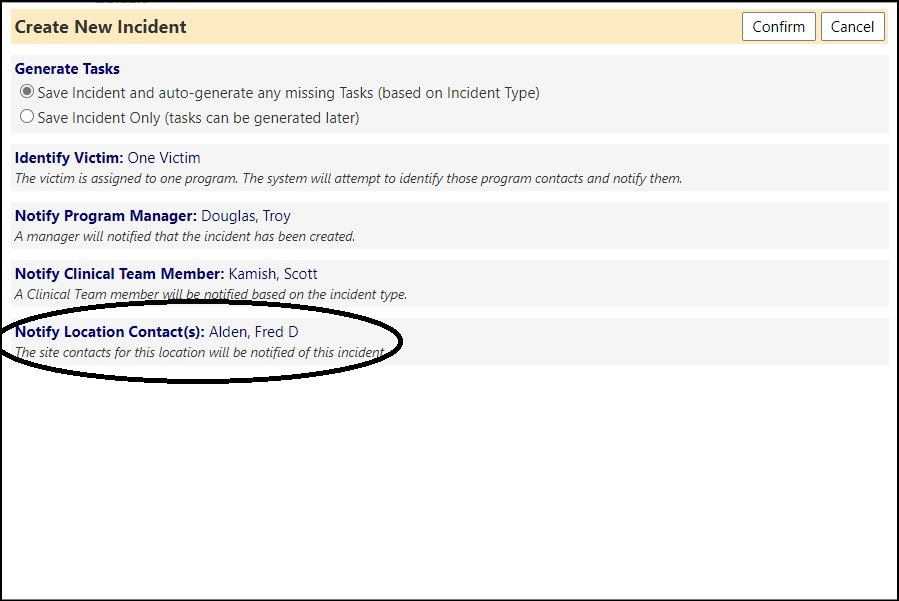
In this example, a victim was identified, their Program Manager (if the victim was in more than one program, you would have to select which program this incident applied to, from a program drop-down list, and then the Program Manager associated with that particular program would be displayed in this list), the Clinical Team Member, and the Location team were selected to be notified. If you recall, there was only one staff member selected at this Site-Location to be notified (circled below).
Step 4: Repeat Steps two and 3 as needed until the popup shows the right people for what you want.
The names listed on the popup are the people that will be getting notified (provided they have email addresses).
Think of the popup as a “Preview”.
NOTE: You may want to consider cancelling out of the popup to just want to see who will be notified, without creating the incident. You can start that way too and then when you have the names appearing the way you want them, then actually create the new incident.
Step 5: Do it for real
Upon creating the incident for real, the notifications are sent.
In the example above, three people are being notified upon the creation of the incident.
The email notifications can be viewed in Notifications in the Communication section of the Performance menu.

The notifications look similar to the following:

Clicking on the notification ID number will provide you with details of the email notification that was sent.