This article will explain the setup and use of the Dashboard Marketplace.
How to Use the Dashboard Marketplace
For admins, make sure both parts of configuring Instances & Control Tower are complete.
The Dashboard Marketplace allows users to share custom-made dashboards with each other. These notes will go through all the features of the Marketplace and look to answer questions that may come up in general use.
Security Privileges
Before users can access the Dashboard Marketplace, various security privileges need to be set up in their Account Role:
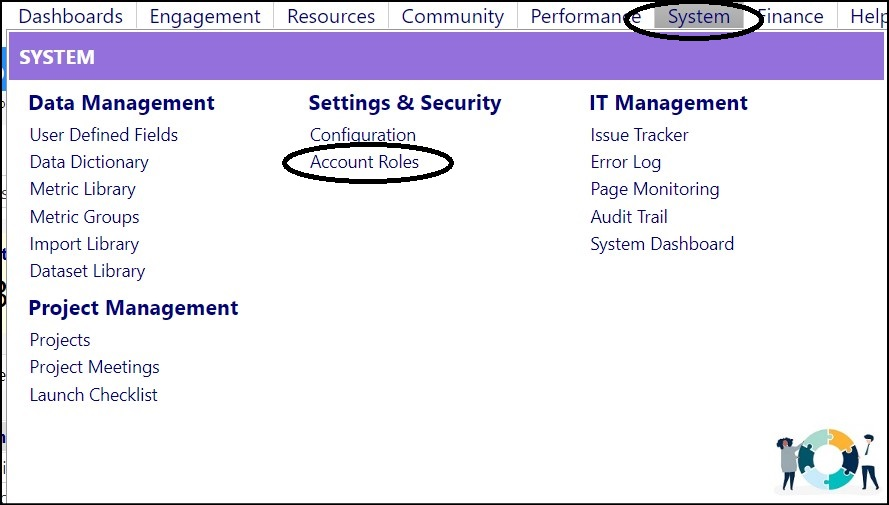
Functional Rights:
Entity Rights:

- Functional Rights > Other Pages > Page – Marketplace Homepage is used to access the landing page that links to every Marketplace.
- Functional Rights > Other Pages > Page – Dashboard Marketplace is used to access the dashboard marketplace from the Marketplace homepage.
- Functional Rights > Other Pages > Page – View Uploaded Dashboards is used to access the “My Uploaded Dashboards” page from the Dashboard Marketplace page.
- Functional Rights > Supervisory Rights > Download Dashboards is needed to install dashboards from the Marketplace and download updates.
- Functional Rights > Supervisory Rights > Upload Dashboards is needed to upload your own dashboards to the Marketplace.
- Entity Rights > Dashboard Chart > Delete is needed to uninstall dashboards.
Browse and Download Dashboards
Once the appropriate user security privileges have been granted, users can
access the Marketplace.
- Click on "Marketplace" in the Settings & Security section of the System menu:
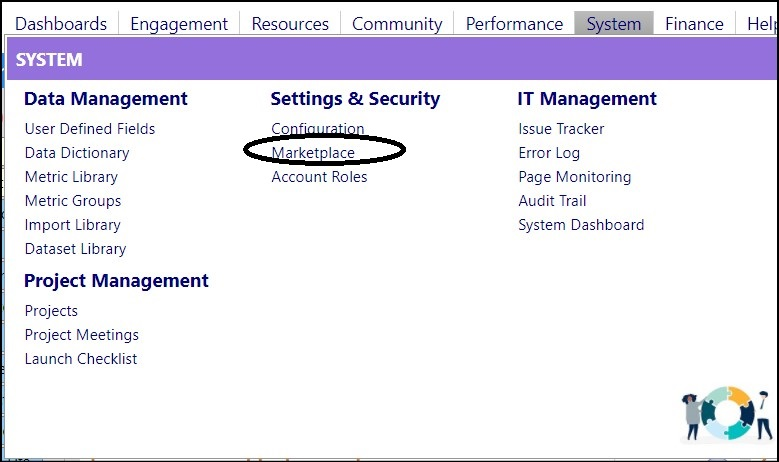
NOTE: The Marketplace menu item only displays once the Account Role has these
settings. If you just reset the Account Role privileges, you will need to log
out and re-log back in for your changes to become effective (i.e., for the
Marketplace menu item to display).
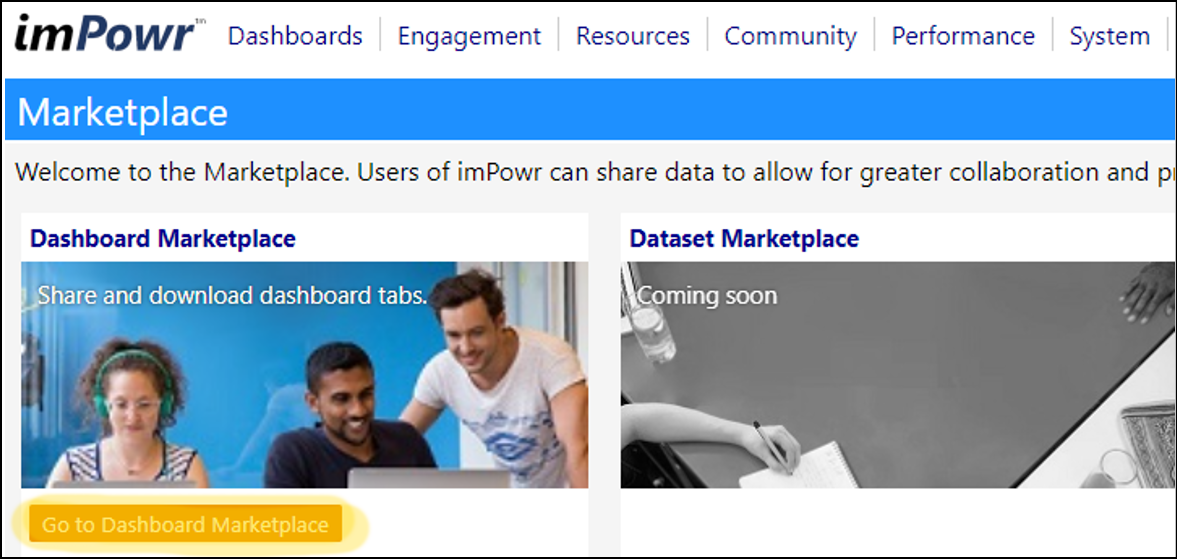
The Marketplace will display.

- Click the “Go to Dashboard Marketplace” button.
From here, you will see a list of dashboards other users have uploaded. Each
has a name, description, and shows who uploaded it and what organization they
are from.
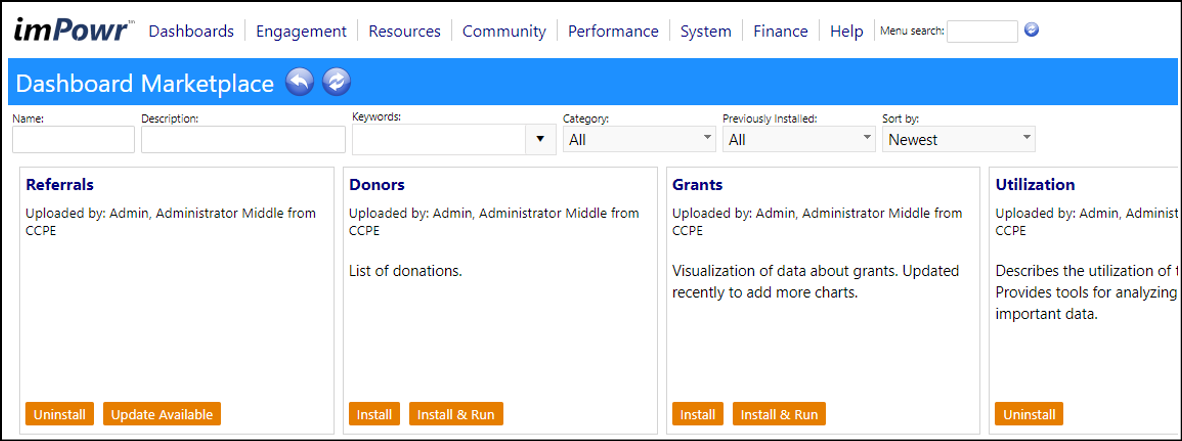
This list has several options for filters. Each dashboard is also given a
category and a number of keywords that describe its contents in more detail.
Installing a Dashboard
To download a dashboard...
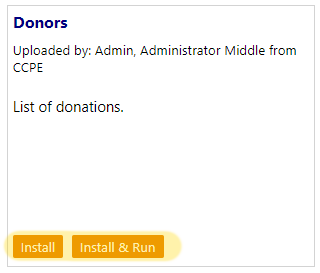
- Click on one of the Install buttons on the dashboard you would like.
Both Install options will display a popup window that will allow you to
configure the download.
- The “Install” button will install the dashboard and allow you to continue browsing.
- The “Install & Run” button will install the dashboard and take you right to the newly installed dashboard.
Once one of the Install options is selected, you can enter your dashboard
details:
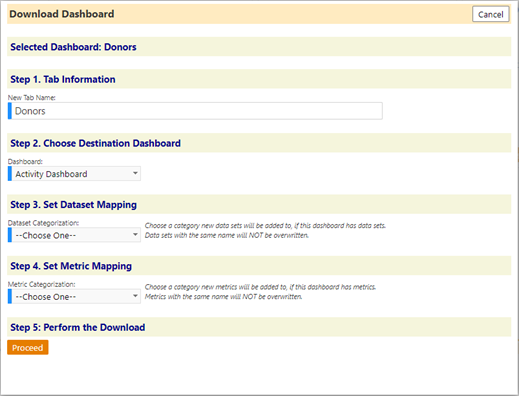
- Step 1. Tab Information: This is where you can change the name of the downloaded dashboard - this will be the name on the tab on your dashboard page.
- Step 2. Choose the Destination Dashboard: This allows you to select which dashboard this tab will be created on.
- Step 3. Set Dataset Mapping: If this dashboard comes with datasets, they will be added to the dataset sub-category you choose here. Any datasets that match to the name of a dataset in the sub-category you provide will not overwrite your existing datasets. If a dataset has no match, it will be created under the sub-category you provide. If this dashboard has no datasets, this setting will not affect anything. You should choose a sub-category that is closely related to the subject matter of a dashboard, otherwise it may be useful to make a dataset sub-category specifically for marketplace downloads.
- Step 4. Set Metric Mapping: This is the same as dataset mapping but referring to metrics instead of datasets.
- Step 5. Perform the Download: Click the “Proceed” button at the bottom of the screen to process the download.
NOTE: If you chose the “Install & Run” button earlier, you will be
redirected to the dashboard page as soon as the download is finished.
Otherwise, you will receive a message saying the dashboard was installed and
can continue searching.
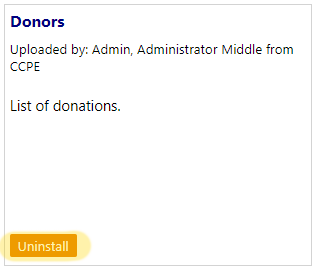
Once you have downloaded a dashboard, the “Install” buttons will be replaced
with an “Uninstall” button. Use this to remove the dashboard tab from your
system if it is no longer needed.
Downloading Dashboard Updates
The creator of a dashboard may update it after it is originally posted.
If a dashboard you have downloaded has a newer version available, the
“Update Available” button will appear alongside that dashboard in the
marketplace.
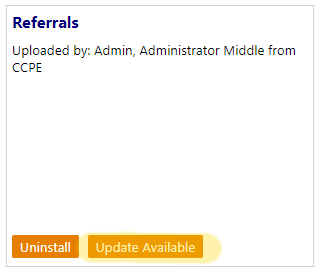
- Click the "Update Available" button to display a very similar window to the install popup window.
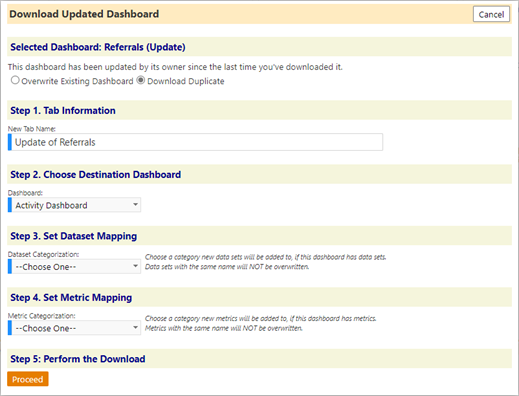
Selected Dashboard" Referrals (Update): choose whether this update will Overwrite the Existing original Dashboard or Download a Duplicate new version, by selecting the appropriate radio button.

- If you select "Overwrite Existing Dashboard", the original, the dashboard tab that you have previously downloaded will be deleted, and it will be replaced by the new version.
- If you select "Download Duplicate", you will keep the older version of the dashboard, and the update will be installed as a new tab.
NOTE: If you choose to Download Duplicate, keep in mind that if you later
use the “Uninstall” button for this dashboard, it will uninstall all
versions of the dashboard you have installed, not just the most recent one.
The rest of the options follow the same as when you originally installed the
dashboard. It is recommended to choose the same dataset and metric mappings
for the update as you did for the original install, otherwise duplicate
datasets and metrics will likely be created.
Common Dashboard Marketplace Errors
Seeing “Error getting dashboard list. Something went wrong on the server”
on the Dashboard Marketplace page, and no dashboards are shown.

Your instance may not yet be configured to use the dashboard marketplace.
- Check with your system administrator to see if your instance has the proper privileges. Otherwise, the Control Tower may be down (i.e., inactive), in which case try again later.
“Error getting dashboards from the server” when trying to install/update a
dashboard.
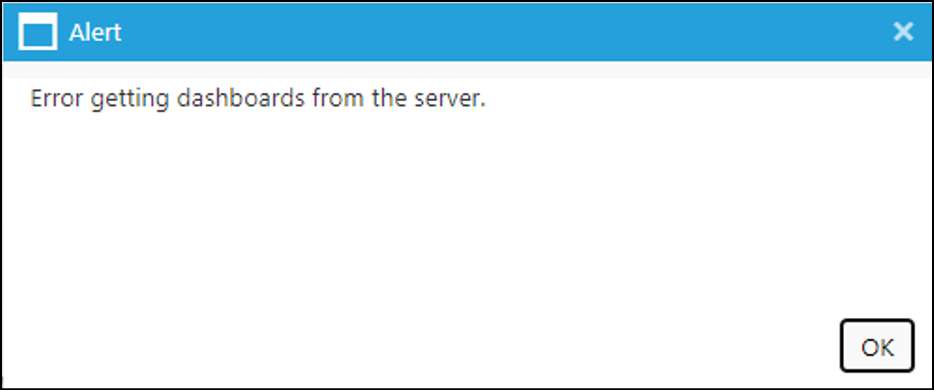
This indicates either the Control Tower is down (i.e., inactive), or your
instance is not properly configured.
- Contact a system administrator for assistance.
If you see other error messages that are not easily diagnosable, contact a
system administrator for assistance and provide the information shown in the
error.
Upload Dashboards
With the Upload Dashboards privilege granted, select one of the dashboard
pages (Activity, Compliance, Finance, or System Dashboard).
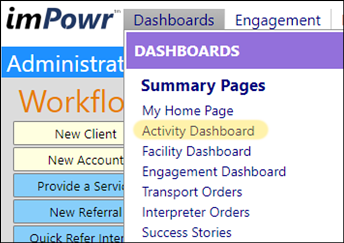
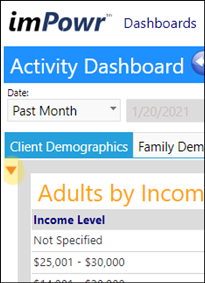
- Click the orange arrow on the left side of the screen, to expand the panel.
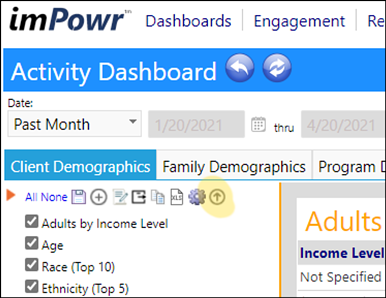
- Click the up-arrow icon to start uploading the selected dashboard tab, so you can share it.
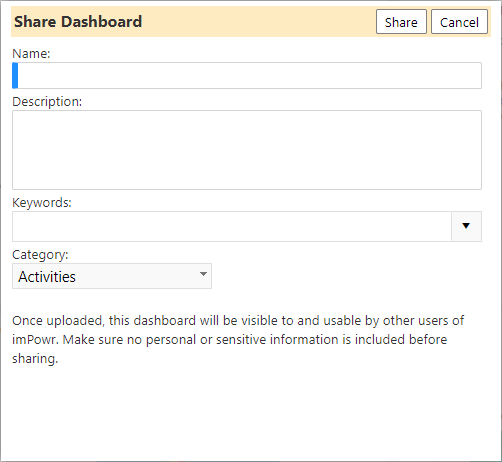
- Enter a name and description that describes the content of your dashboard, as well as select a category it fits under.
- Optionally, choose keywords to classify the dashboard.
- Press the “Share” button to upload your dashboard to the Marketplace.
NOTE: Your uploaded dashboard must first be approved by the Continual Care
team before others will be able to see in the Marketplace and download it.
Updating Your Dashboard
Once your dashboard is uploaded...
- Click the same up-arrow icon to update it.
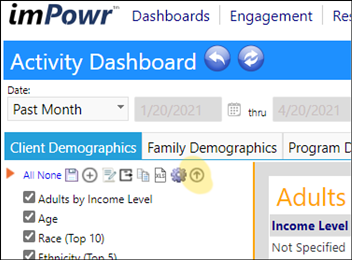
You will be able to adjust all the fields you set during the initial upload.
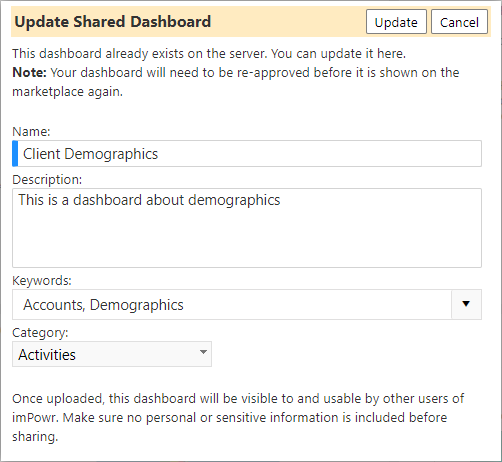
- Click "Update" to replace the previous version of this dashboard in the Marketplace, so others will be able to update it if they have previously downloaded it.
Keep in mind that when you update a dashboard, the Continual Care team will
need to re-approve it, so it will not appear on the Marketplace right away.
Common Dashboard Upload Errors
Error: “Operation timed out or you don’t have proper privileges” when
trying to upload.
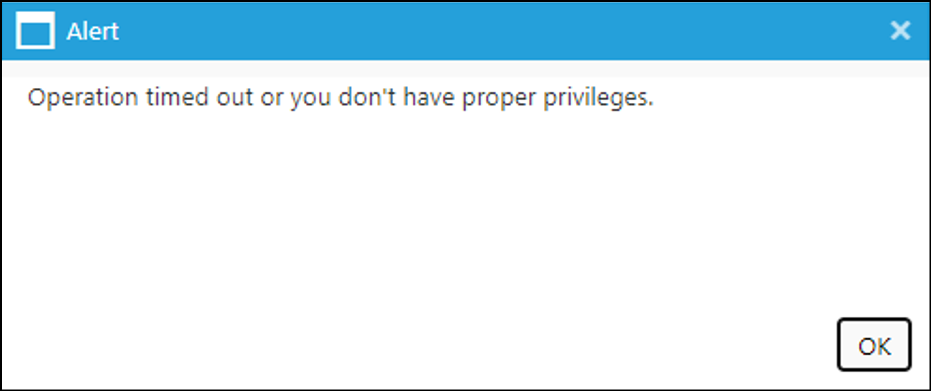
This indicates either the Control Tower is down, or your instance is not
properly configured.
- Contact a system administrator for assistance.
Seeing “Error getting keywords” or “Error getting categories” on the
upload popup window hints to this as well.

Error: “Some metrics or datasets in your dashboard have not been
validated” when trying to upload.
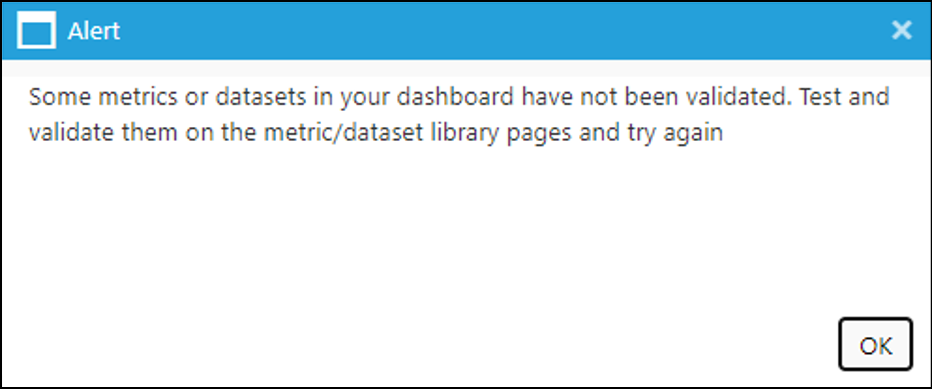
You may see this when first trying to upload. This restriction is in place so
only valid, working SQL gets uploaded to the Marketplace.
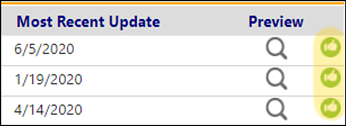
- Go to the dataset or metric library page.
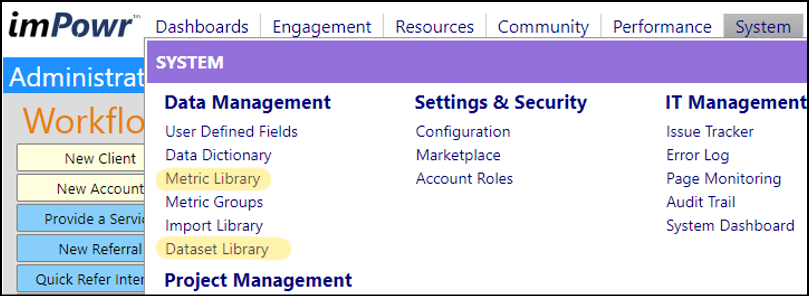
- Check the box beside the datasets/metrics used on your dashboard, and press the “Test Selected” button.

Once those datasets/metrics have a green thumbs-up next to them, they are
validated and are ready to be uploaded.
Error: “Your instance is not configured to upload dashboards yet” when
trying to upload.
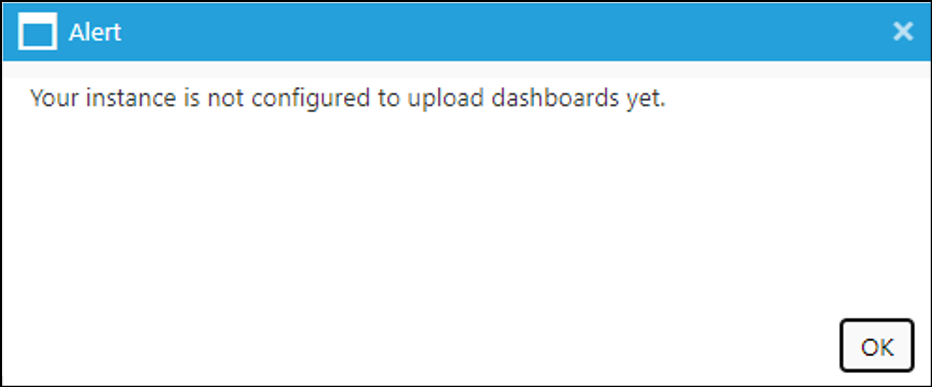
This indicates the setup of your instance has not yet been completed. A system
administrator will need to register your instance properly in the Control
Tower before you can upload dashboards.
Error: Seeing “Dashboard ID failed to save” at the end of an upload
success message.
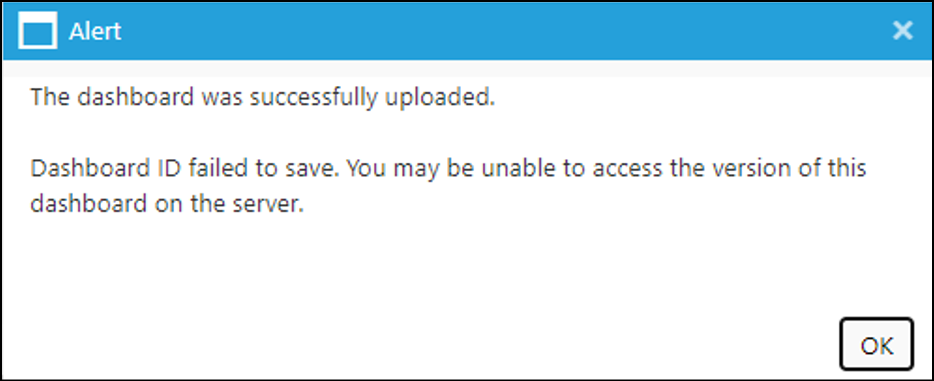
Something went wrong on your instance that will prevent this dashboard from
being updated in the future. It is still on the Marketplace, but you will be
unable to change the contents of the dashboard in the future.
- Contact a system administrator for assistance. We recommend un-sharing this dashboard from the Marketplace using the My Uploaded Dashboards page, then trying the upload again later.
If you see other error messages that are not easily diagnosable, contact a
system administrator for assistance and provide the information shown in the
error.
View Your Uploaded Dashboards
With the Page – View Uploaded Dashboards privilege...
- Click on "Marketplace" in the Settings & Security section of the System menu.

- Click "Go to Dashboard Marketplace".
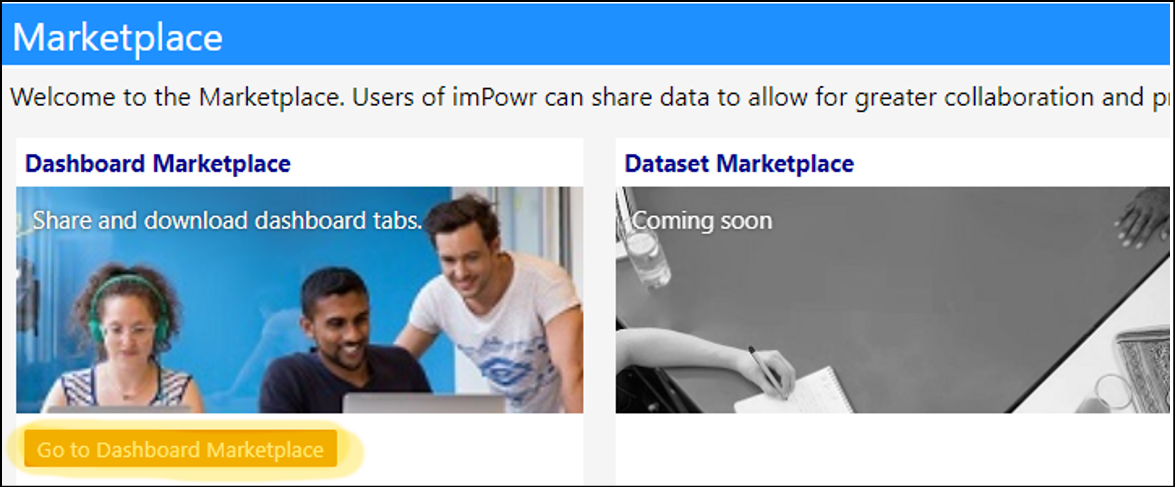
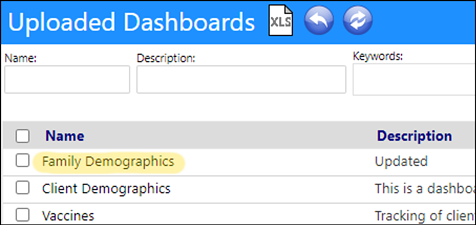
- Click the “My Uploaded Dashboards” button at the top of the page.

This page will show you every dashboard that has been uploaded from your
instance.

* Ones with a checkmark in the Approved column are visible to other users on the Marketplace.
* Ones with no icon there have not been reviewed yet.
* If you see a red X, your upload was denied, and you should review the contents before changing and re-uploading it.
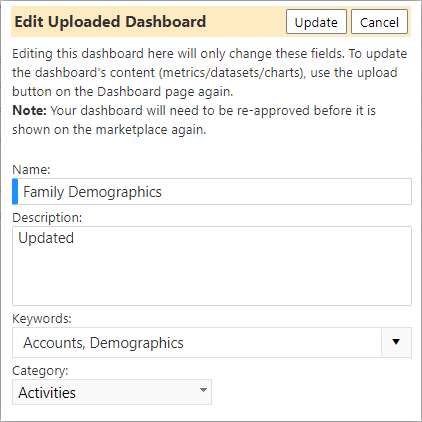
- Click on the name of a dashboard to update its metadata.
From here you can change the name, description, keywords, and category.
NOTE: If your dashboard has changed since the last time it was uploaded,
updating it from this page will not update its contents on the marketplace.
To update its contents, go to the dashboard page, review your dashboard
changes there, and use the update button on that page.
If a dashboard that you have uploaded still exists on your system, a “Go To”
button will appear near the right side.
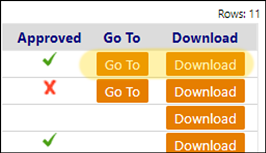
- Click "GoTo" to send you directly to that dashboard to view it.
- Click the "Download" button on this page to download a .xlsx file containing the dashboard.
This file can be manually imported as a new dashboard tab using the existing
dashboard import functionality.
To remove dashboards from the Marketplace...
- Select the dashboard by clicking in the checkbox to the left of its name.
- Click the “Unshare” button at the top of the page to delete the dashboard from the Marketplace.
