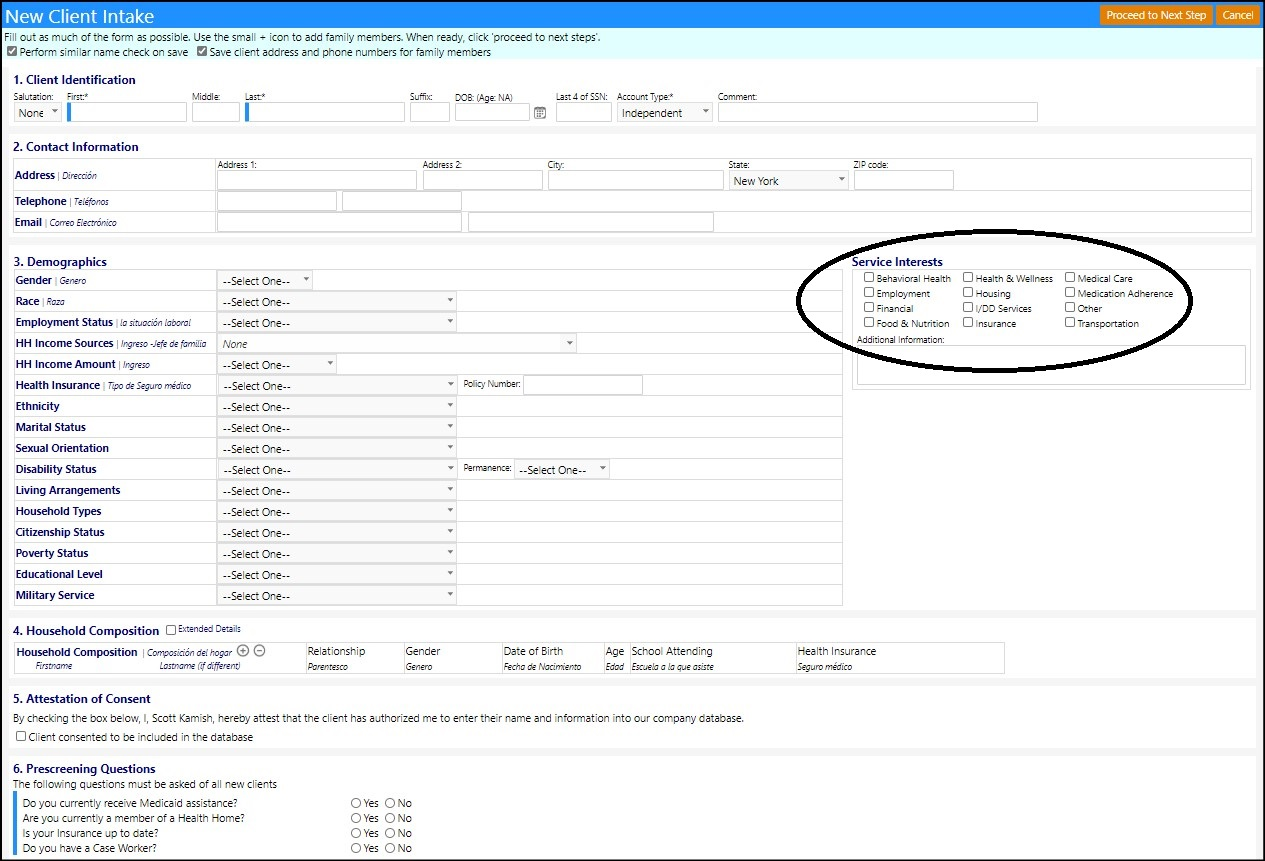
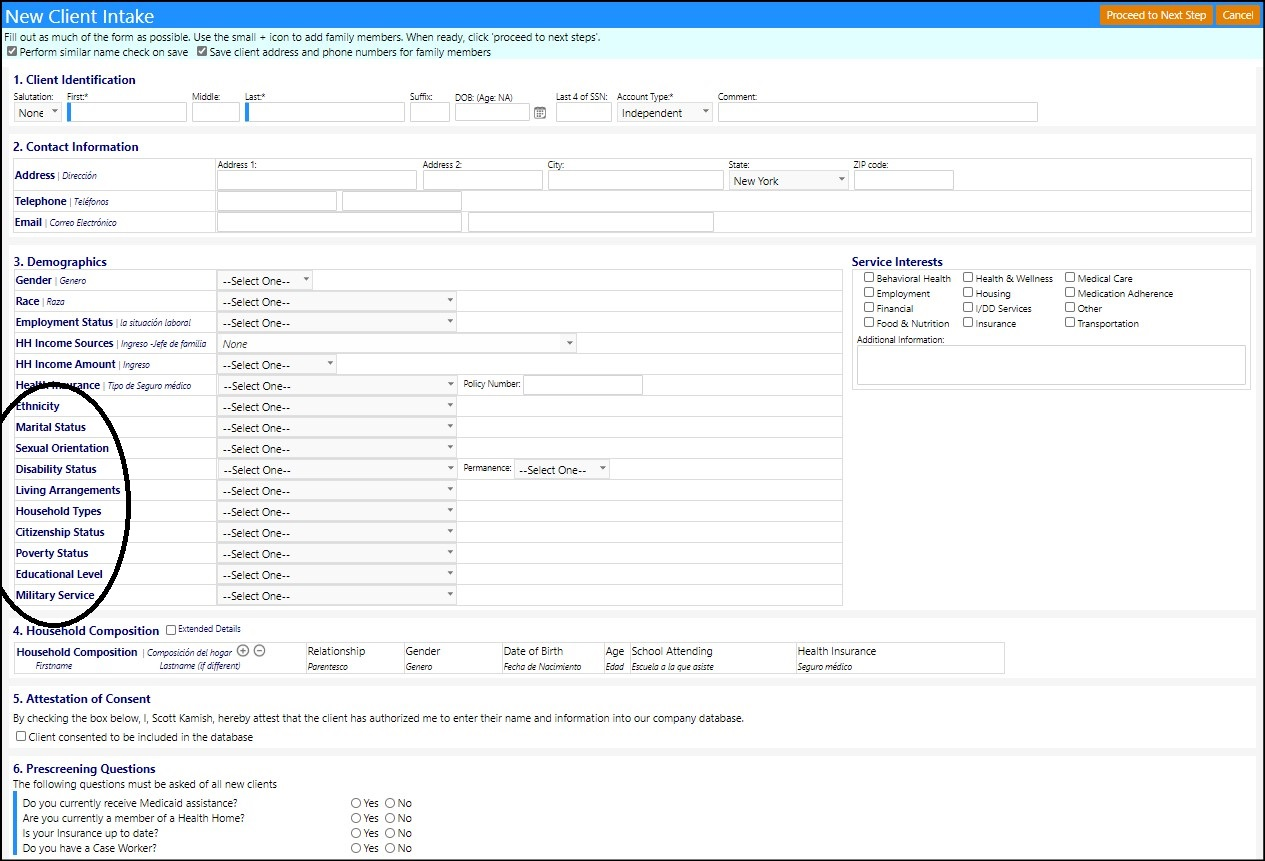
This article will explain how users can modify section 3 of the client intake form.
Access the New Client Intake form from the Workflow or the Add button
in the Client list.
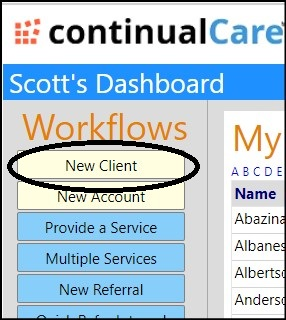

- The Client Intake form consists of 6 sections, of which, 3 are configurable (sections 3, 5, and 6).
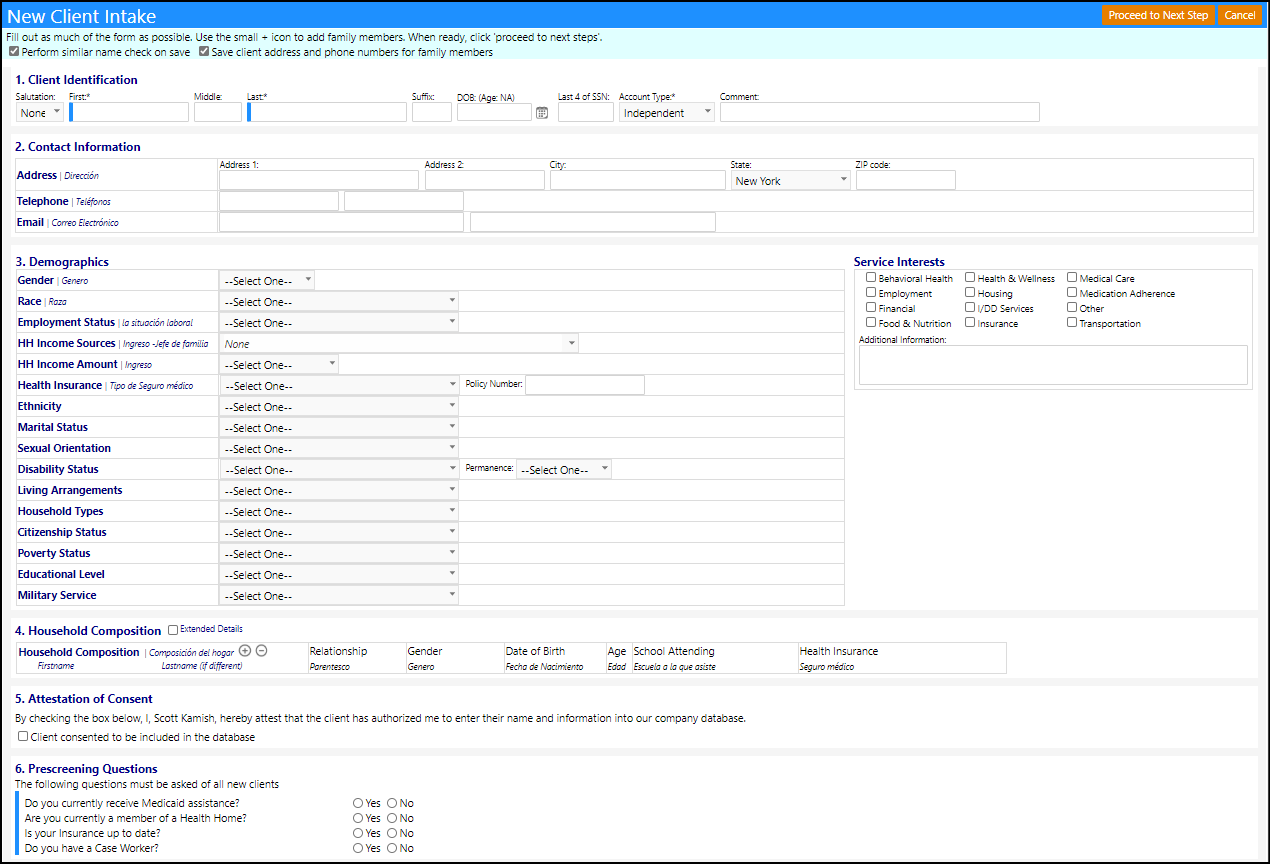
Configuring section 3: Demographics
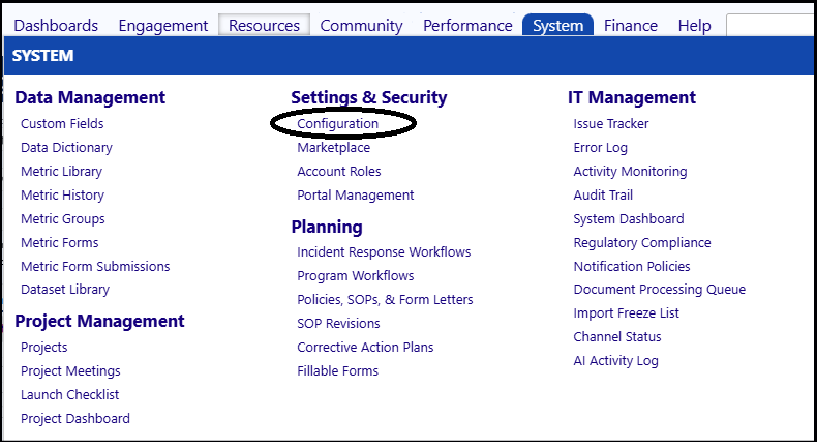
- Add additional categories in Configuration.
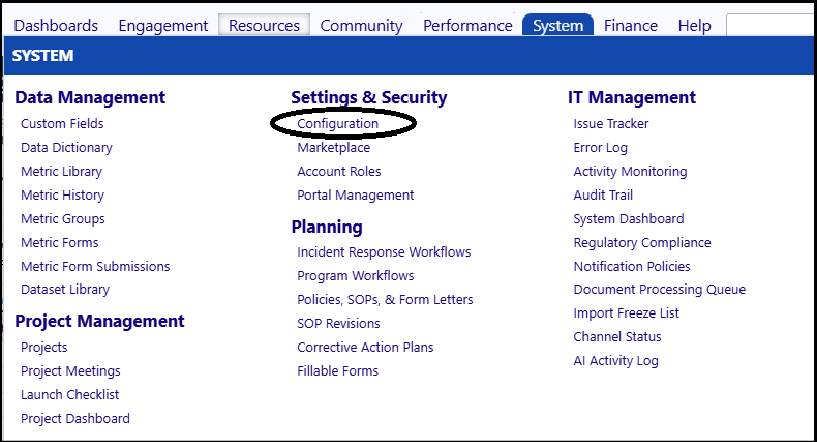
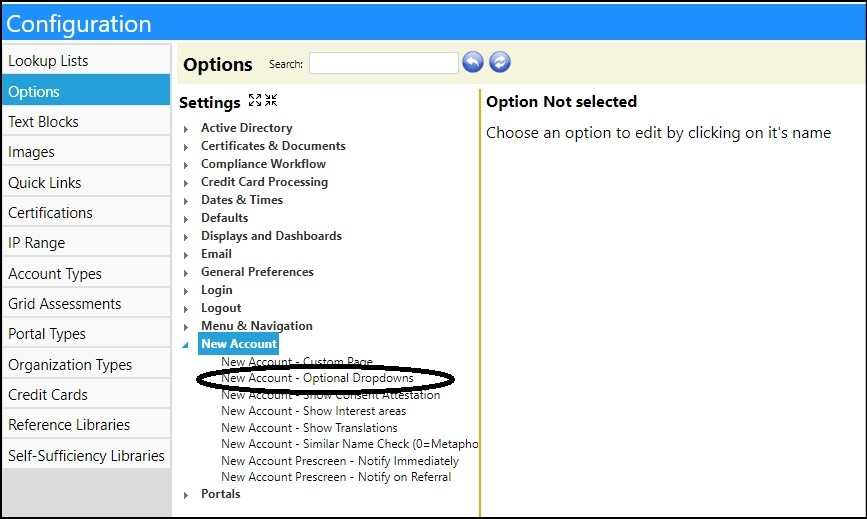
- Click on New Account - Optional Dropdowns in the New Account section of Options.
- Enter the additional fields you want displayed, separated by commas, into the Enter Setting Value field. (Leave blank if you don't want to add any additional fields.)
Select from the following:
- Education (reflects educational level)
- Ethnicity
- Marital Status (reflects marital status)
- Sexual Identity (reflects sexual orientation)
- Disability (reflects disability status)
- Living Arrangements
- Housing (reflects household types)
- Citizenship (reflects citizenship status)
- Poverty (reflects poverty status)
- Military Status (reflects military service)
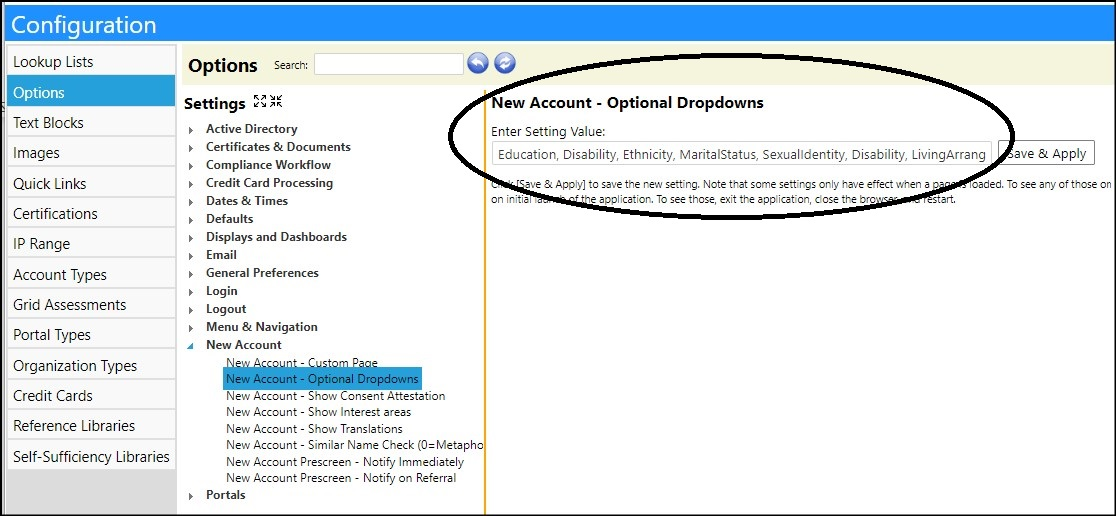
- Click Save & Apply to save your changes.
- The fields will display the next time the Client intake form is accessed.
Configuring section 3: Service Interests
- Add the Service Interests panel in Configuration.
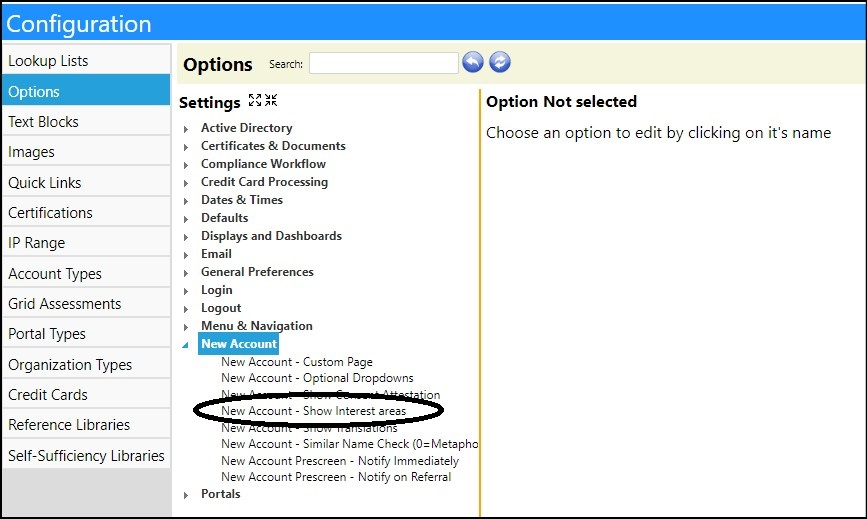
- Click on New Account - Show Interest Areas in the New Account section of Options.
- Choose to display the Service Interests panel by entering yes into the Enter Setting Value.
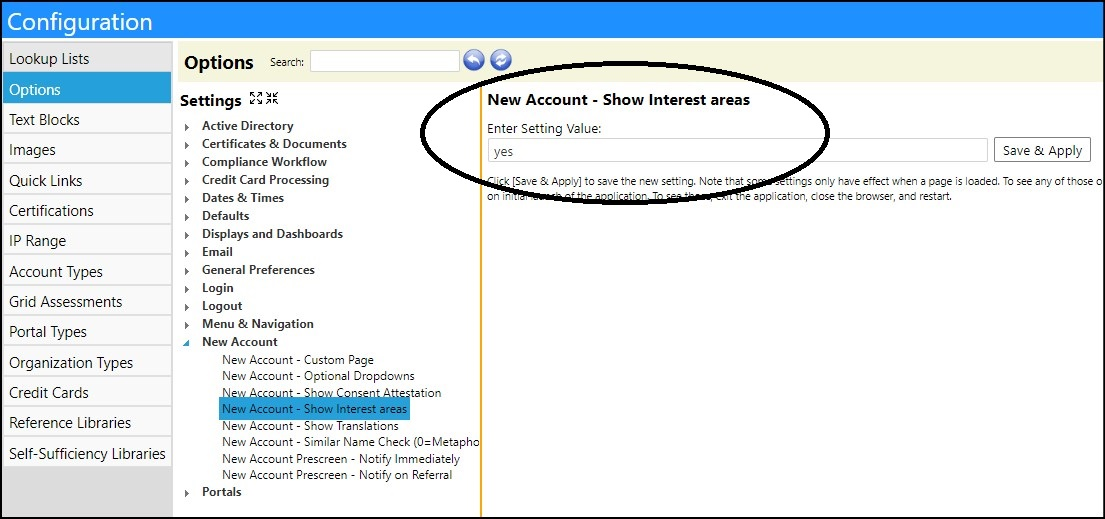
- Click Save & Apply to save your changes.
- The panel will display the next time the Client intake form is accessed.
