While Tagging an invoice is useful for many reasons, one reason is to be able to use filtering to display only invoices with a specific tag. The following explains how easy it is to add a tag to an invoice.
You can add one Tag or multiple Tags to an invoice - there is no limit.
1.) Navigate to the Invoice menu, in Financial Accounts
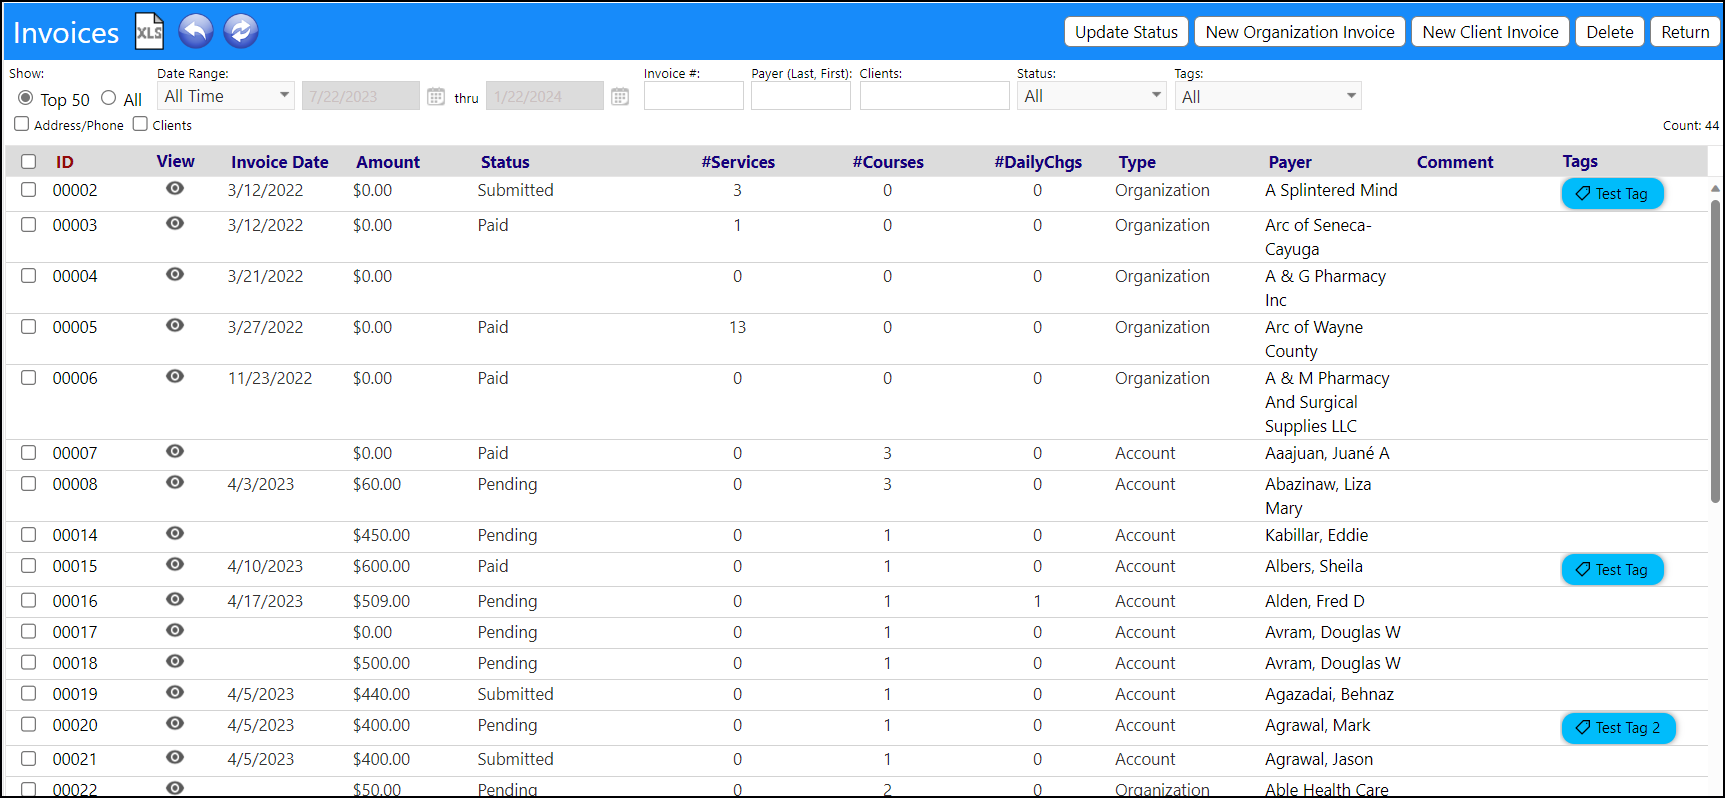
2.) When you select 'Invoice', a page opens displaying an invoice list:

3.) Select an invoice by clicking on its ID

4.) When the invoice opens, you should see a little Tag symbol on the blue bar (on the top of the invoice), to the right of the refresh icon (blue ball with double arrows):

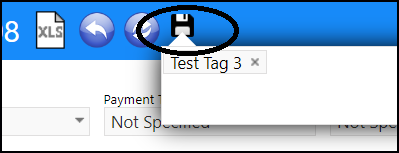
5.) Click that Tag icon and enter a new Tag. As you begin to enter text, a drop-down list will display, showing all of the previously entered Invoice related Tags that have similar text. You can choose to select one of the Tags on that list, by clicking on the Tag in the drop-down list, or you can continue typing your new Tag text:

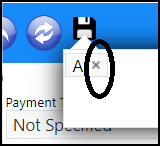
To make a change to your Tag text, you must delete your entry and re-enter new text. Delete your entry by clicking on the little 'X' on the right side of the text entry, when you click on the Tag text
:::
6.) When completed with your entry or selection, click on the Save icon (above the Tag text block):

7.) Once the Tag has been entered, it will display on the banner of the invoice and in the Invoice list:

Although it is not required, it is recommended that you Save the invoice after you enter a Tag

8.) Users can use the Tag to filter their invoice list, by selecting that Tag from the drop-down list and then refreshing the invoice list:


Once a Tag has been saved, the only way to change or delete it is to go back into the invoice and click on the Tag icon to access the Tags. Then you can either delete the Tag and either Save without that Tag, or enter a new Tag and Save the invoice with a new Tag.

