This article will explain how you can add an alternate addressee name to a mailing list.
Mailing Lists can be created from many different screens within imPowr. For example, in the Account List screen, you can create a new mailing list or add to an existing mailing list.

Once a mailing list is created, it appears in the list of Mailing Lists and mailing labels can be created, if desired, based off of the names of your mailing list entries (these are the default addressee names).
Accessing a Mailing List
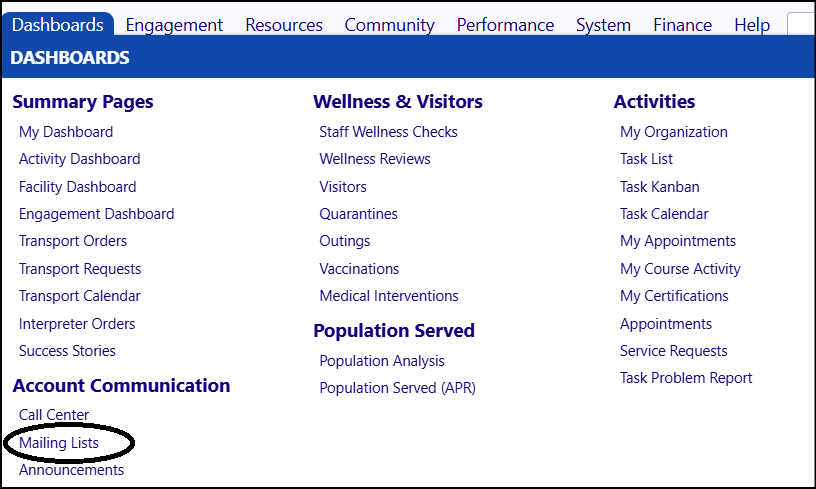
This screen can be accessed by clicking on Mailing Lists in the Dashboard menu, under the Account Communication section:

Selecting a Mailing List
- Click on the Name of the Mailing List to open it.
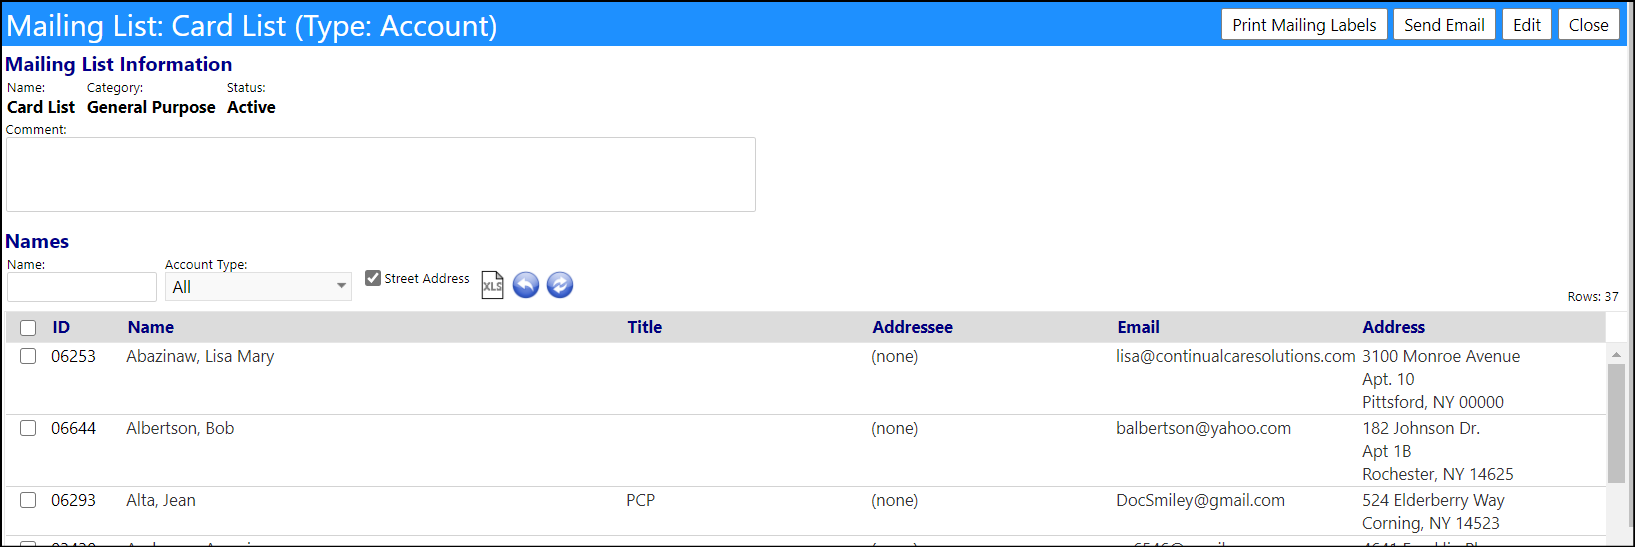
The Mailing List will display, showing the names and emails of those who have been added to the list, including the display of their address, if the optional Street Address box was selected.
NOTE: To add names to the mailing list...
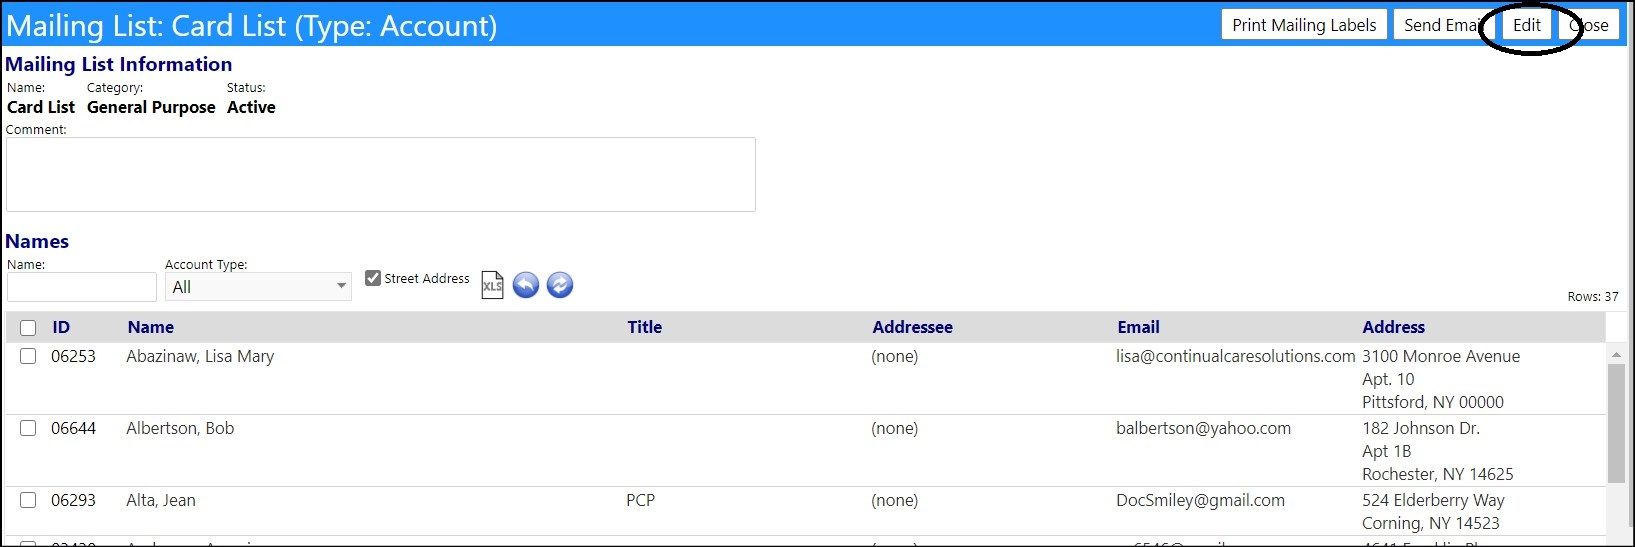
- Click Edit.
- Click the '+' sign to add new accounts to the Mailing List.

- Choose an Account to add by checking the box to the left of their name.
- Click Save.

The account will be added to your Mailing List.
For the purposes of the following example, let's assume we are using this Card List mailing list to send out some holiday cards. We want to send a holiday card to Richard Anderson and his spouse, Jan, but our Mailing List only contains Richard. Instead of us sending Jan a separate holiday card, we will use the Addressee function to send a single holiday card to both Jan and Richard.
NOTE: To view the mailing label that will be created...
- Click Print Mailing Labels.

- Click the Preview/Print button.

- View the label you are interested in to see how it will be generated.


Changing the Addressee
- Click Edit to get into the Edit mode.
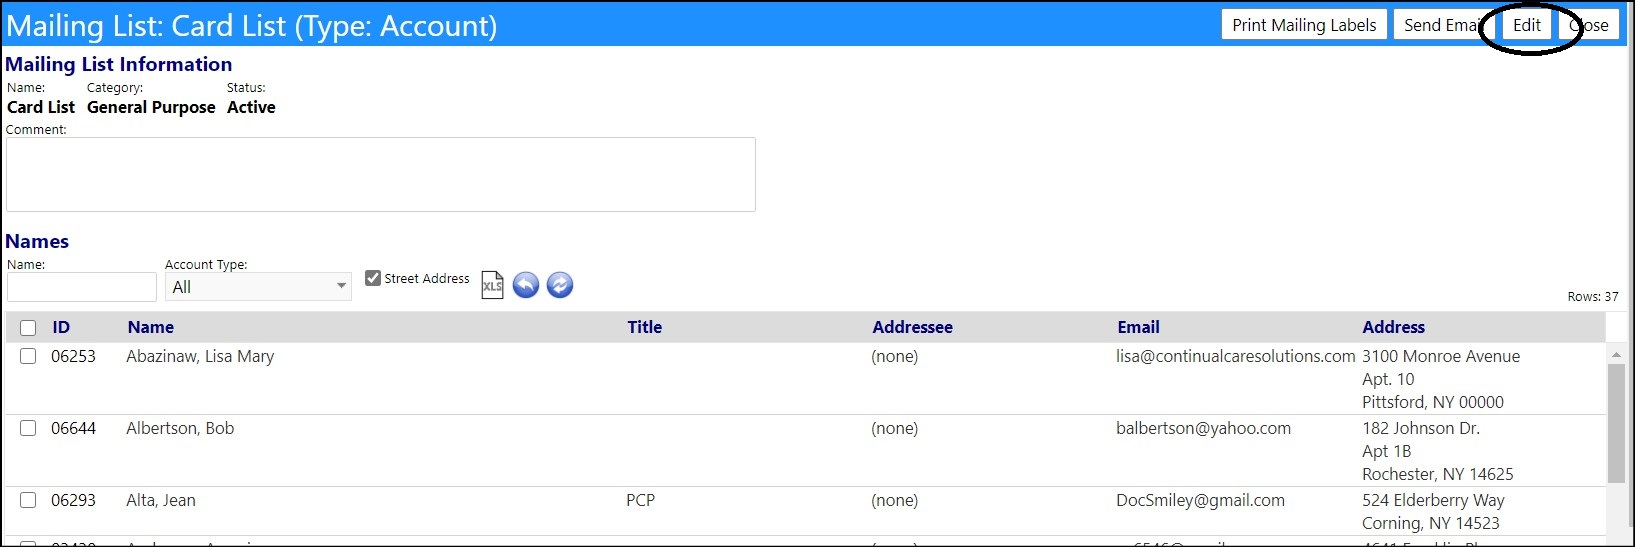
Once you are in the Edit mode, the Addressee field becomes editable.
- Locate the Account Name you wish to modify. (In our example, this is Richard Anderson)
- Click the Addressee field for that Account Name:

NOTE: As you move your cursor to that field, you will notice an underline appear under the Addressee field - this signifies the field is linked to another screen. In this case, it is an edit screen for this field. This field allows you to change from the default addressee to an alternate addressee.
An Edit Addressee screen will display:
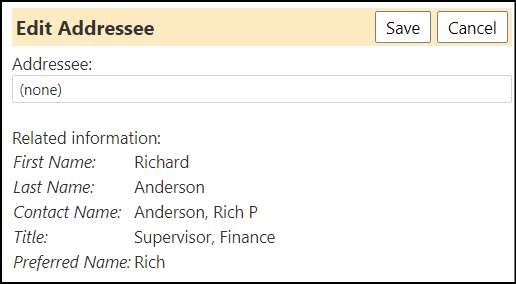
- Enter the Addressee name you wish to use. (Since we want to send a card to both Richard and his spouse Jan, we will enter either something like Mr. and Mrs. Rich Anderson or Rich and Jan Anderson, etc.).
- Click Save.
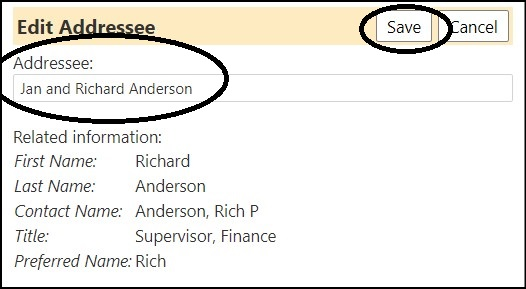
The Mailing List will now display your Addressee entry.

- Click Save to save your entries and exit the screen or click** Apply **to save your entries but remain on this screen.

If you chose to click Apply, you can now view your new mailing label.
- Click Print Mailing Labels.

- Click the Preview/Print button.

- View the mailing label you just modified.


NOTE: If you do view your Mailing Labels in this way, please remember to click** Save** before exiting the Mailing List.