Creating a Program Workflow Banner in the System
- Open IMPOWR.
Navigate to https://ccpe.impowr.net/forms/MyDashboard
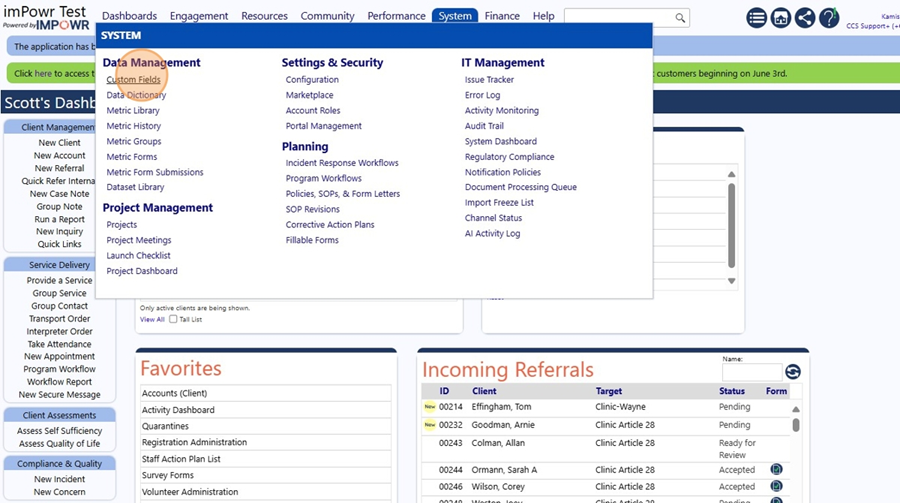
- Create a Custom Field (UDF). Click "System"

- Click "Custom Fields"
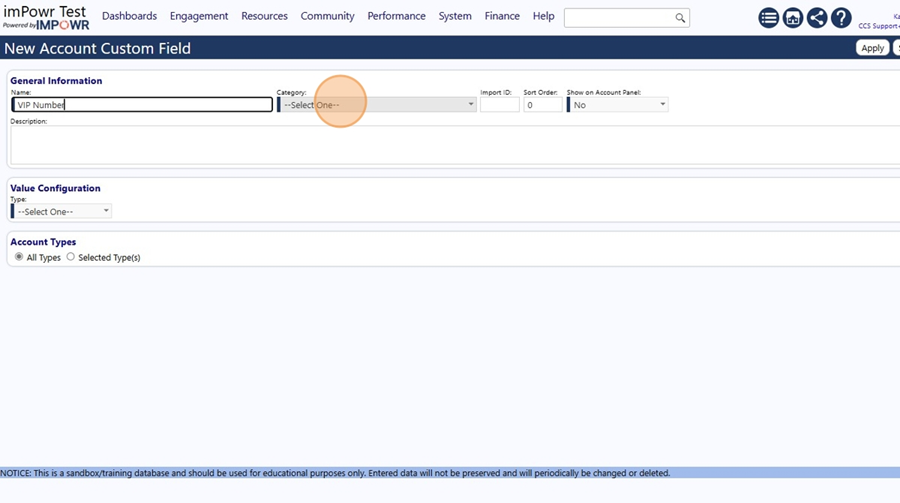
- Add a New Custom Field. Click this button.

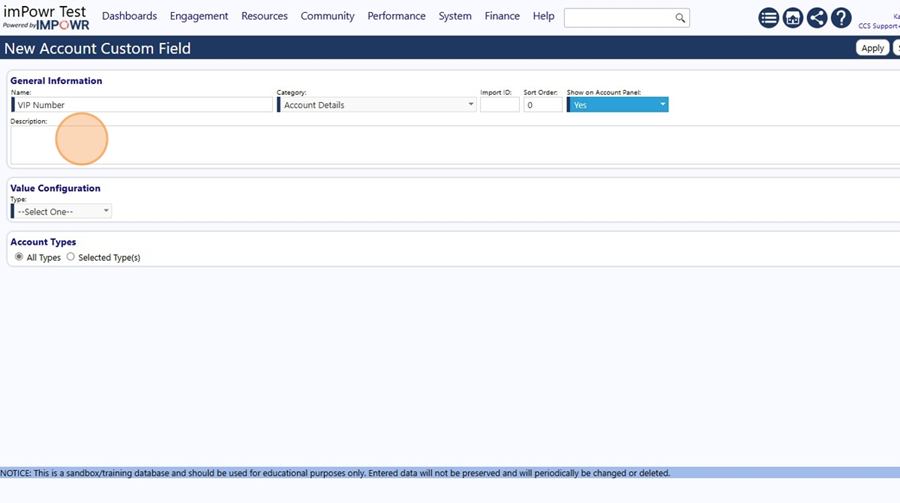
- Enter the Name. Click this text field.
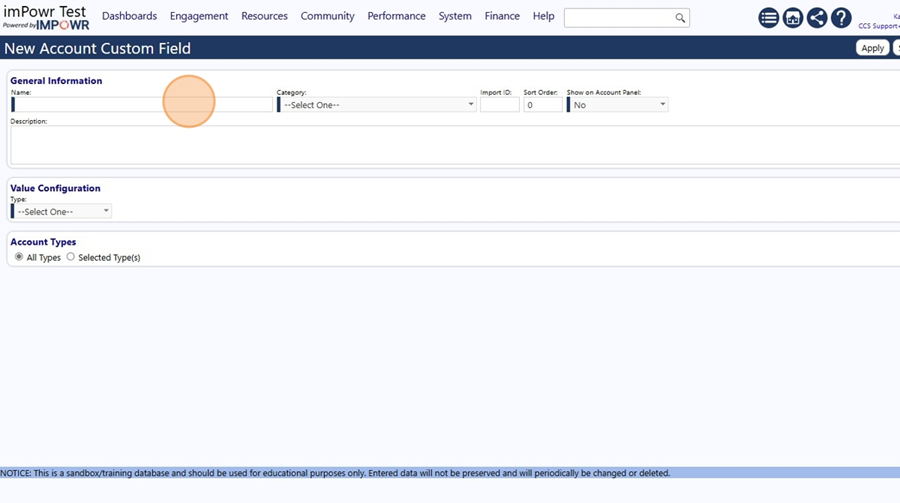
- Type "VIP Number"
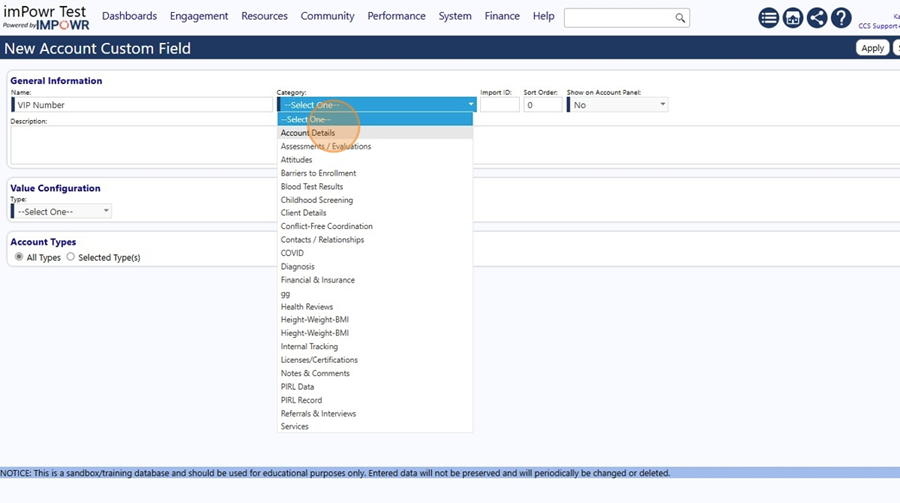
- Choose a Category for the Custom Field. Click "--Select One--"
- Click "Account Details"
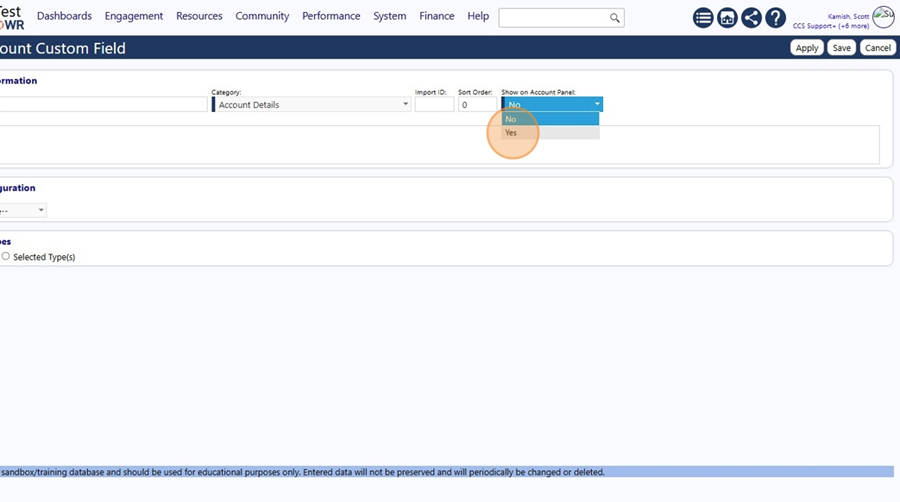
- Set the Custom field to display in the Account.
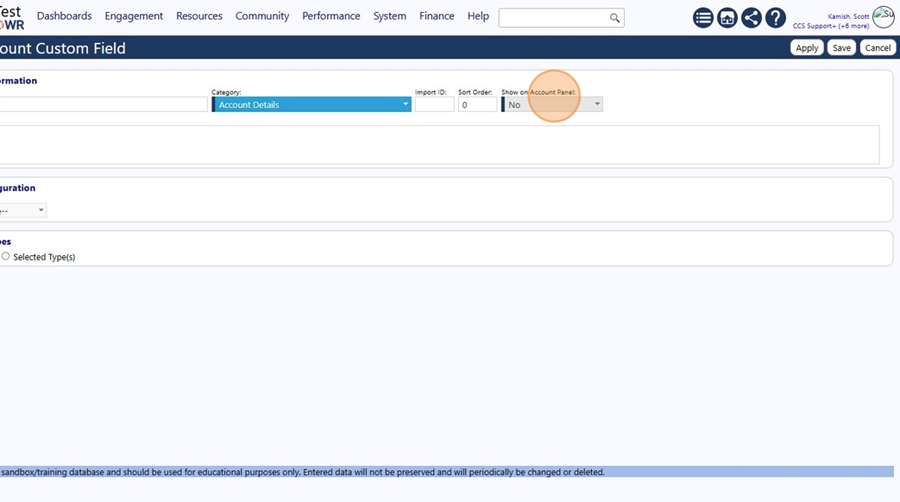
- Click "Yes"
-
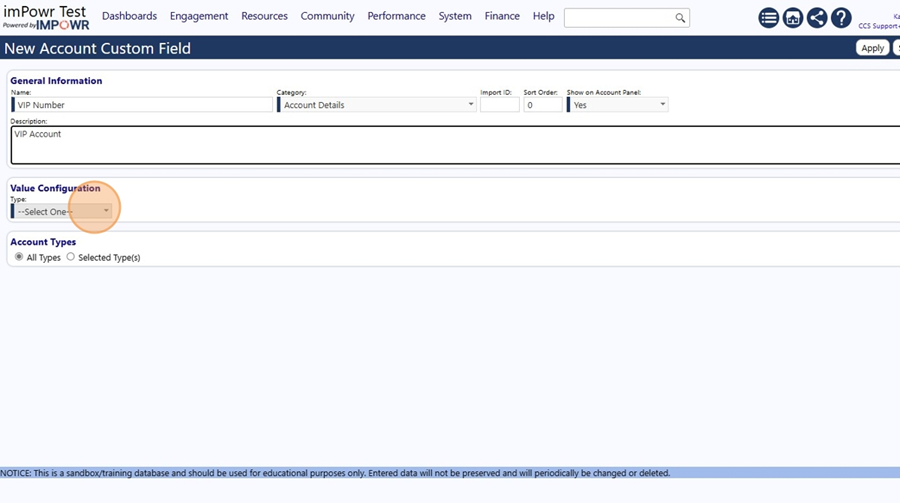
Enter an optional description.
-
Type "VIP Account"
-
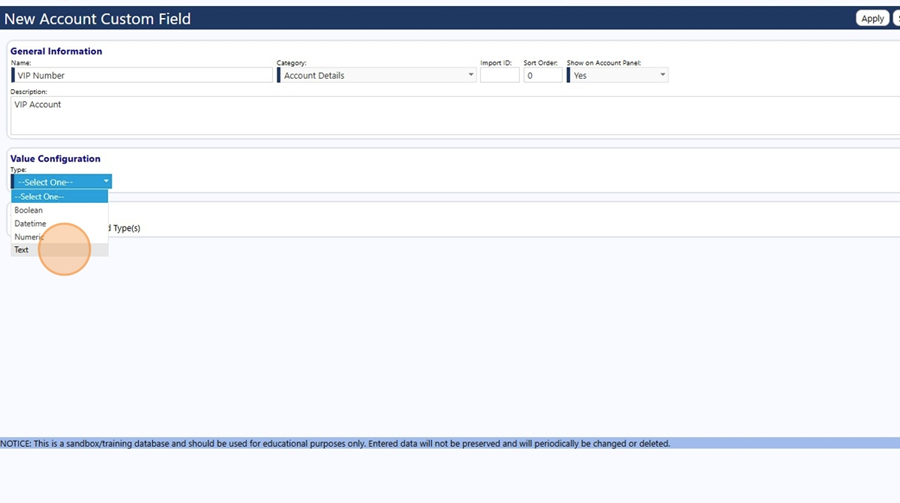
Select the Custom Field value type. Click "--Select One--"
-
Click "Text"
-
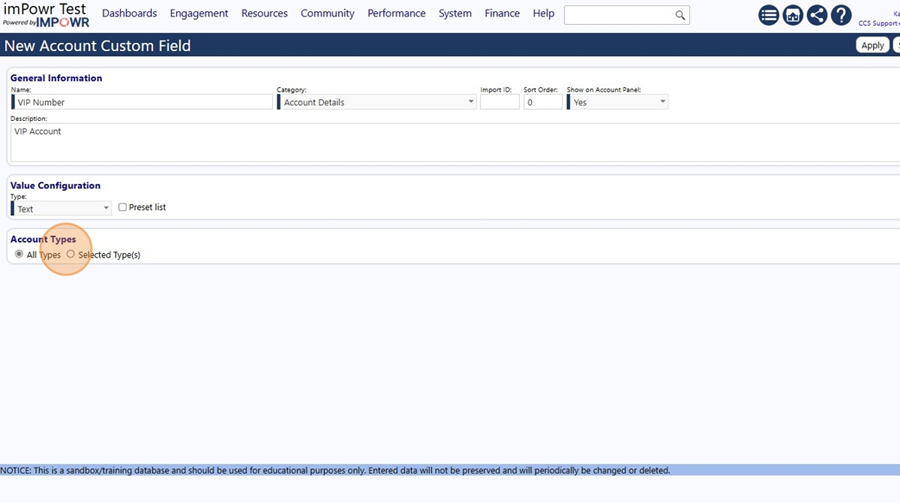
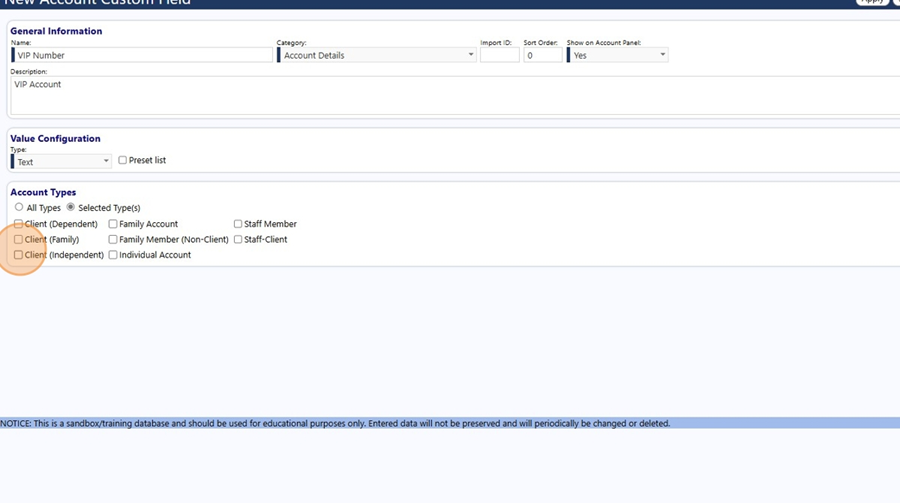
Optionally choose to have the Custom field only apply to specific Account Types. Click the "Selected Type(s)" field.
-
Click the "Client (Independent)" field.
- Click the "Individual Account" field.
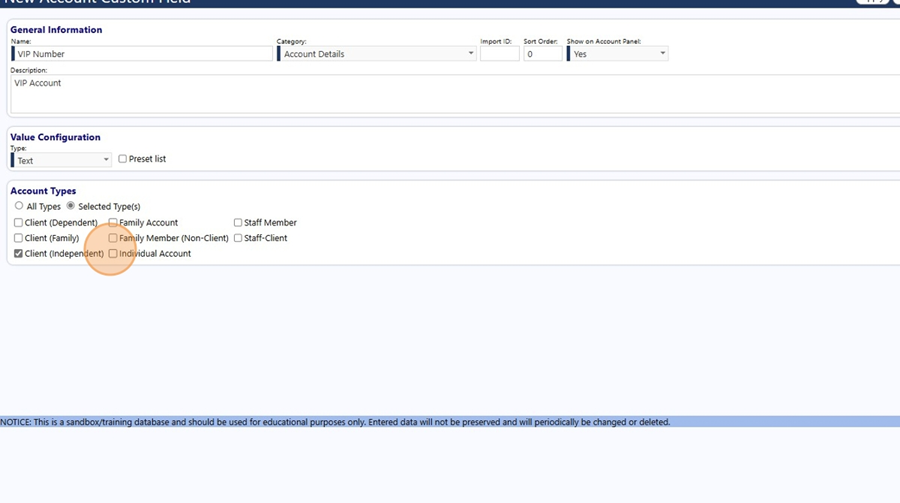
- Click this button to Save your Custom field settings.

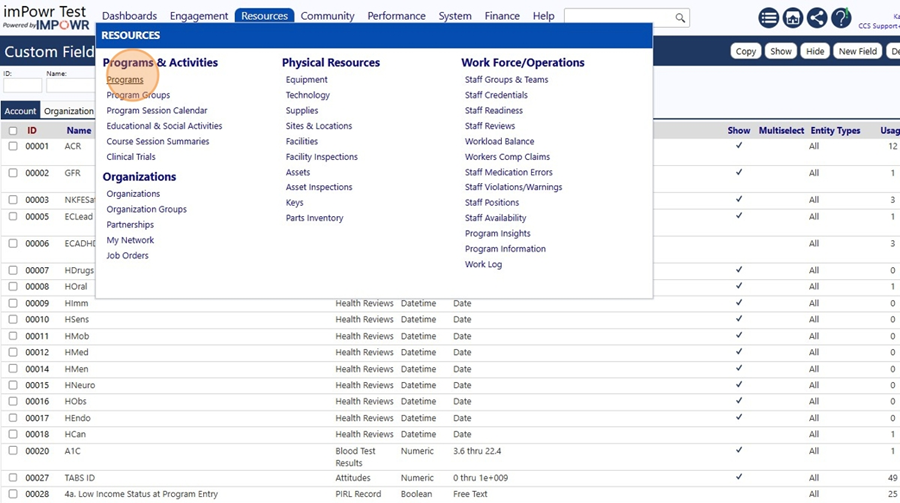
- Optionally identify the Program Workflow that applies to the program you want to associate the client with. Click "Resources"

- Click "Programs"
- Select the program. Click "00155"
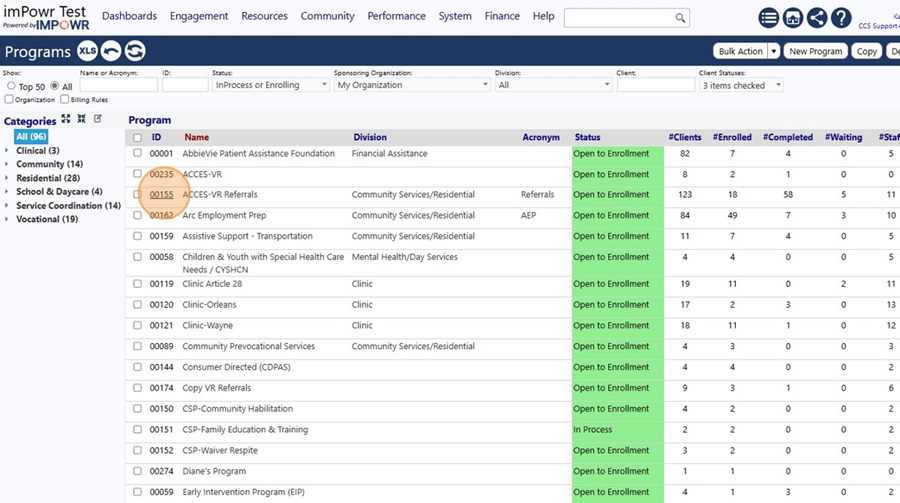
- Note the Program Workflow name.

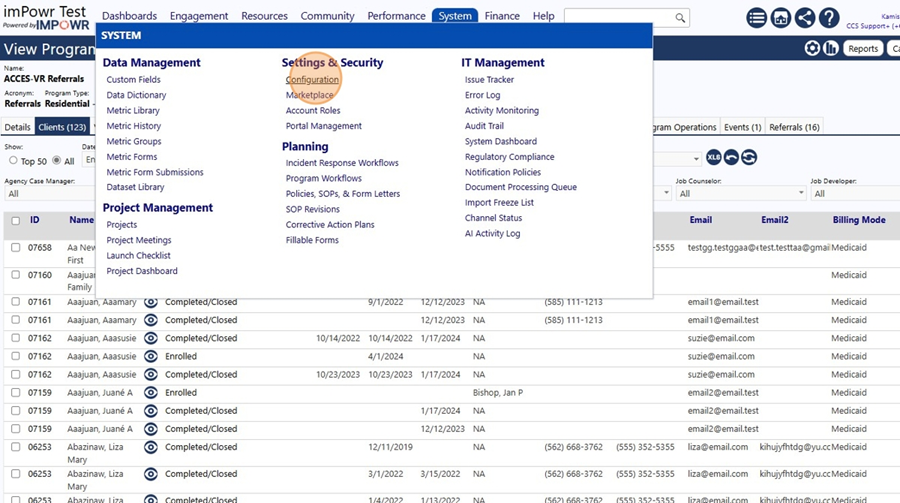
- Setup the Program Workflow Banner (which will display at the top of your program workflows). Click "System"
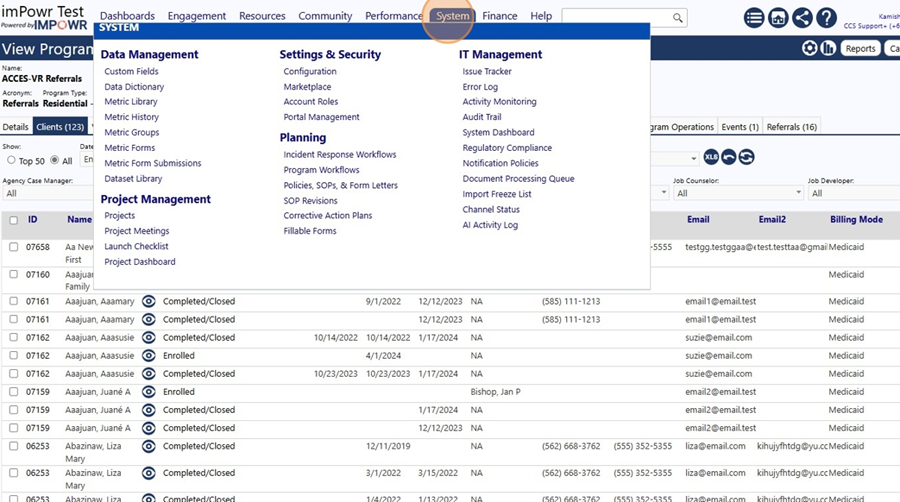
- Click "Configuration"
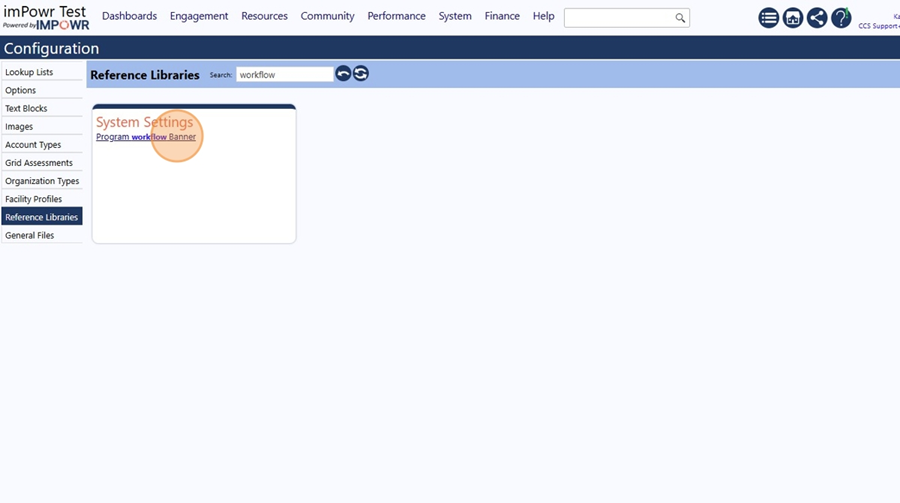
- Select the Reference Libraries and search for the workflow banner configuration settings. Click this text field.
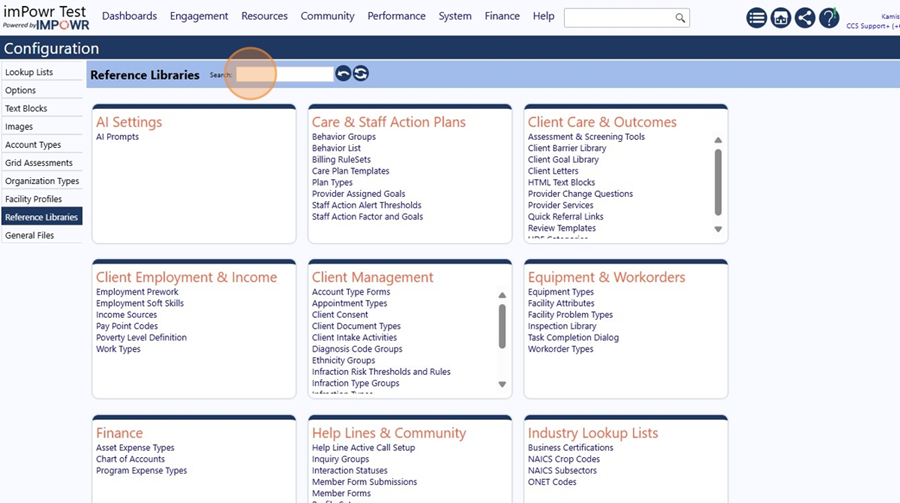
- Type "workflow"
- Refresh the screen. Click this image field.
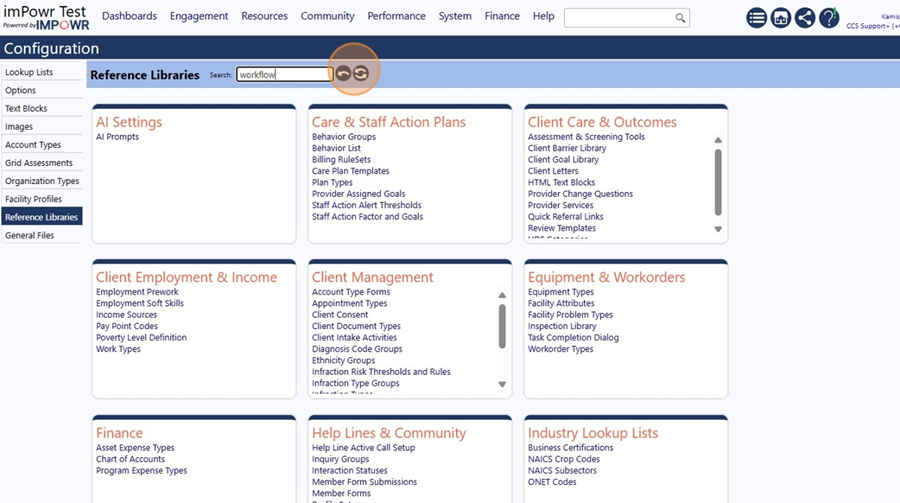
- Click "Program Workflow Banner"
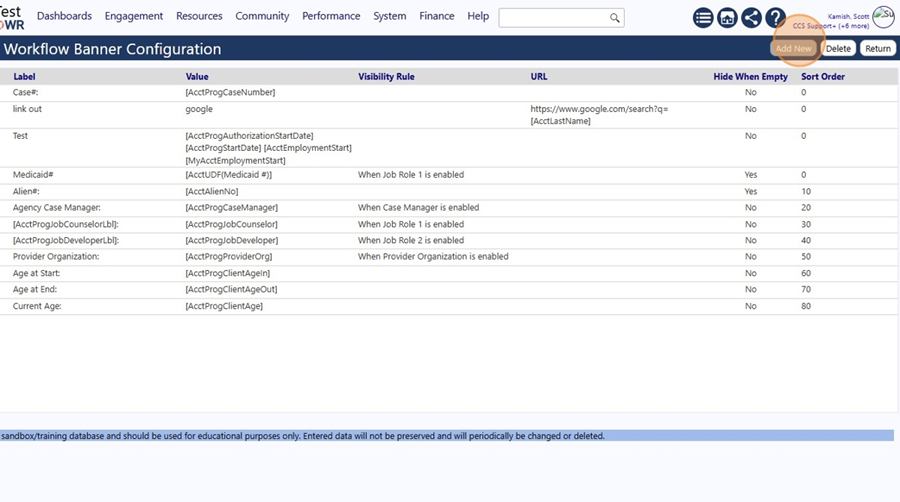
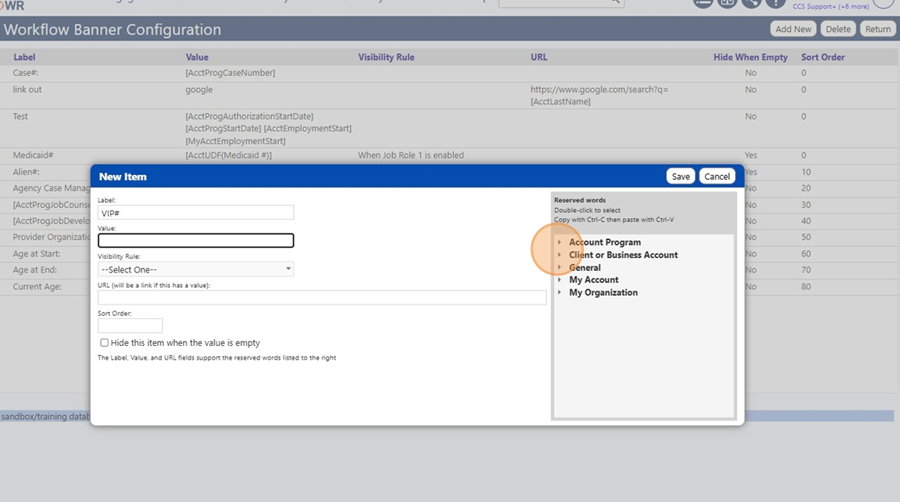
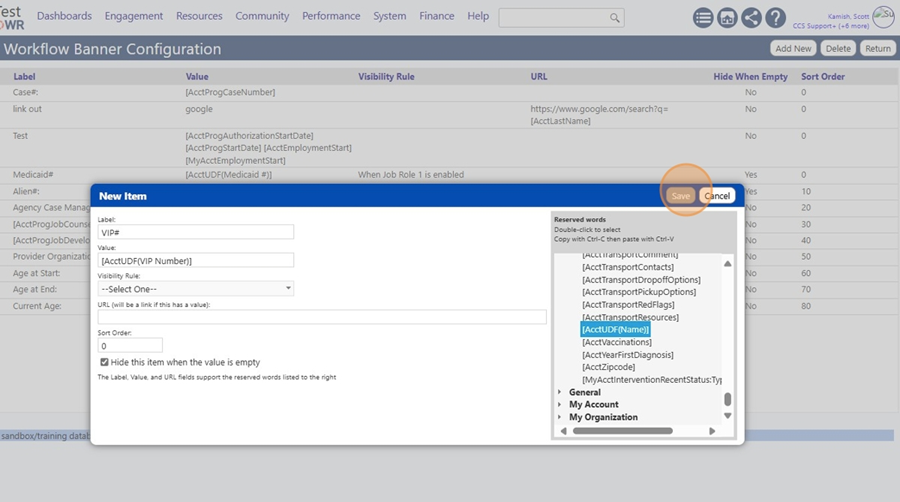
- Add a new Program Workflow Banner. Click this button.
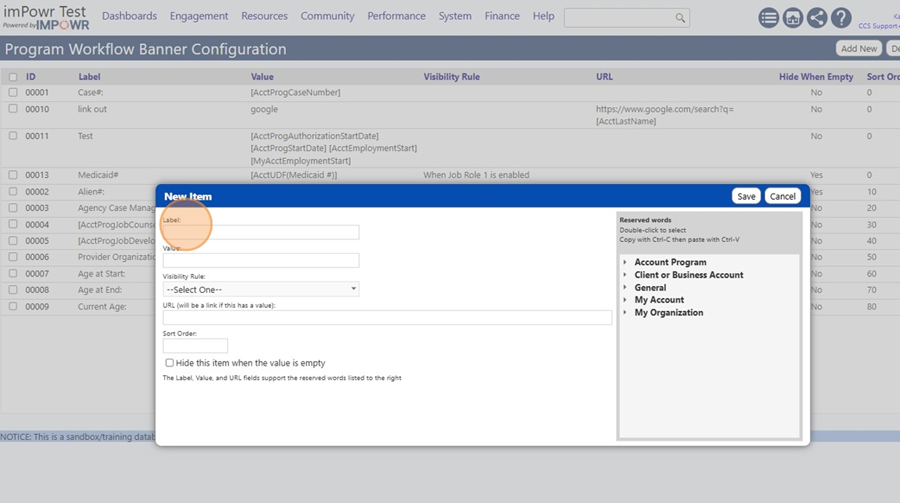
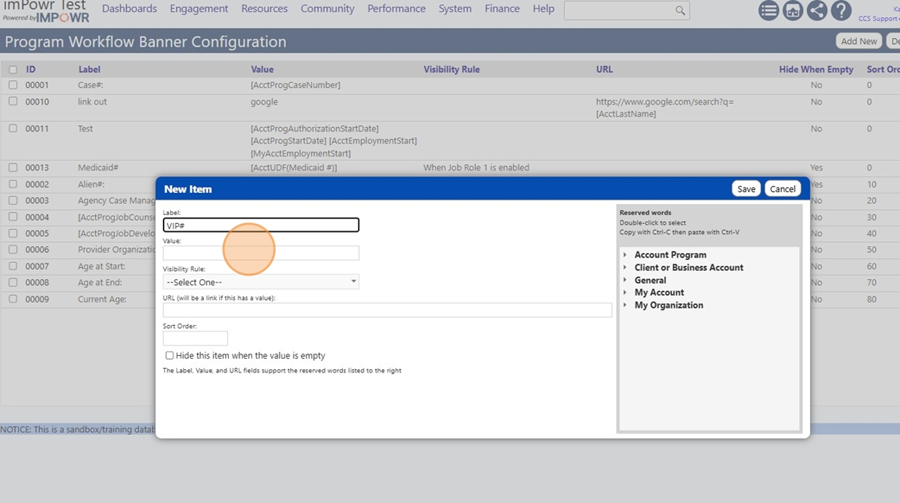
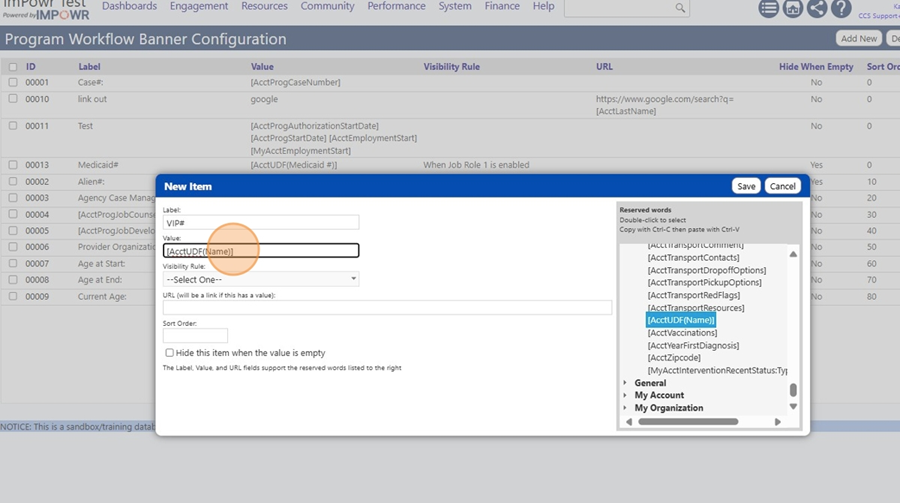
- Enter the Label you want to have displayed at the top of the workflow. Click this text field.
- Type "VIP#"
- Choose the value to use for that item. Click this text field.
- Choose the appropriate Reserved Word for the value. Select the Client or Business Account Reserved Words. Click here.
- Find and then Click on "[AcctUDF(Name)]"
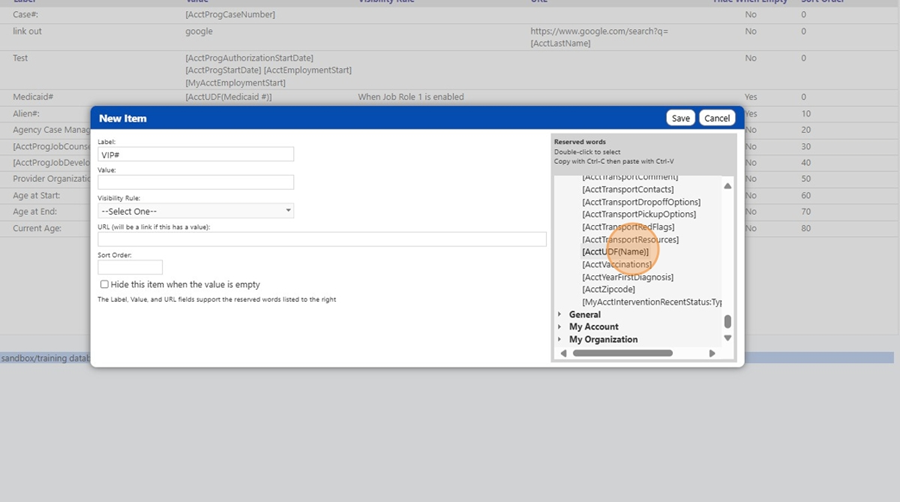
- Double click on "[AcctUDF(Name)]" to select it.
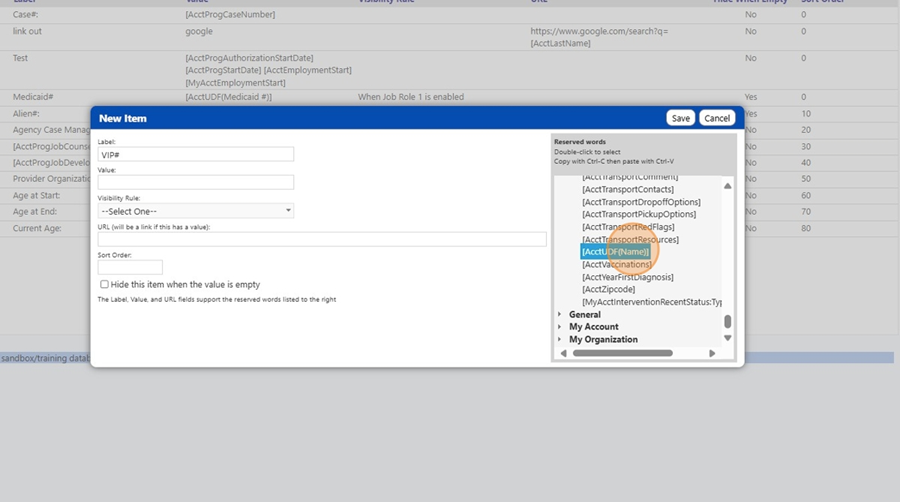
- Copy that Reserved Word by pressing [[ctrl]] + [[c]]
- Select the Value field. Click this text field.
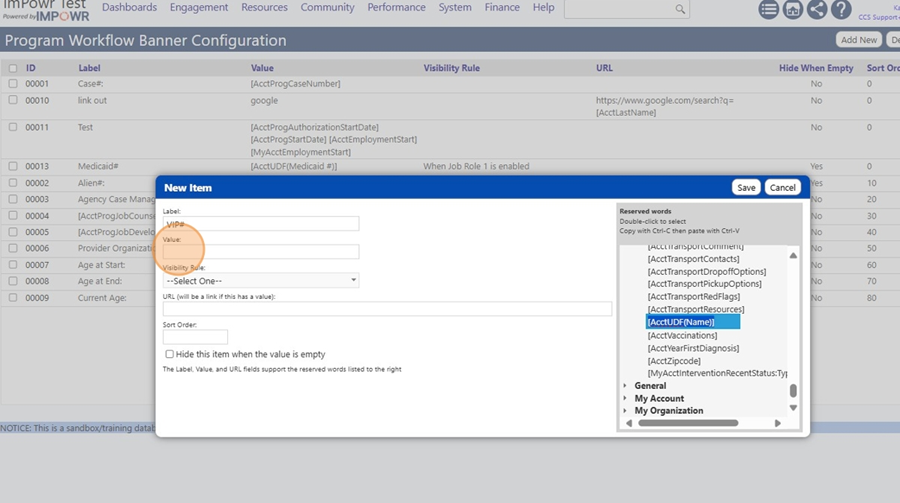
- Paste the Reserved Word by clicking [[ctrl]] + [[v]]
- Modify the Reserved Word to reflect the Custom field you just created. Locate the 'Name' in the Reserved Word.
- Replace 'Name' with the Custom field you created - 'VIP Number'.
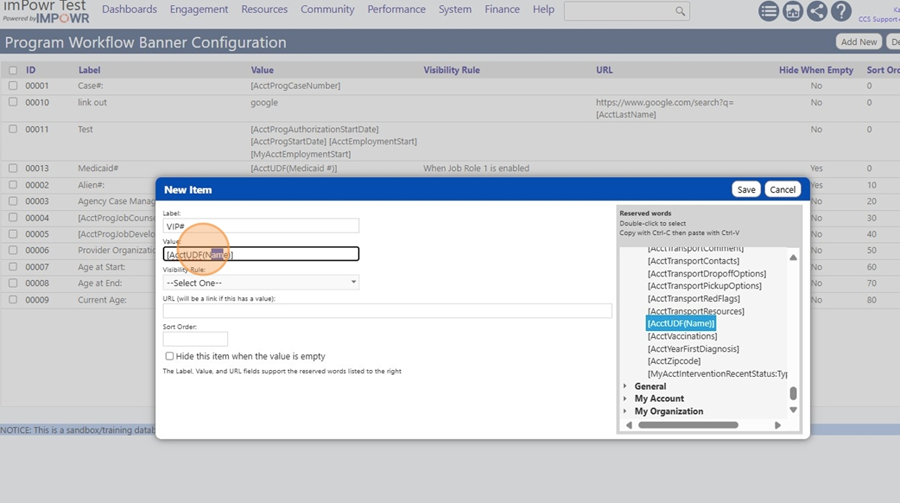
- Type "VIP Number"
- Optionally set the Visibility Rule. Set the Sort Order - Click this text field.
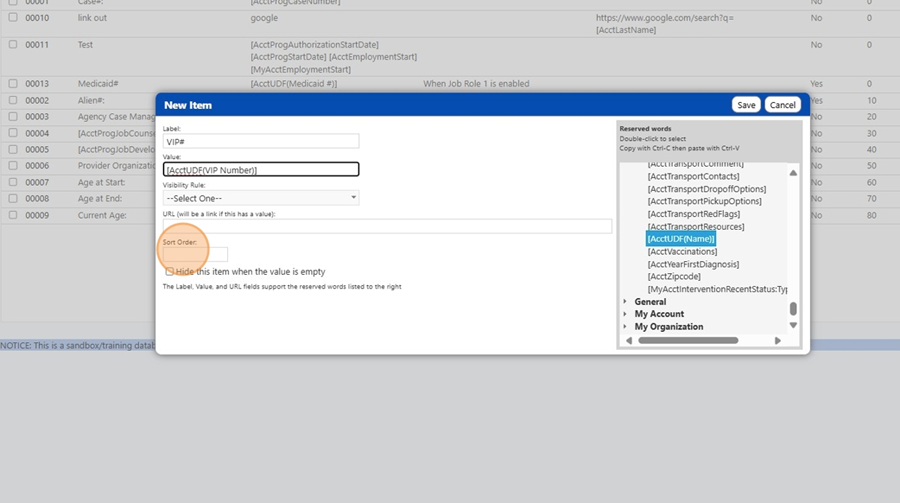
- Type "0"
- Optionally click the "Hide this item when the value is empty" field.
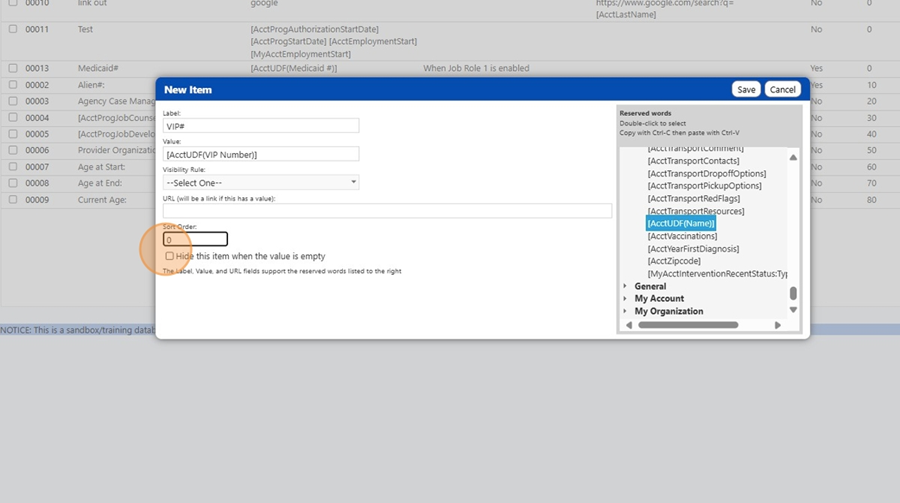
- Save your Program Workflow Banner configuration settings. Click this button.
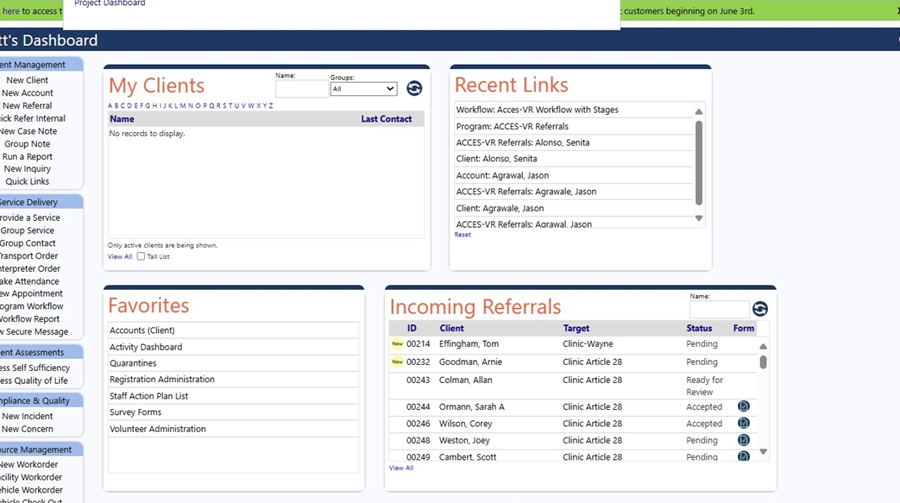
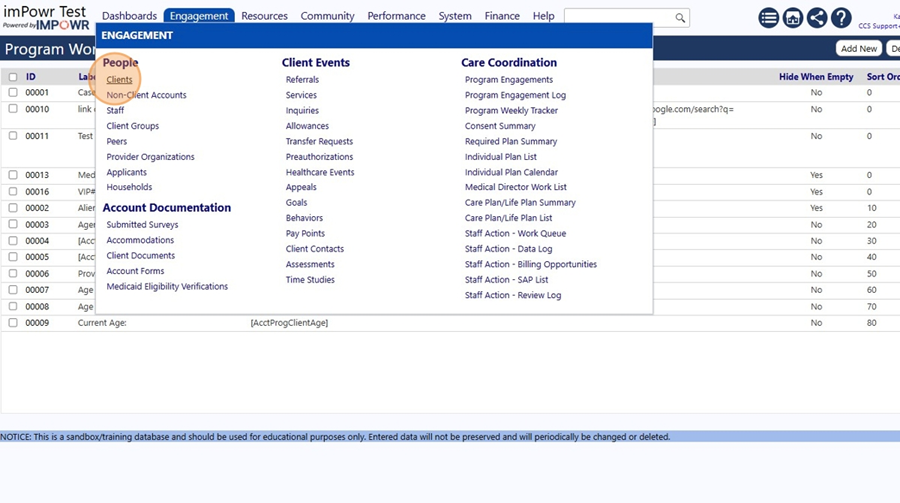
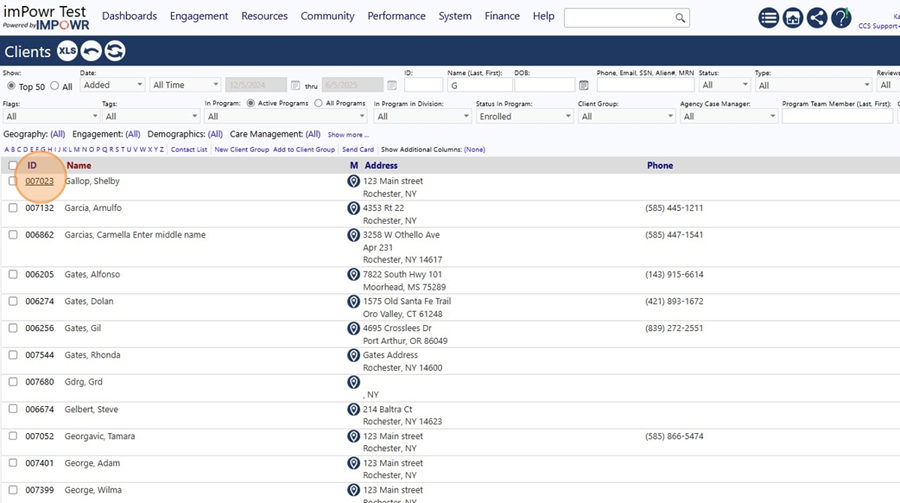
- Select a Client. Click "Engagement"
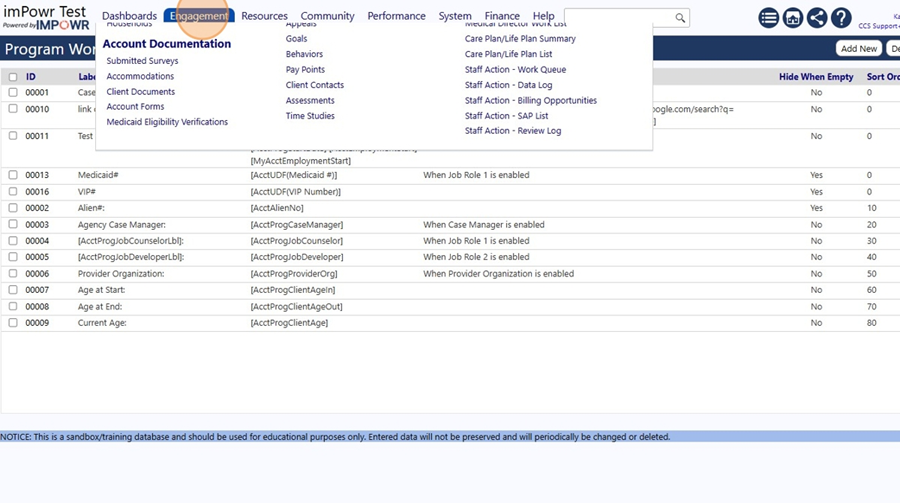
- Click "Clients"
- Click "G"
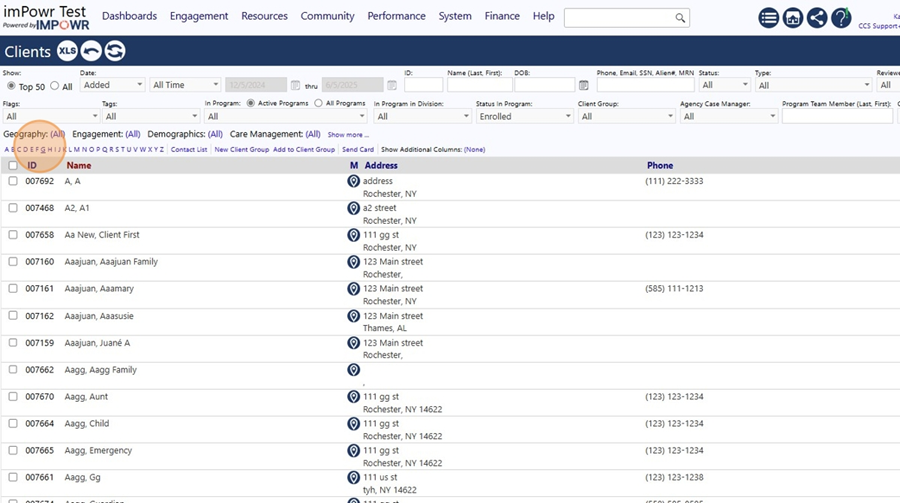
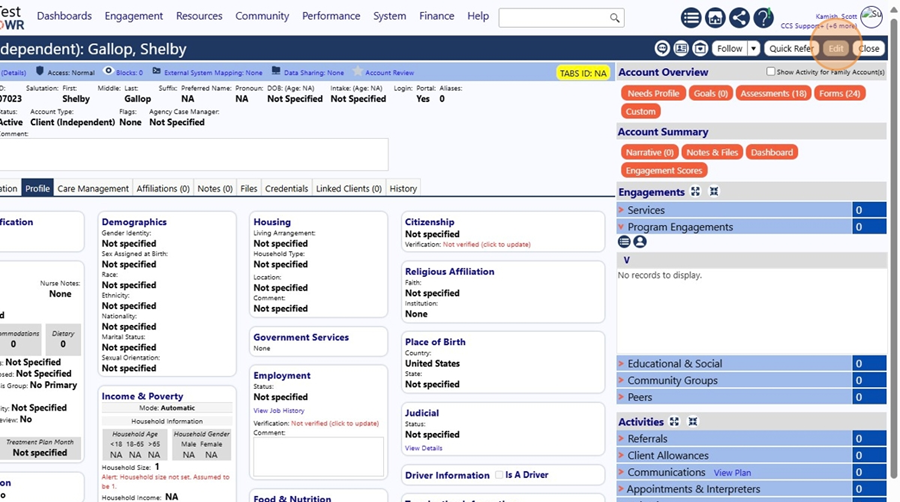
- Open the Client's account by clicking on their ID. Click "007023"
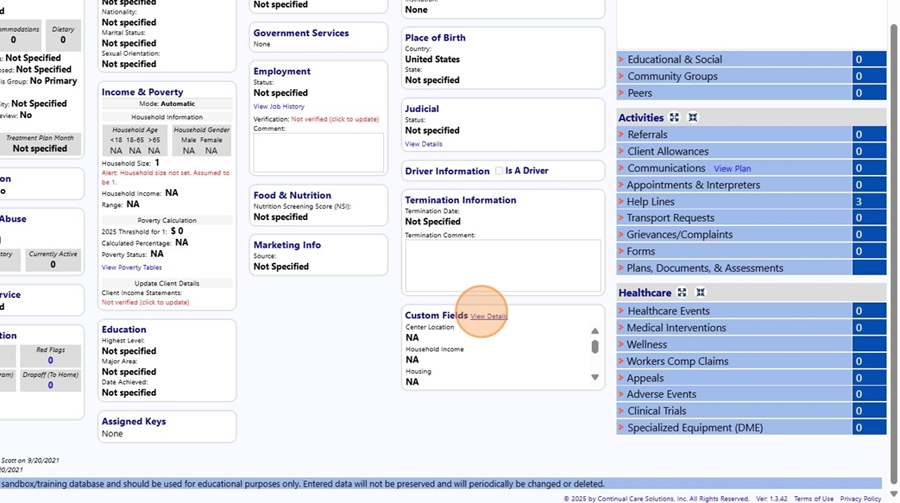
- Locate the Custom Fields panel and expand it. Click "View Details"
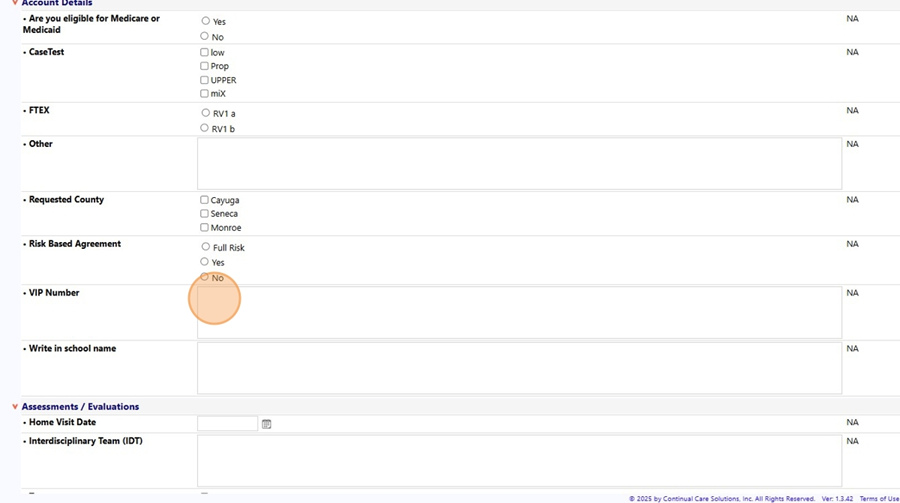
- Locate the Custom Field you just created (VIP Number). Click this field.
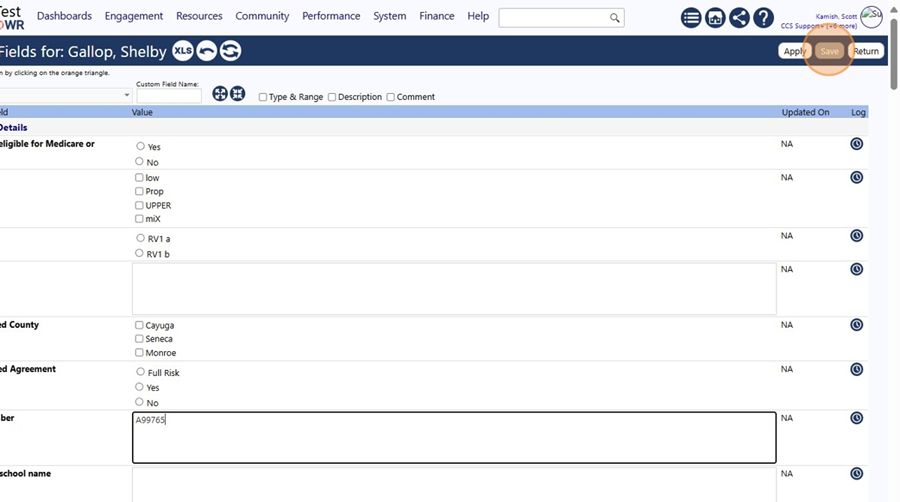
- Enter a value for that Custom Field. Type "A99765"
- Click this field.

- Save your Custom Field entry. Click this button.
- Go into Edit mode so you can add this client to a program. Click this button.
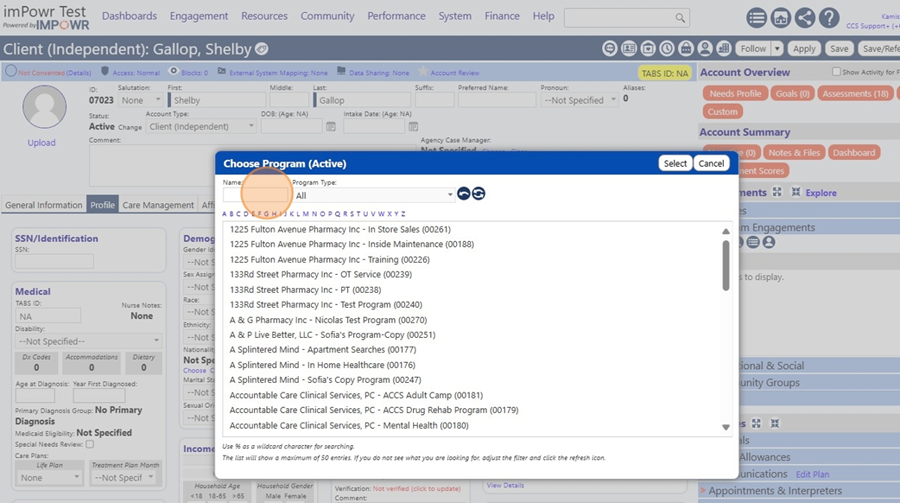
- Click the '+' button.

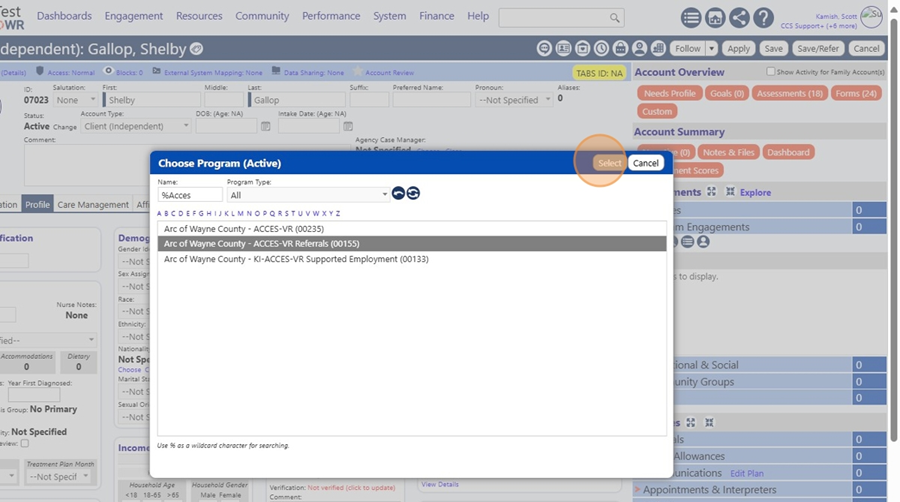
- Enter a name to search for the program you wish to add the client to. Click this text field.
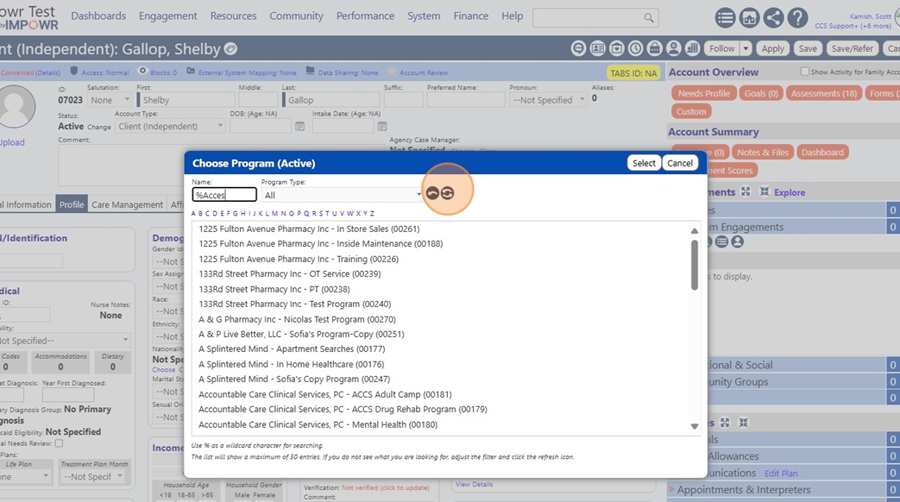
- Optionally use wildcards in your search name. Type "%Acces"
- Refresh the screen by clicking on the button with 2 arrows, if needed. Click this image field.
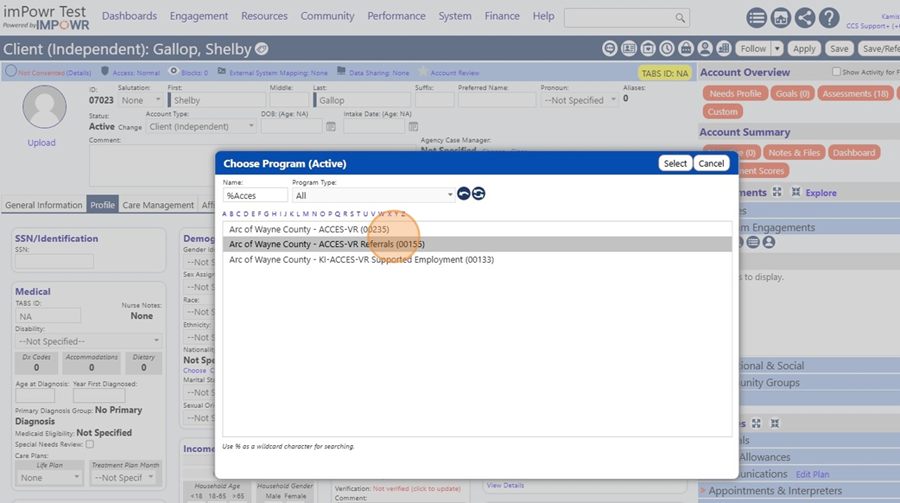
- Select the program. Click "Arc of Wayne County - ACCES-VR Referrals (00155)"
-
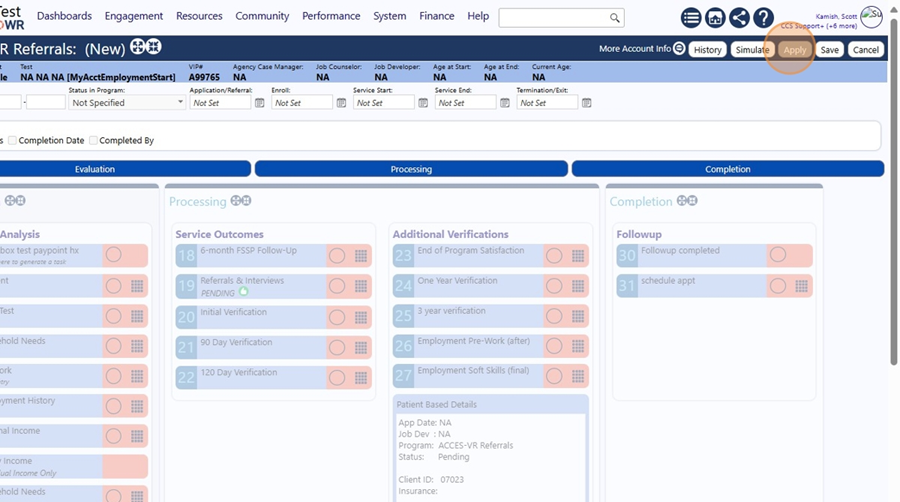
Click this button.
-
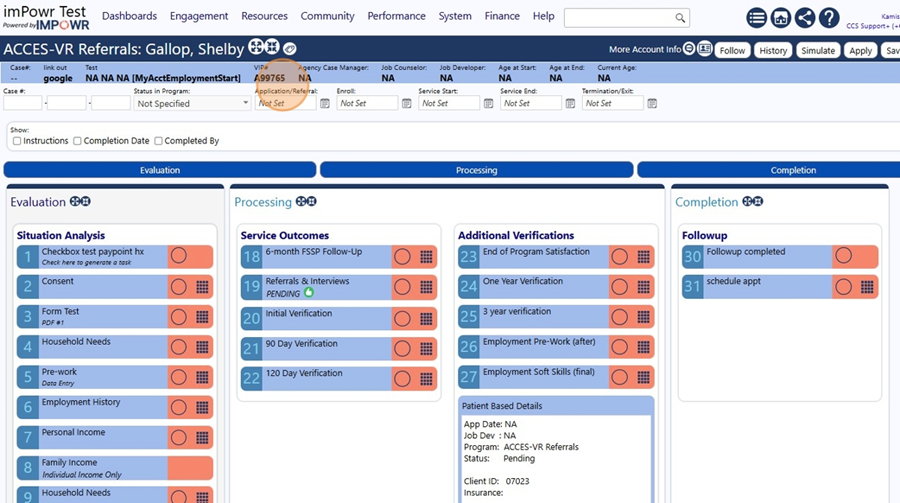
The Program Workflow Opens. Note that the client's VIP Number custom field value now displays.
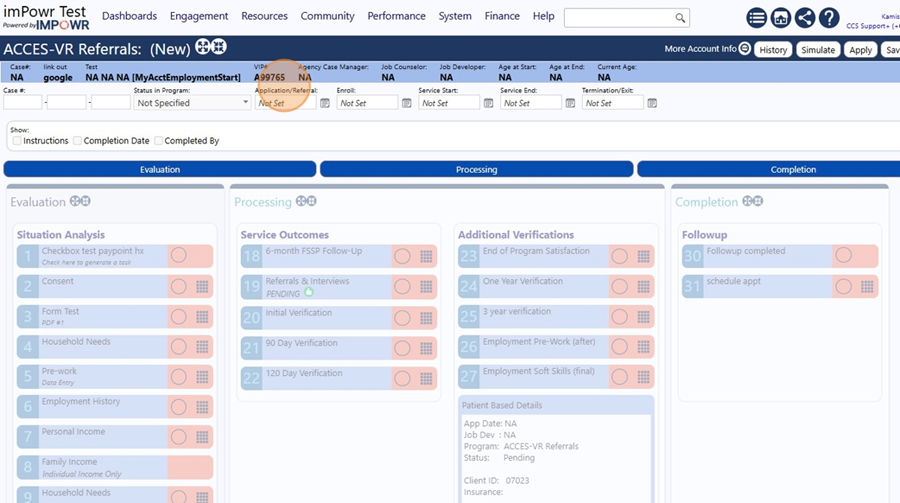
- Click this button to have the client's name display.
- The client's name and VIP Number now display.