This article will identify the menu item which you can use to store SOP and other important documents.
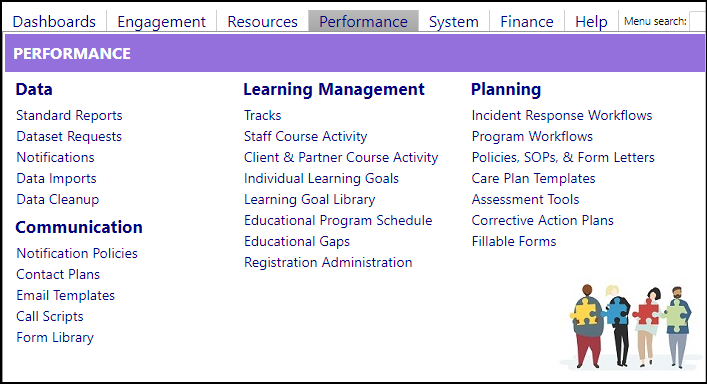
Important documents can be stored in imPowr via Policies, SOPs & Form Letters
in the Planning section of the Performance menu.
- To add a document, click New Document.
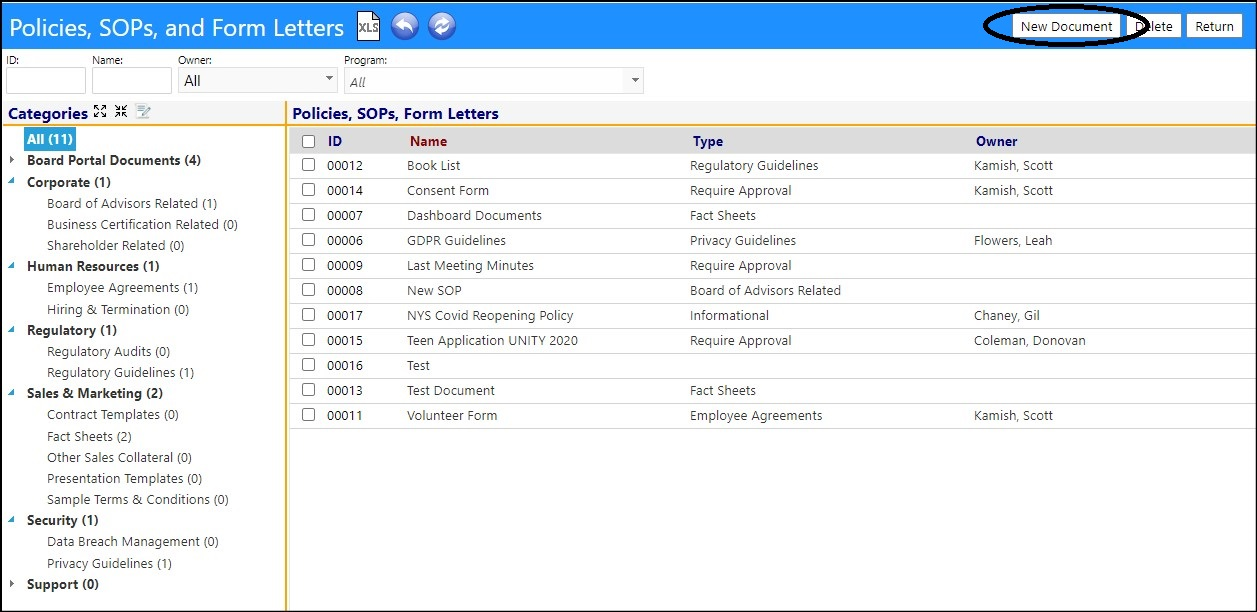
To remove a document, check the box to the left of the document ID and click
Delete.
- Enter the document Description Name.
- Select the Document Type from the drop-down list of types.
- Choose an Owner by clicking on Choose and selecting an account from the Staff Member list.
- Optionally, enter any Comments you desire.
- Click Apply to save your entries.

- Optionally enter Associated Programs with the document by clicking on the '+' and selecting a program from the list.
To remove associated programs, select the program by clicking in the checkbox
to the left of the program name and clicking on the '-' icon.
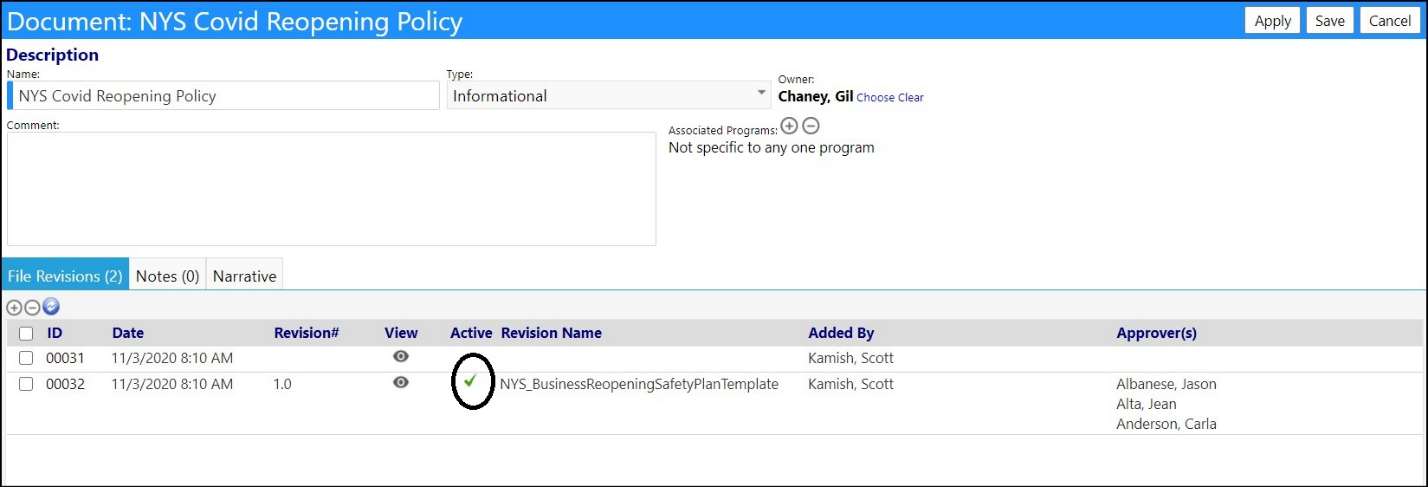
- Add a File / File Revision by clicking on the '+' and uploading a file from your computer.
- Optionally enter a Revision Number,** Revision Name**,** Revision Date** (and time), and Revision Information.
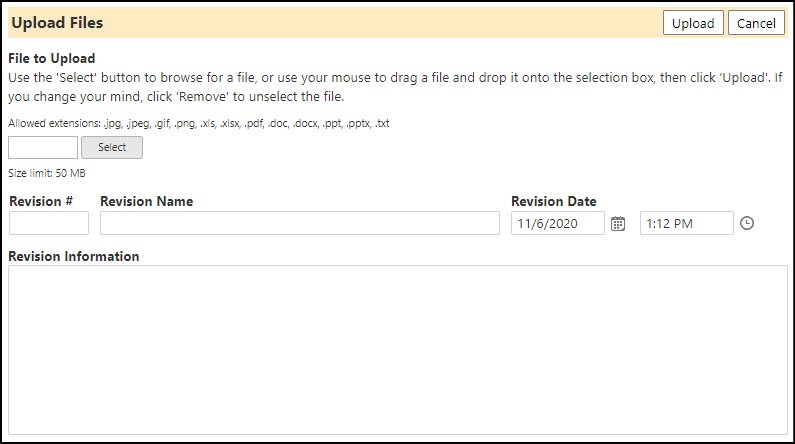
To remove a file, select the file by clicking in the checkbox to the left of
the file name and clicking on the '-' icon.

- To View the document (and optionally download it), click on the 'eye' icon.
- To Change or Update the document, click on its** ID**.
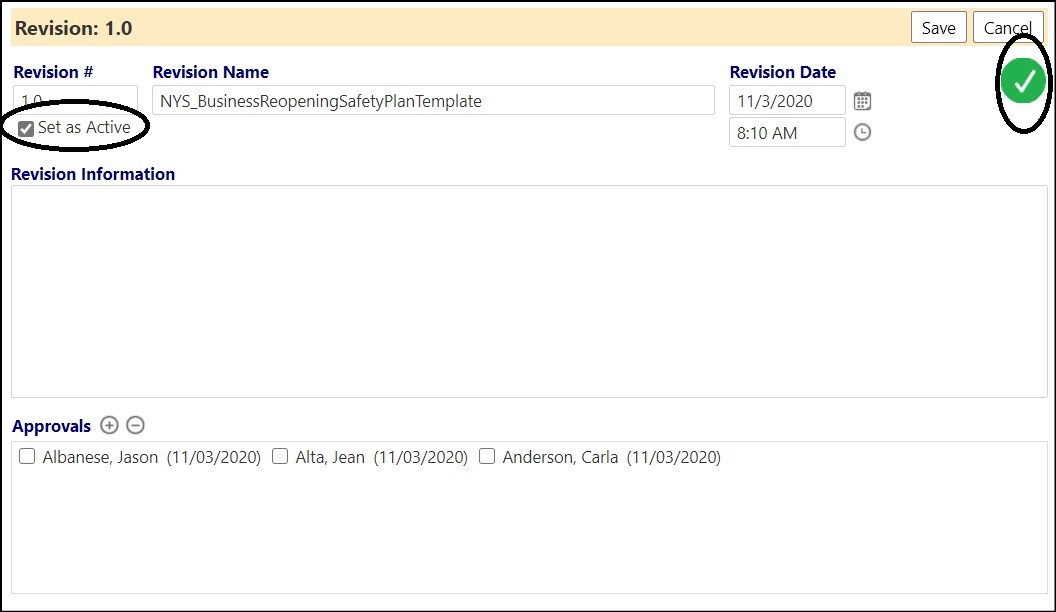
- To make the document Active in the system, check the Set as Active box, and then click Save.
- If document Approver(s) are required, click on the '+' the right of Approvals, and select the Staff Approver(s). Save the selection.
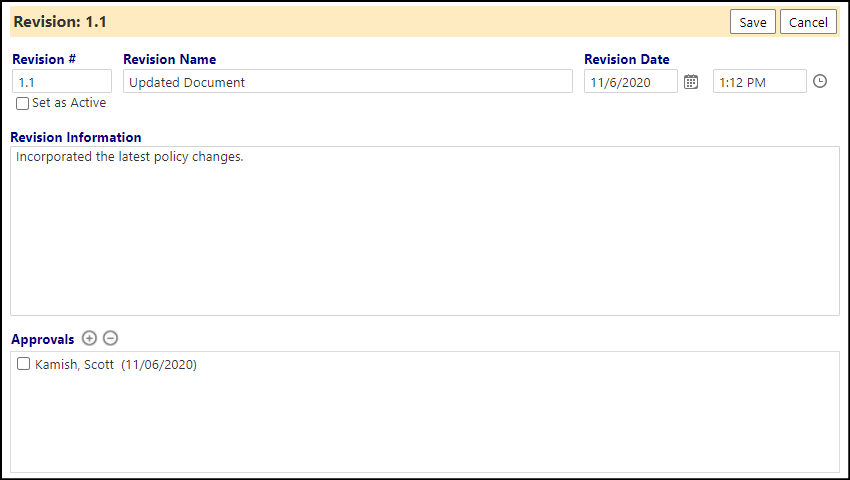
- Click Save to keep your entries.

- Optionally add Notes or Narratives to your document.
- Click Save to save your document entries.
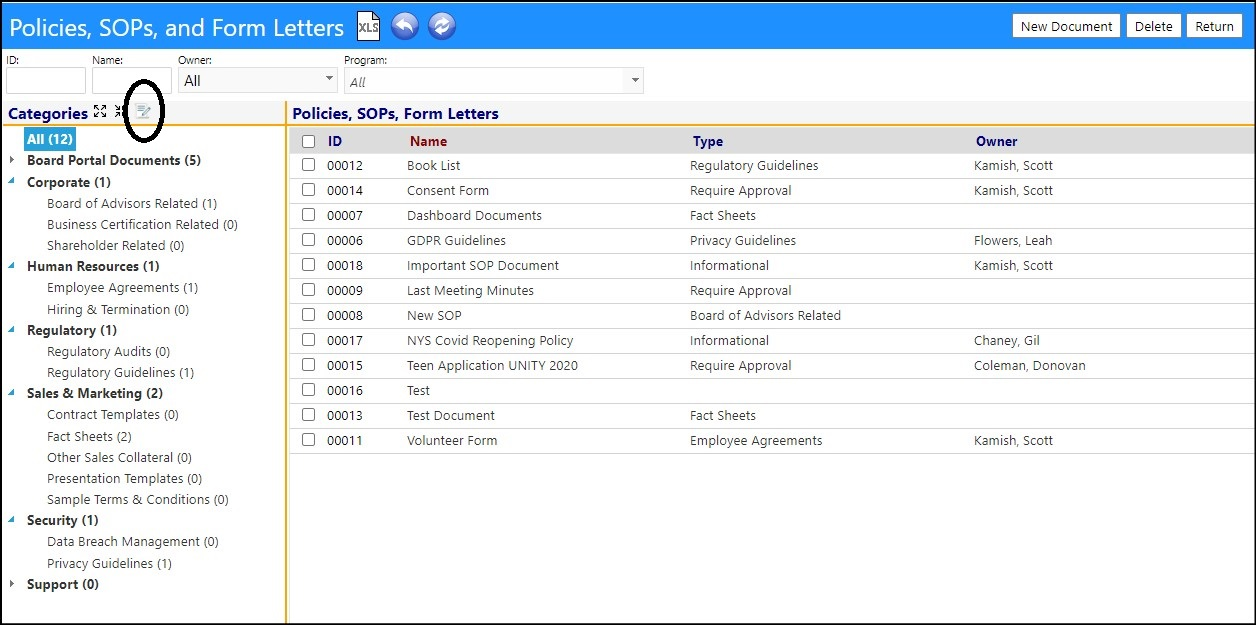
The Policies, SOPs and Form Letters list can be sorted by creating categories
and assigning the document to that category.
- Click the Edit Categories icon.
Add Categories by clicking on New Category.
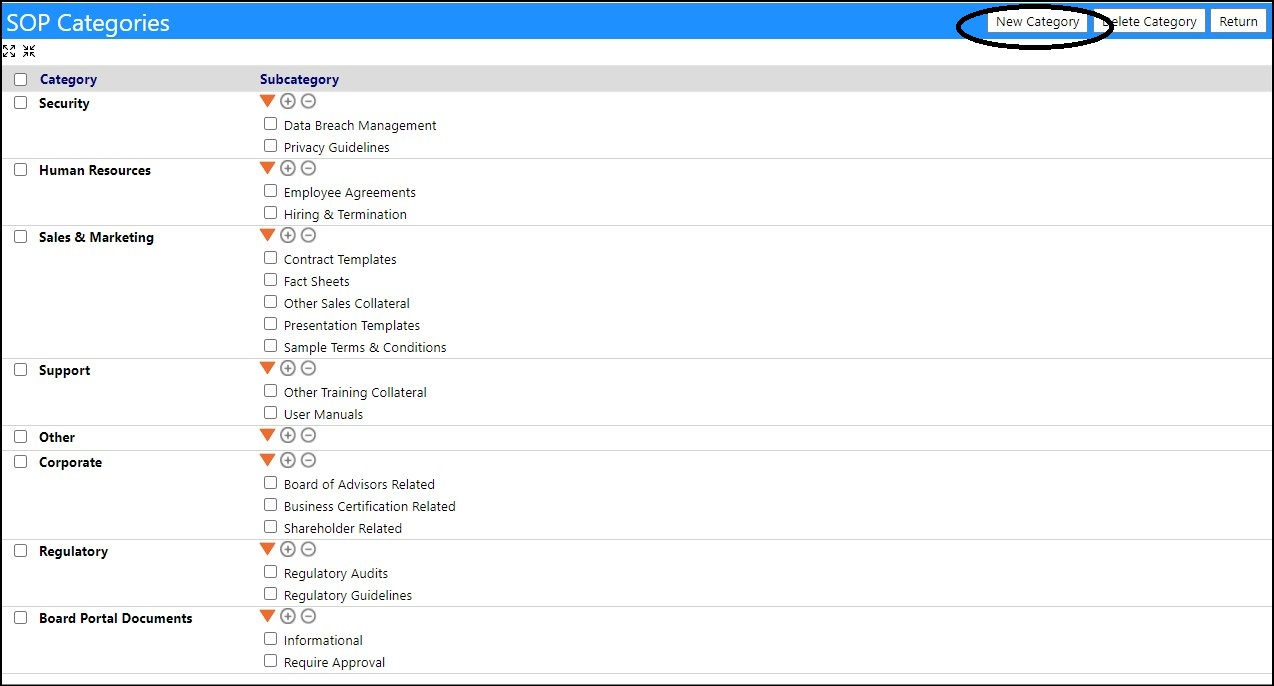

- Enter a New Category Name.
- Optionally enter a Sort Order.
- Click Save to retain your category.
Delete / Remove Categories by checking the box to the left of its name and
clicking on the Delete Category button.
- Add a Subcategory by clicking on the '+'.
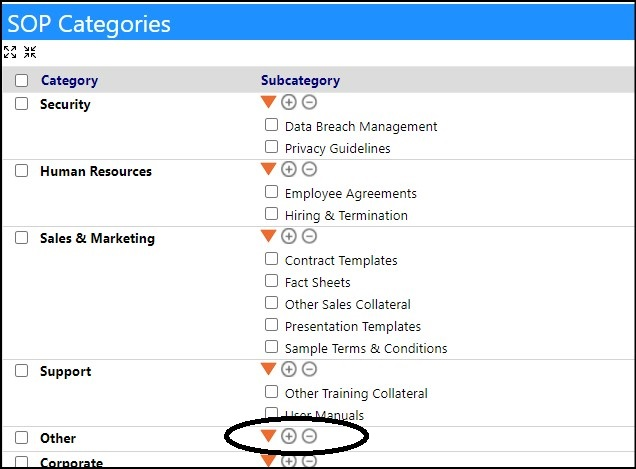

- Enter a Subcategory Name.
- Optionally enter a Sort Order.
- Click Save to add the Subcategory.
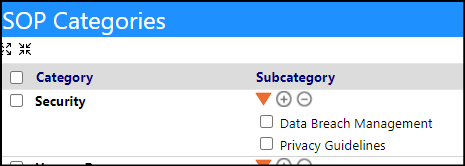
Delete / Remove Subcategories by checking the box to the left of its name and
clicking on the '-'.
- Link the document to that category/sub category, by clicking on the document's ID.
- Click Edit.
- Select the appropriate Subcategory from the drop-down list of Types.
- Click Save.

Once the document has been linked to the category and subcategory, when you
are searching for documents, you can filter the list by clicking on the
category or subcategory.

NOTE: If you have multiple revisions of SOP and other documents, you can
identify which is the current active revision by checking the Set as
Active box while in the Edit mode and viewing the revision. Doing so will
cause a green checkmark to appear in the upper right-hand corner of the
document. This will identify that document as the current revision and will
cause a green checkmark to appear next to that file name in the list of
revisions for that document.
