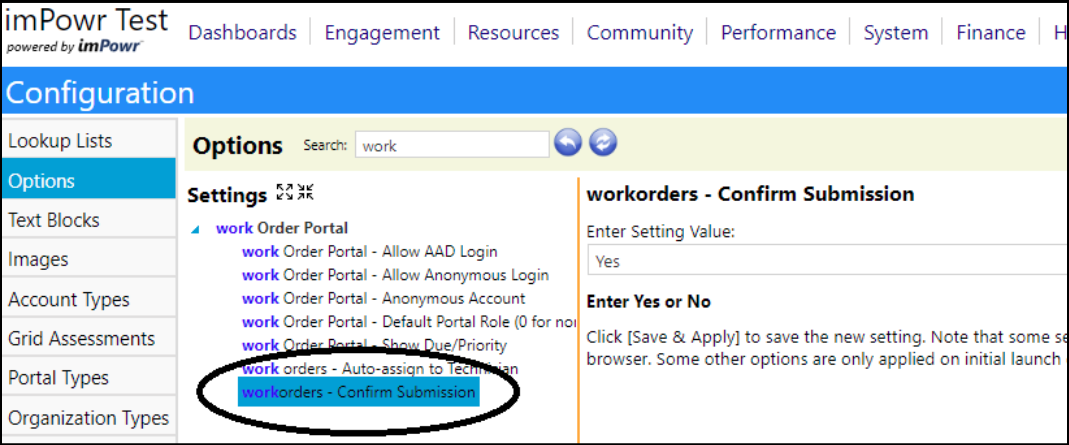
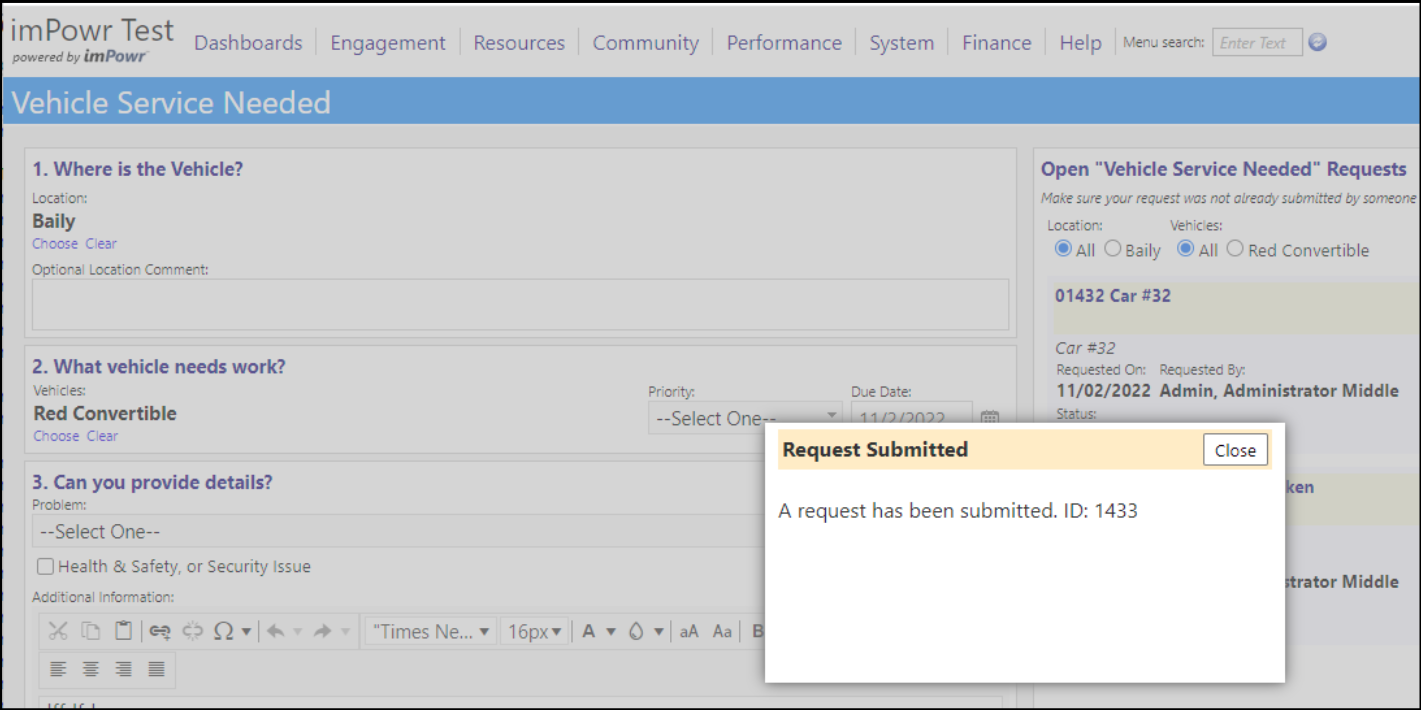
Account Diagnosis Code Favorites
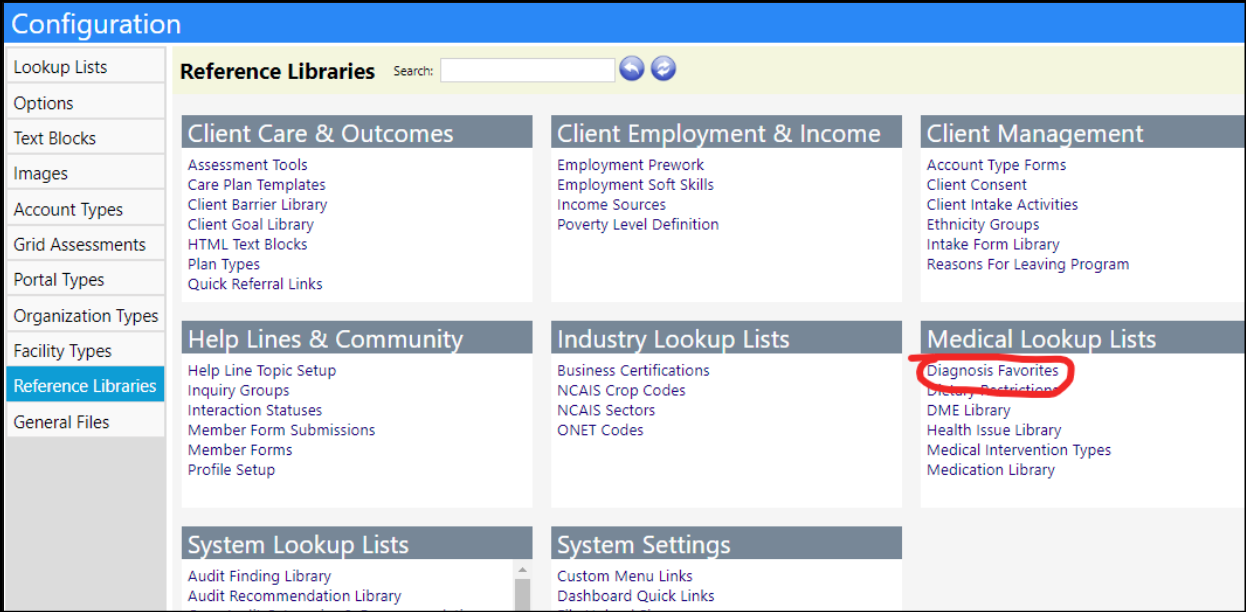
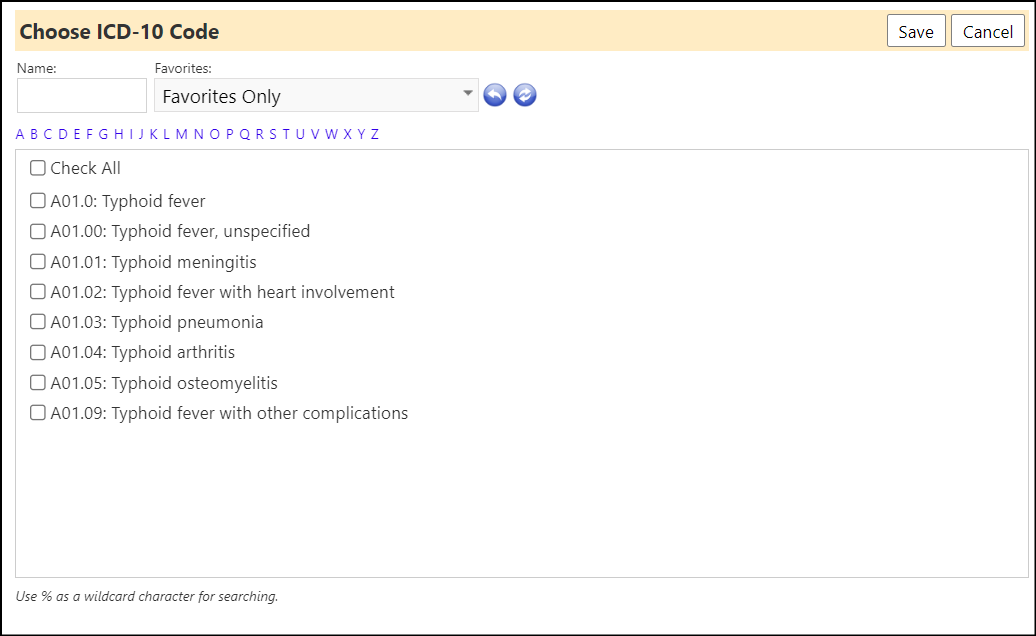
Users can now setup a list of 'Favorite' ICD-9 and ICD-10 Codes. These 'Favorites' are setup in the Configuration Reference Libraries.
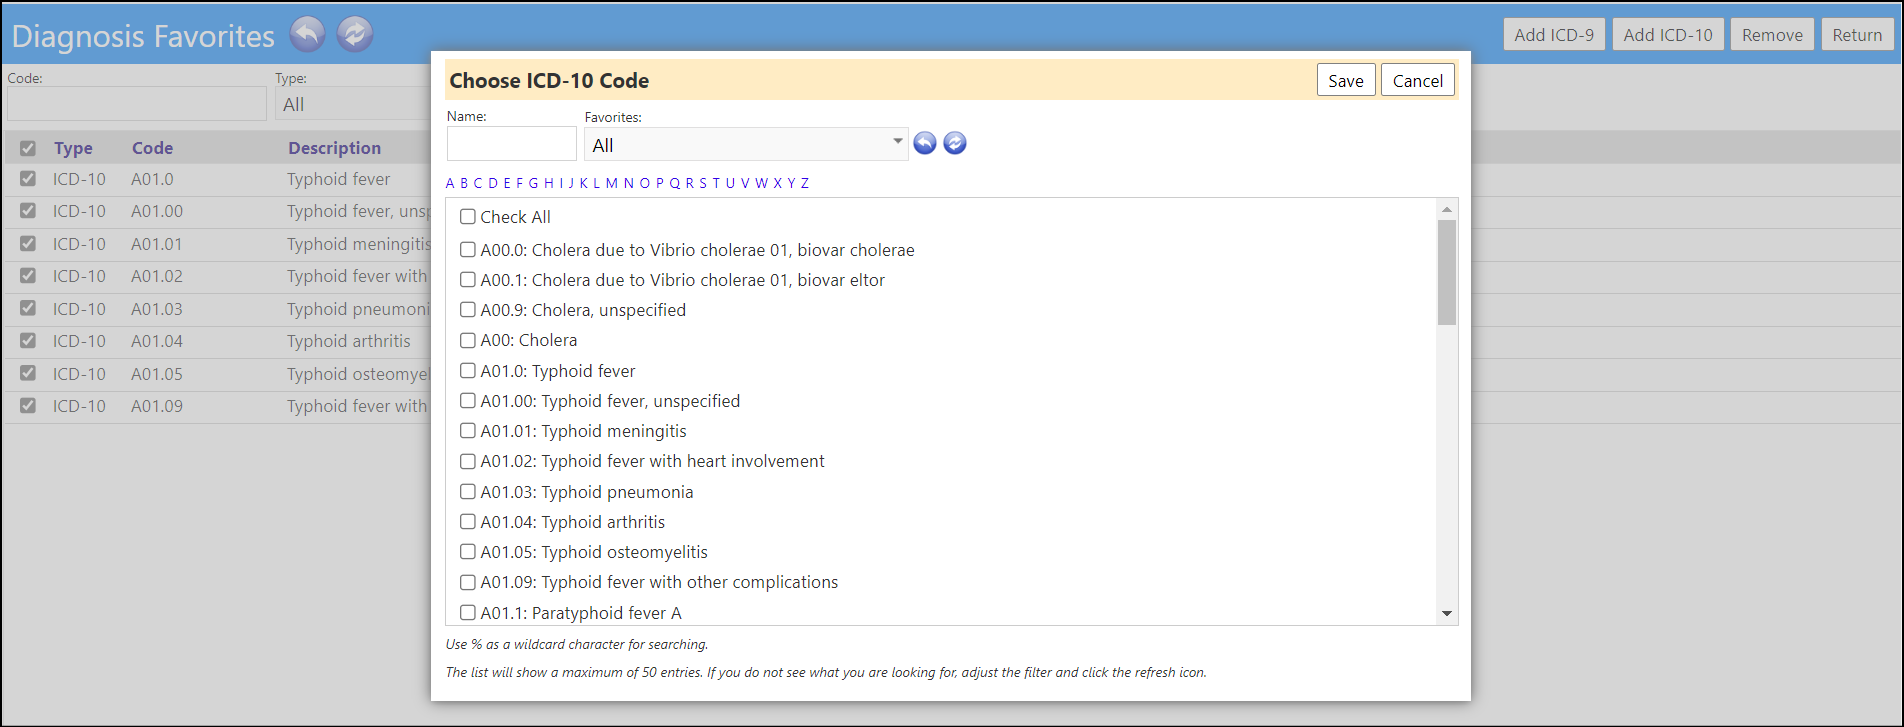
When adding Diagnosis Codes to an Account, the List of Diagnosis Codes can the filtered by Favorites Only.
Account-Program Assessments
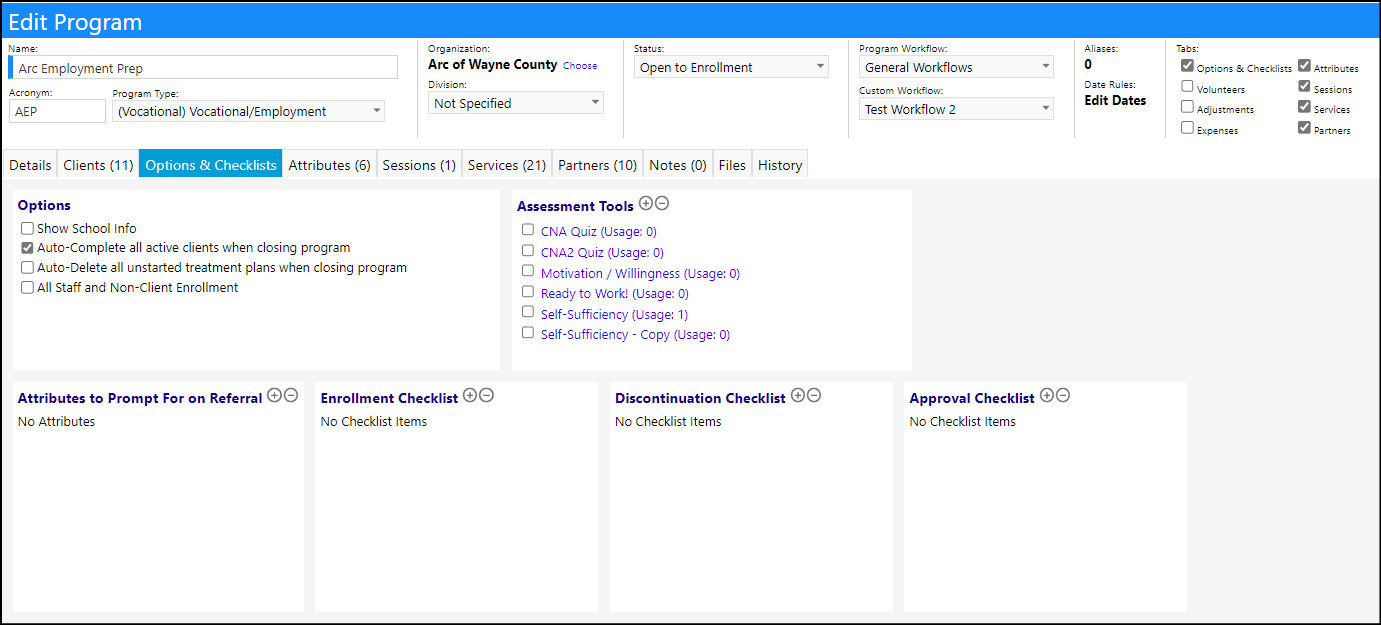
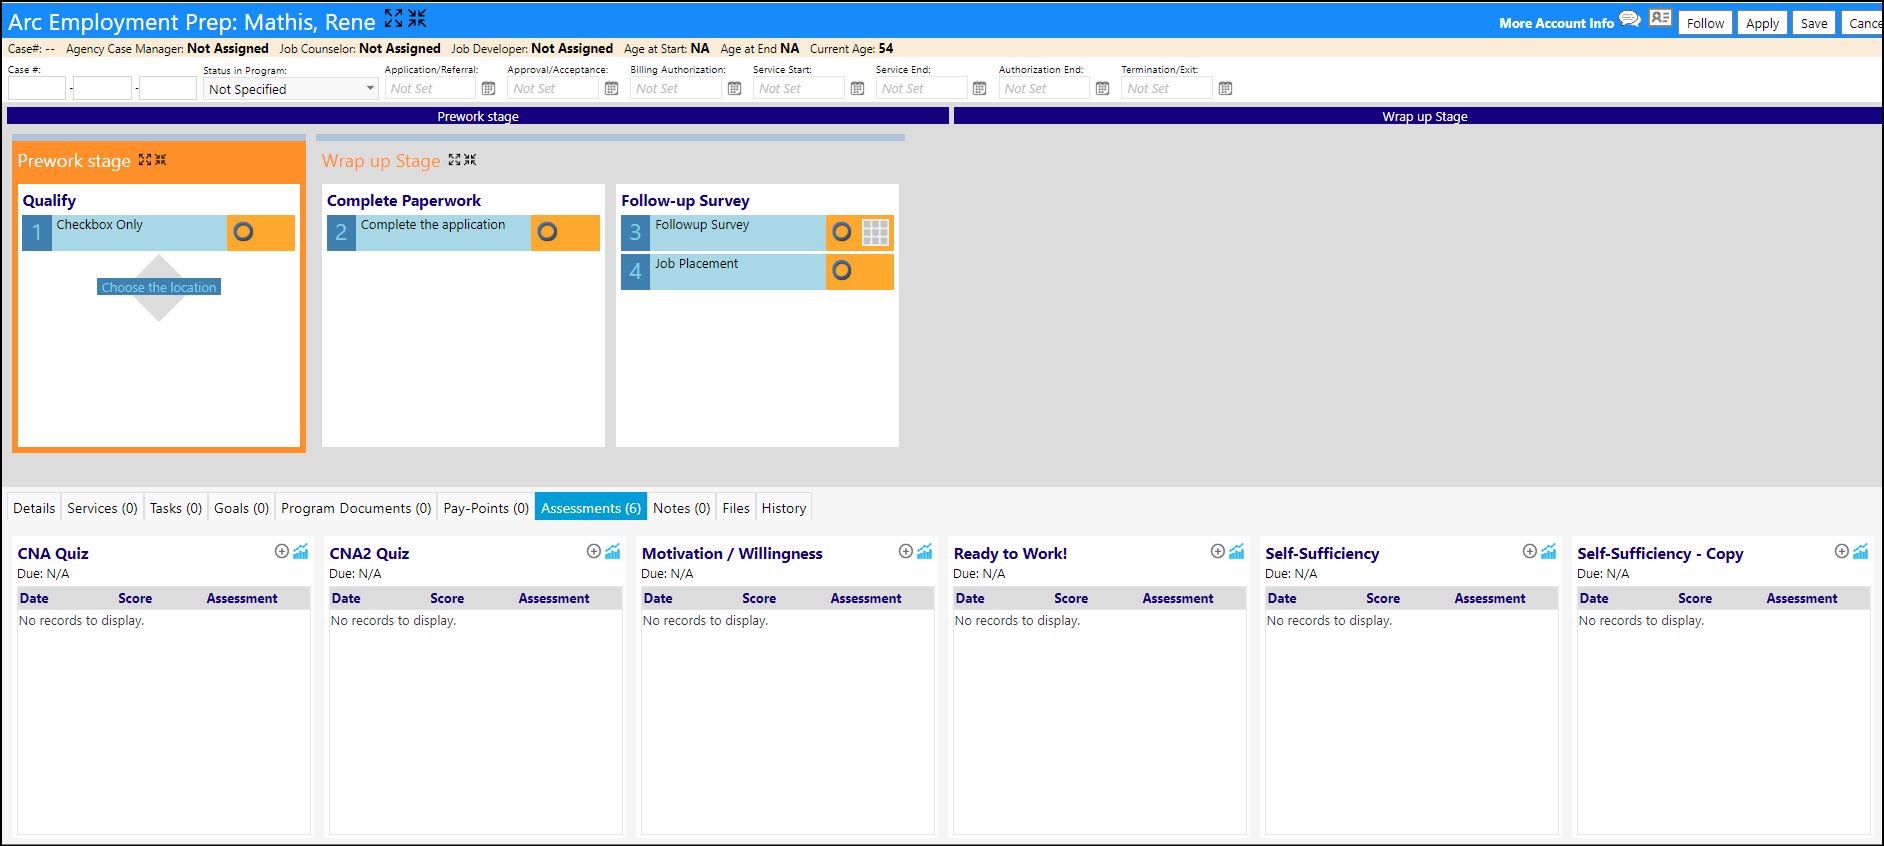
Once at least one Assessment has been added to a Program, in the "Checklists and Options" tab, the assessments tab will display in both the standard view and the workflow view of the Account-Program.
On the standard view Account-Program page, the buttons for adding and drilling into an Assessment are now hidden. On the standard Edit page and the workflow page, users need the Edit Account-Program entity right to be able to add a new Assessment, and need the View Account-Program entity right to be able to drill into a completed Assessment.
Account-Program Bulk Status Updates - Dates Added
When performing a bulk update of statuses in the Account-Program, the system now allows you to enter a date. That date will apply to the new status.

Users can view the statuses which are considered Final Program Statuses in the Configuration Lookup Lists.

Enhancement to Appointments
A new bulk action drop down was added to Appointments. This new functionality allows users to select one or more appointments and update them in bulk.

To make it easier to remove attendees, when selecting the appointment, the system allows only those attendees who were associated with that appointment to be selectable, instead of having users choose from a list of all possible attendees.
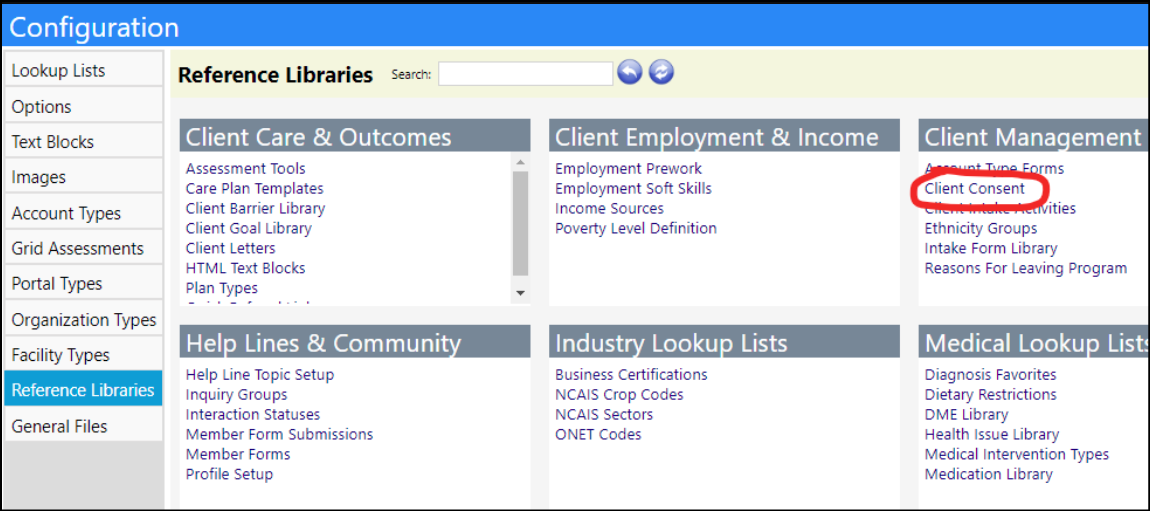
Client Consent Enhancements
The Client Consent Configuration page now has a section for panels. These Form Panels all default to being checked in Configuration (so if no revisions are made, all Consent Form Panels will display).
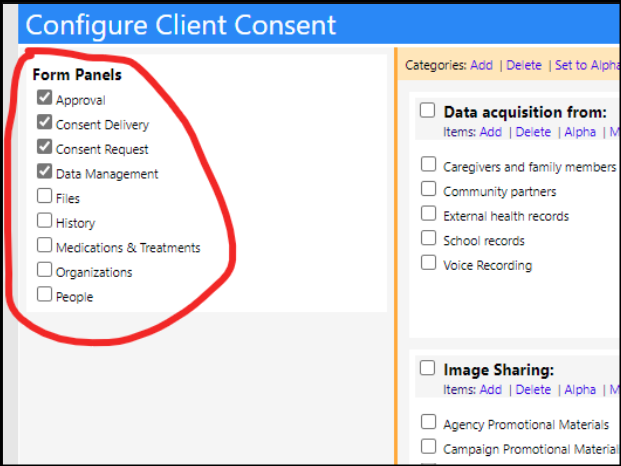
These Form Panels correspond to different areas of the consent page. The top 3 Form Panels appear at the top part of the Consent page. The bottom 6 Form Panels display as tabs on the Client Consent page.
The following is an example of the Client Consent page with all but one tab disabled:

The following example displays all tabs of the Client Consent page:
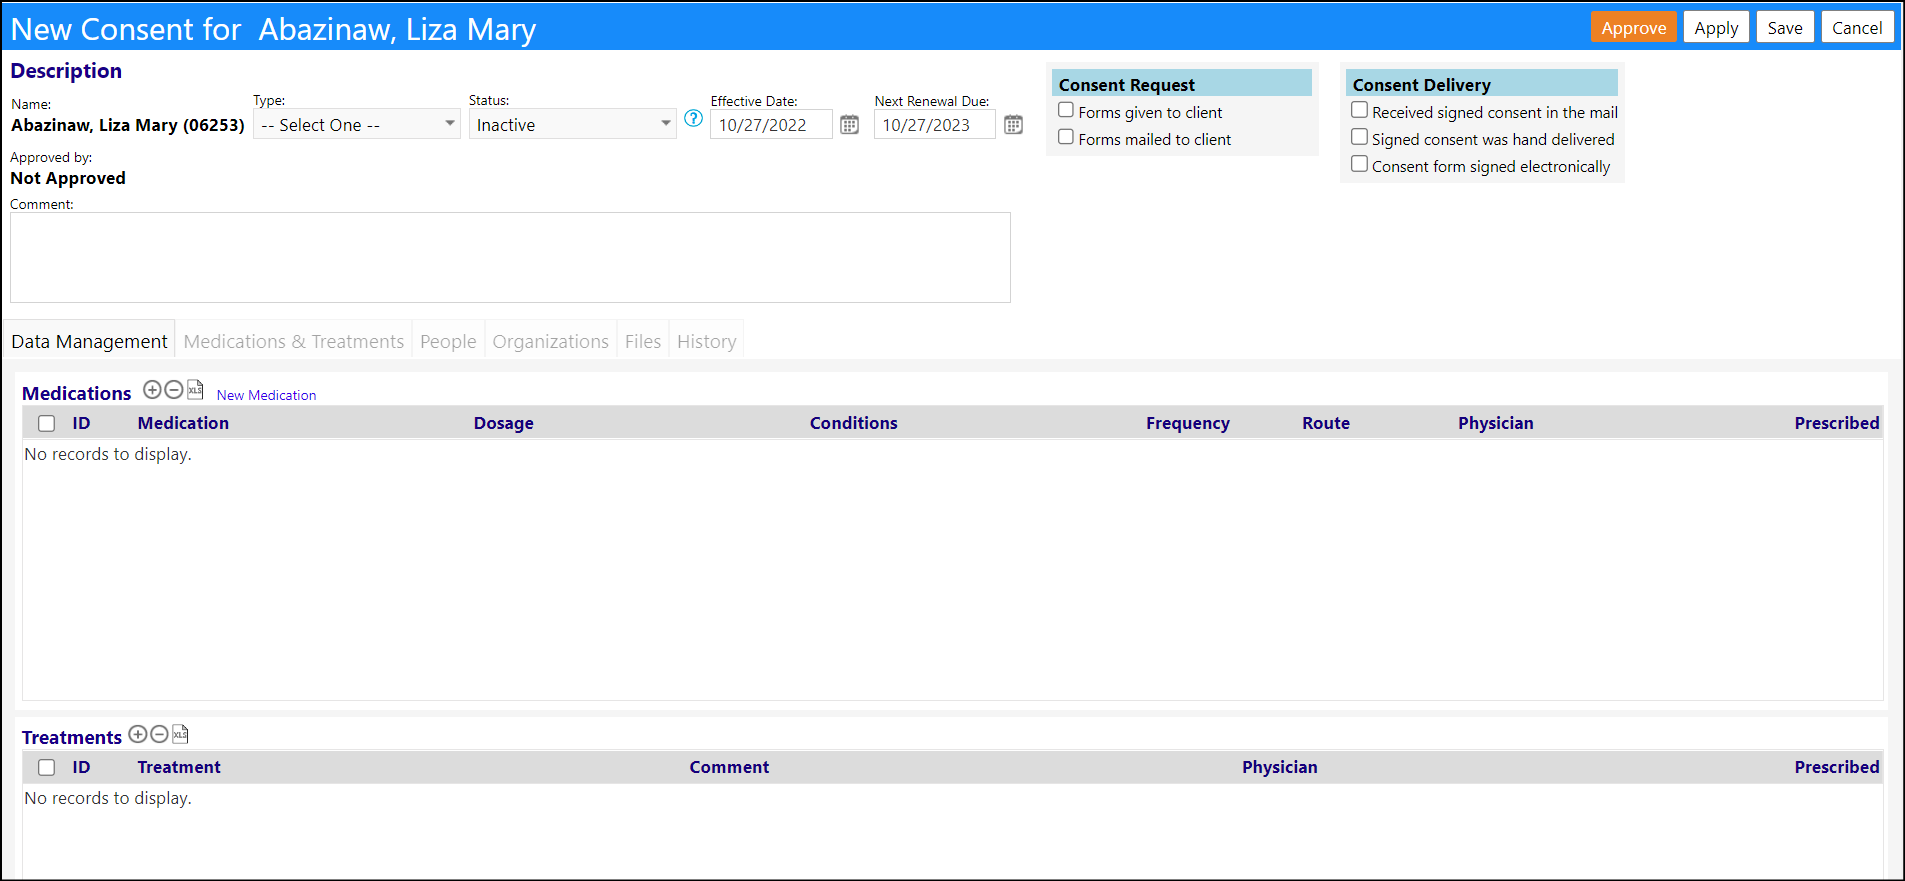
The top part of the page was also rearranged. The Approve button was moved to the banner and made orange so it would stand out. The Consent Request and Consent Delivery boxes were added and are system-defined. There is also a new Effective Date field.
Additionally, some changes were made to the columns on the Consent list:
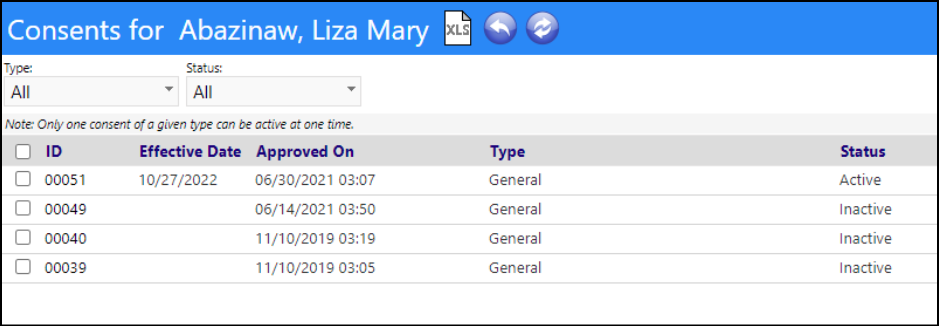
NOTE: There is some special behavior worth noting in regards to the Approval "panel". Several things change if you disable approvals in the configuration section:
- The Approve button and Approved By field on the Consent page don't show
- An approval/signing is not required to create an active Consent anymore
- The Approval and Authorization columns on the Consent list no longer show
A new Program Workflow action type has been created for Client Consents.

If desired, users can set tasks to generate upon completion of this action type. The conditional dropdown lets users generate a task if the Client consented or didn't consent.
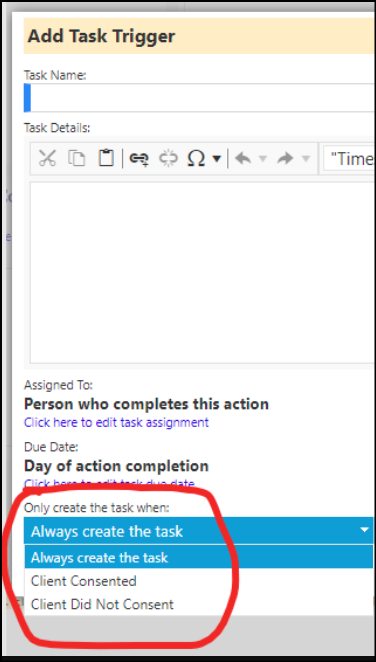
On the actual Program Workflow, clicking the Edit grid icon will bring the user to a page to generate a new Consent for the Client.
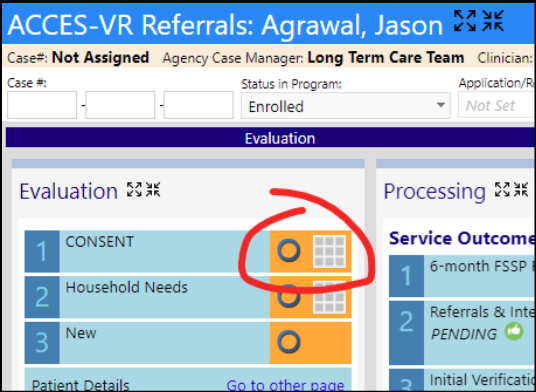

Users can click the circle in the workflow to complete this step regardless of whether they actually logged a Client Consent or not. But, completing the step will cause tasks to generate.
When a task is set to generate only if the Client Consented, the system will look for these conditions, and only generate a task if all of the following are met:
- There exists at least one Consent for this client where:
- The status is active
- The date the workflow step was completed (the date entered into the completion popup) is between the Consent's effective date and the Consent's next renewal date
If the task is set to generate if the Client didn't Consent, it'll instead generate if it does not find at least one task meeting the above criteria.
Client Intake Change
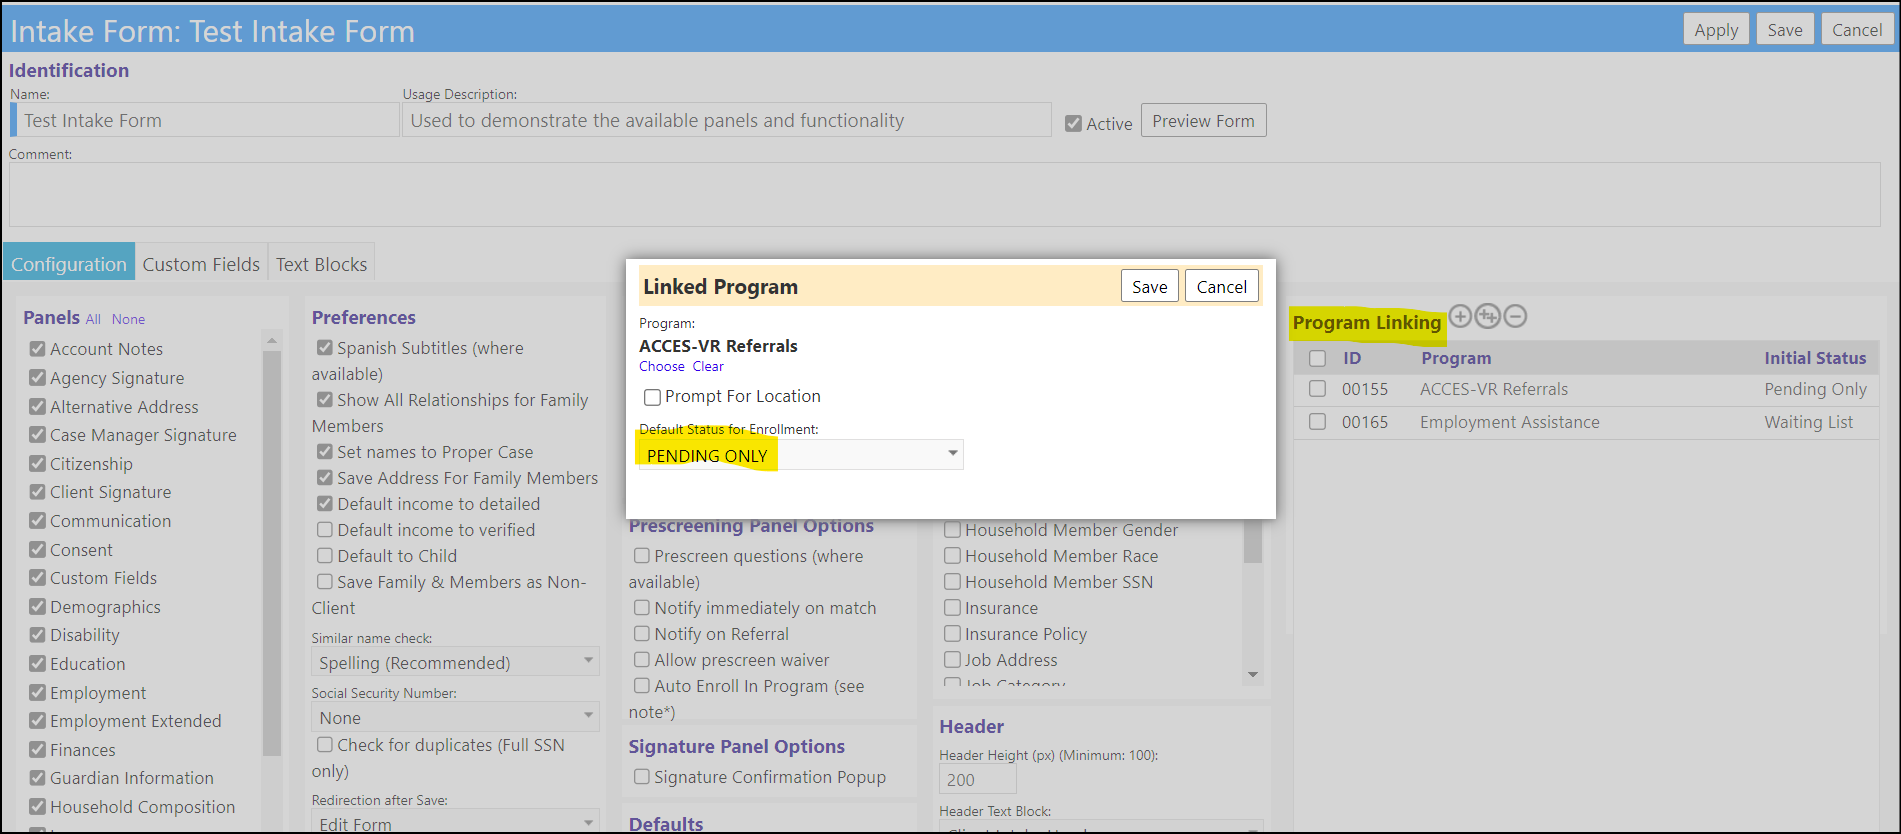
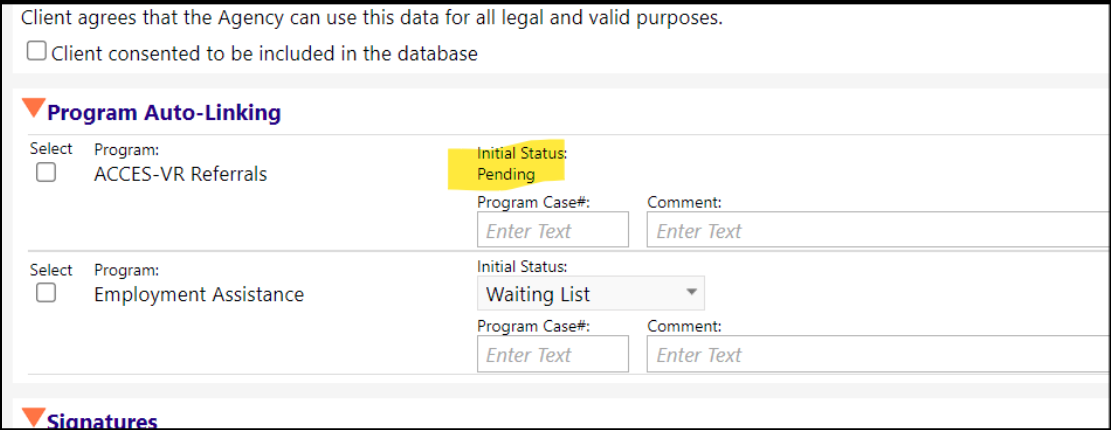
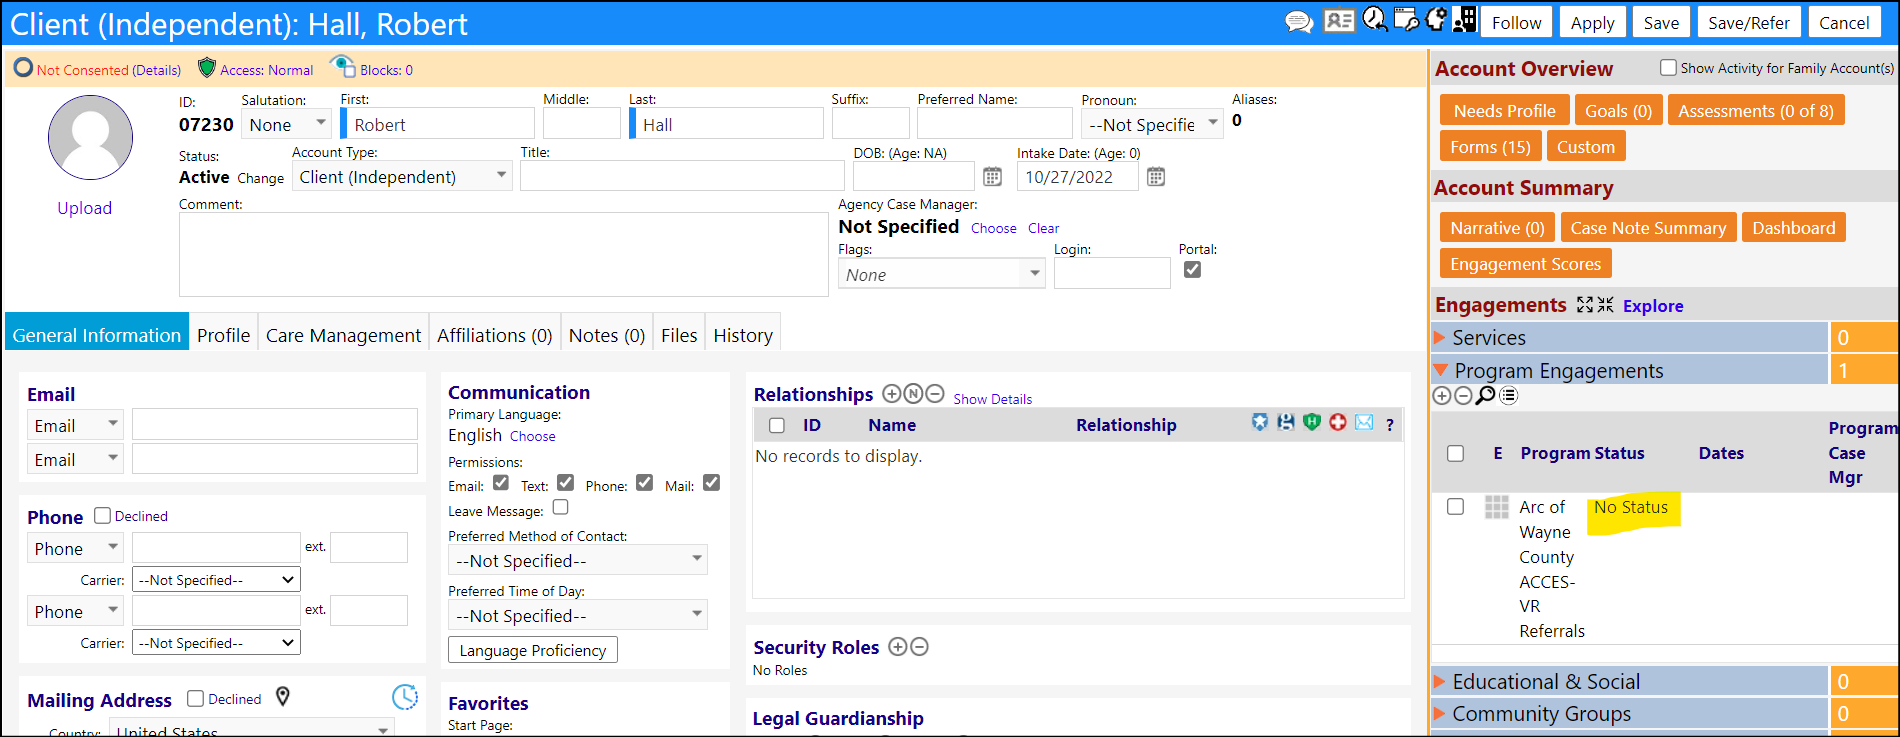
When a Program on the client intake form is set for an auto-enrollment with the status of Pending, when the intake is processed and that program is selected, the client is enrolled in that program with no status.
As setup in the intake form:
When the intake form is opened:
Upon selection of that program in the intake form's Program Auto-Linking section, when the client account is created, they are added to that program, with no status:
New Feature: Client Letters
A new database of Client Letters has been created. These letters can be created with reserved words that reference the Account, Organization and Account_Program.
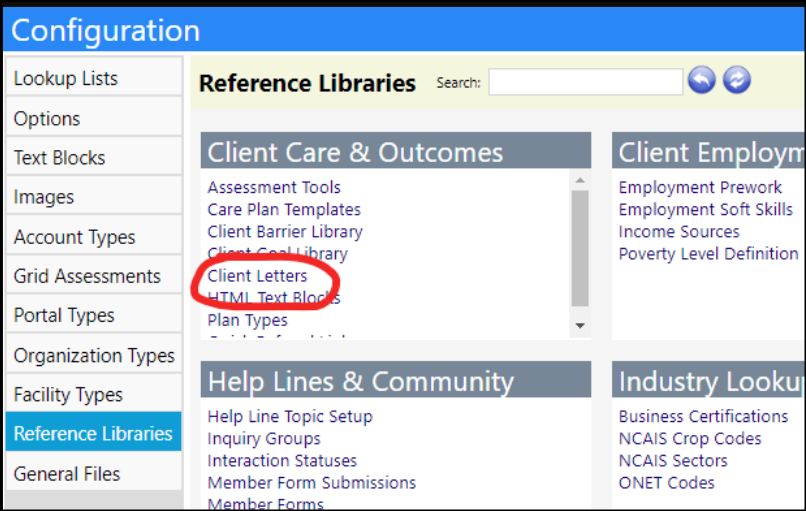
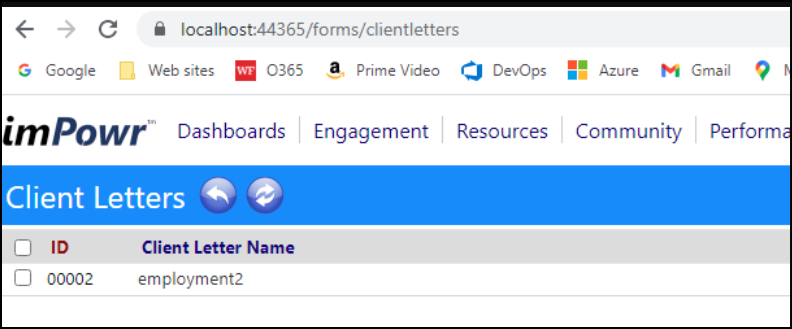
The basic fields for Client Letters are displayed as follows:

When users click "edit content" they can edit the letter in the html edit page with reserved words:

Client letters now have a field for language (this is the same list of languages which are usable on forms). Similar to other forms, these letters can be translated to other languages.
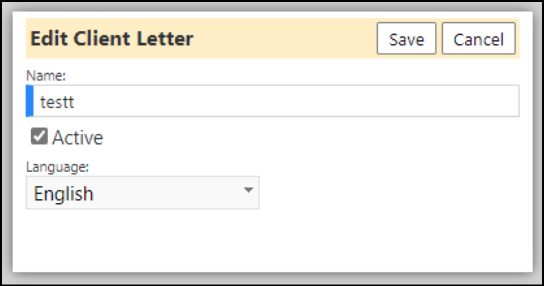
Clicking on the translate button on the list of letters will copy a selected letter and translate its contents (the same way the copy and translate works for forms).

There is also a translate button when editing the letter's contents. This is slightly different from the copy and translate button. Clicking this will translate the contents of the text editor and not make a separate copy.
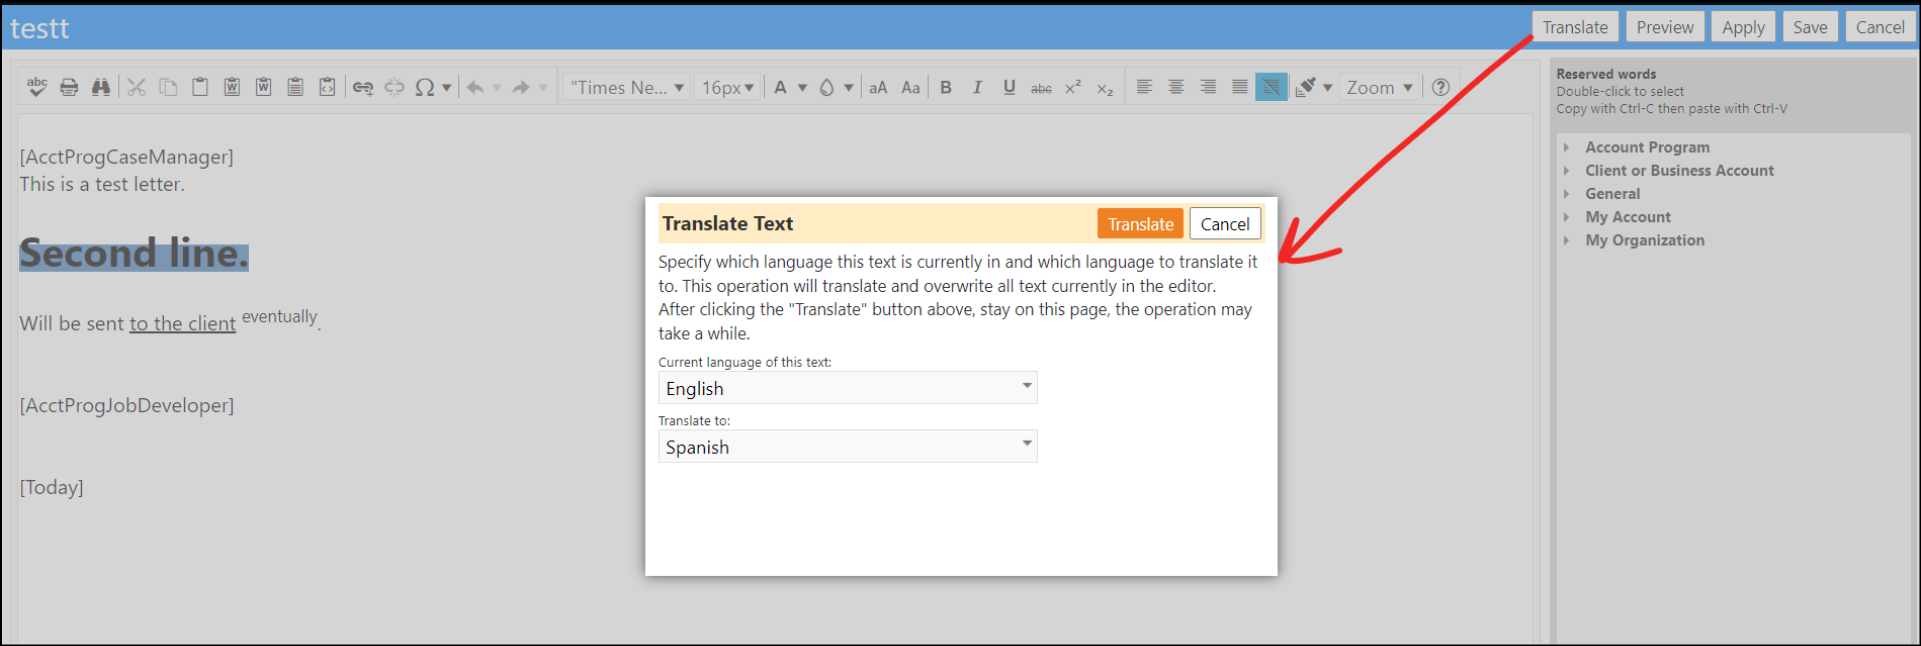
The translator will keep any formatting which was created in the client letter, but the Reserved Words won't get translated (this is similar to other forms and allows the Client Letters to still still work if it is translated to another language.)
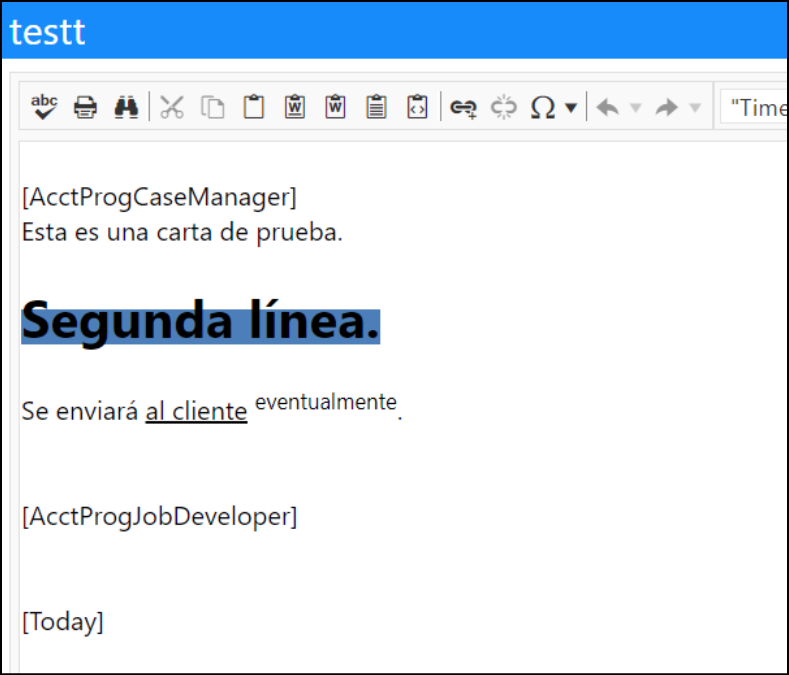
There is now a new Program Workflow action type for client letter. Selecting this Action Type allows users to add several client letters to this action.
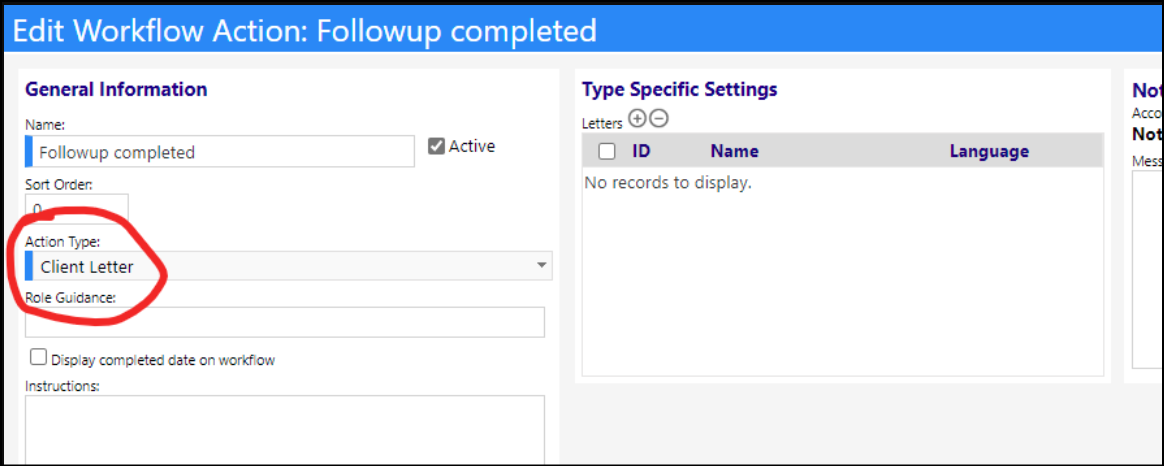
The chooser for Client Letters displays which language each Client Letter is in, so users can quickly identify which Client Letter to use in case they translate letters into multiple languages.

The Client letter Account-Program workflow steps now have functionality as well. Clicking the edit grid icon after setting up these steps will do different things based on the number of letters attached.
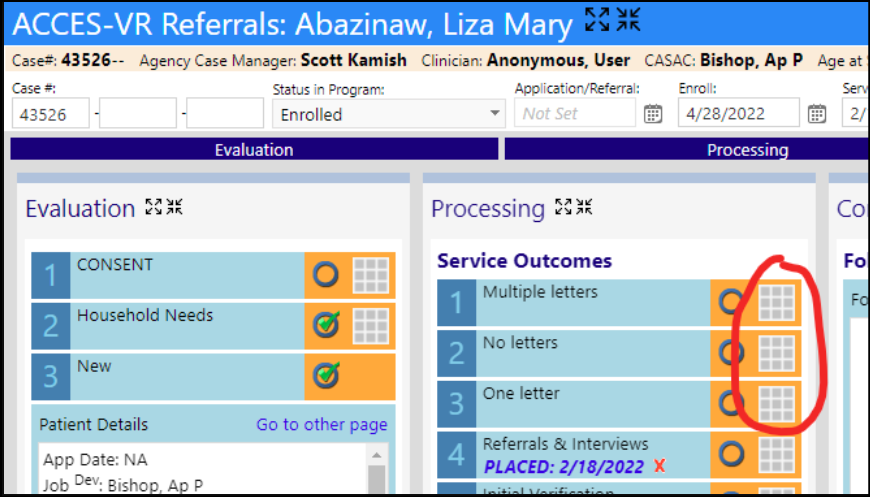
- If no letters are attached, users will receive an error message.
- If one letter is attached, users will be brought directly to that one letter.
- If more than one letter is attached, users will be presented with a choice of letters from which to select, and then be brought to the letter view page.
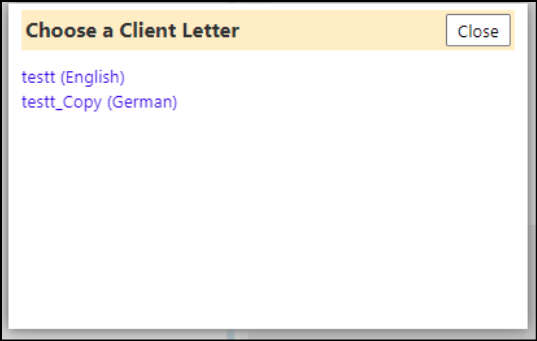
On the view page, users have options to print the page and complete the step. Printing the page accesses the regular browser print functionality.

Completing the Printing step opens a pop-up window containing a list of options to select from, based on how the Print was handled. Users are required to select one of the Print options before proceeding.
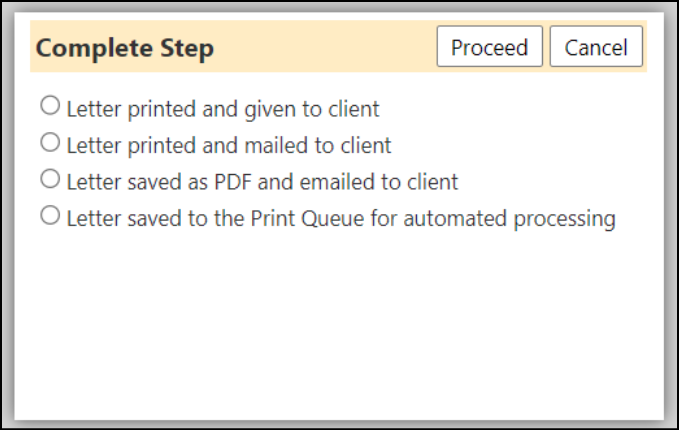
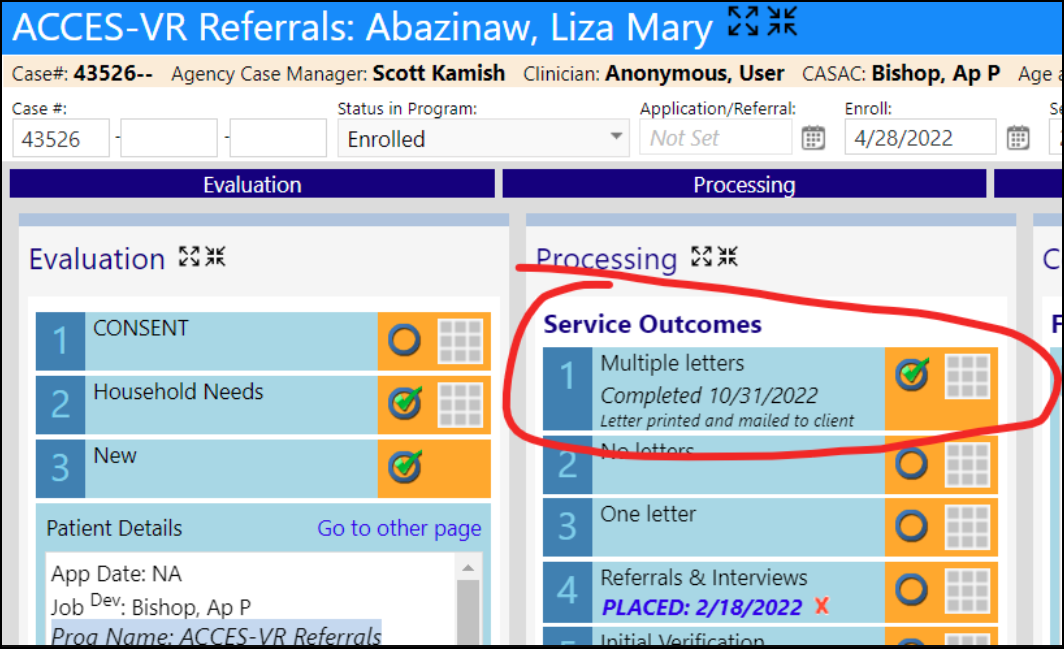
After choosing one of the Print Options and proceeding, users will be brought back to the workflow page, where they can view the step was completed, and can view their Print option selection.
Enhancements to Facilities
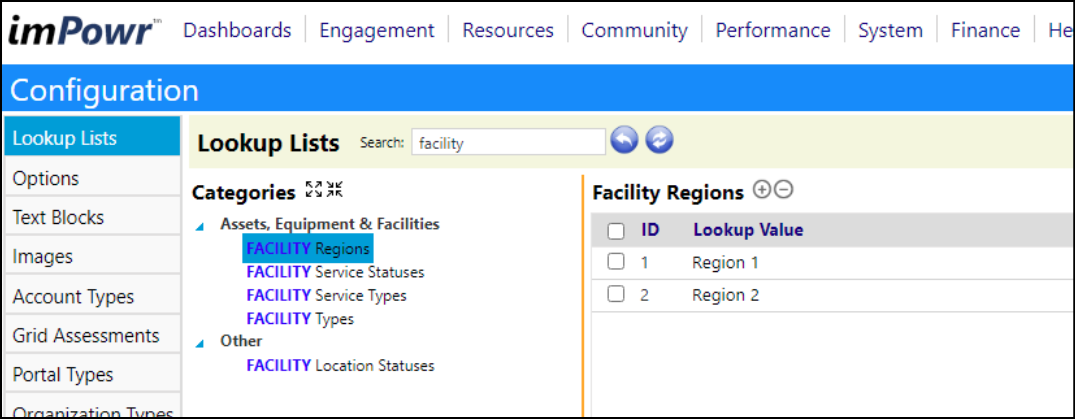
Users can now setup Regions in the Configuration Lookup Lists, and add those Regions to facilities.
Using filtering by Regions and the optional display of a Regions column, users can quickly identify the facilities within a specific Region, in the Facilities List.


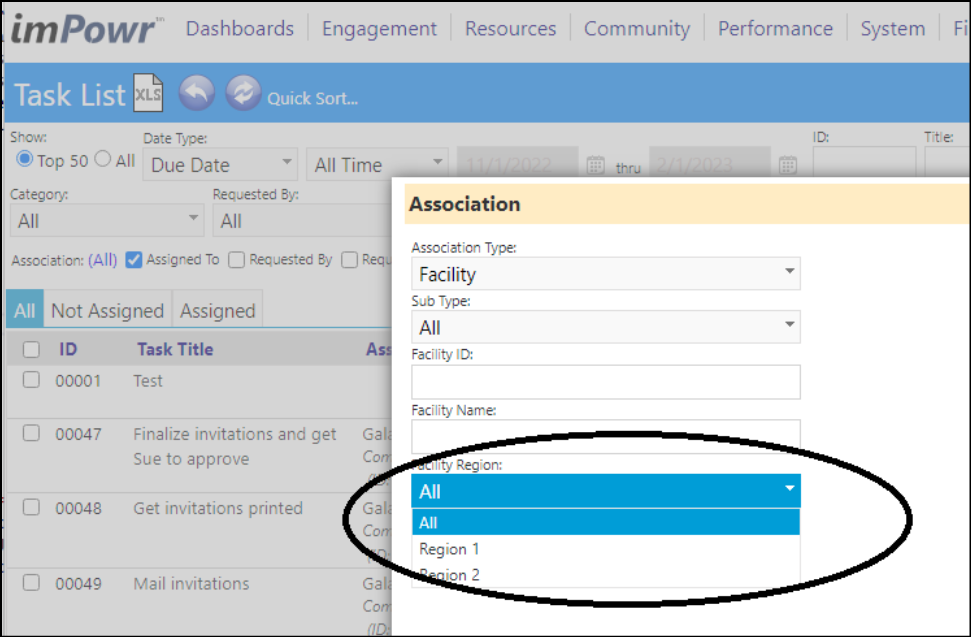
Facility related tasks can also be filtered by Region:
Facility Inspections can also be filtered by Facility Region:

Users can also now filter the Facilities List by status.

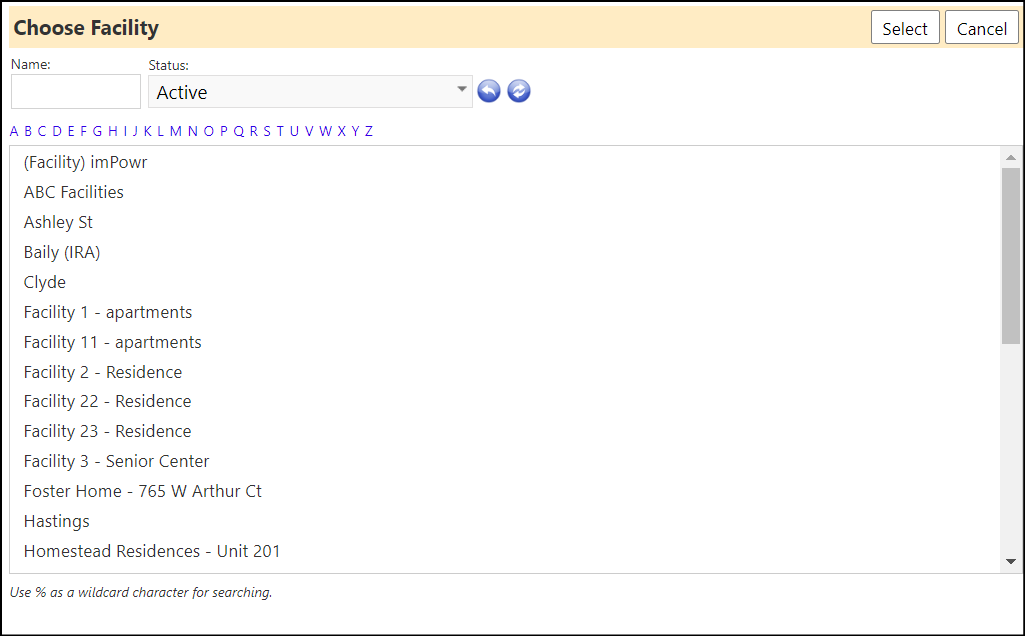
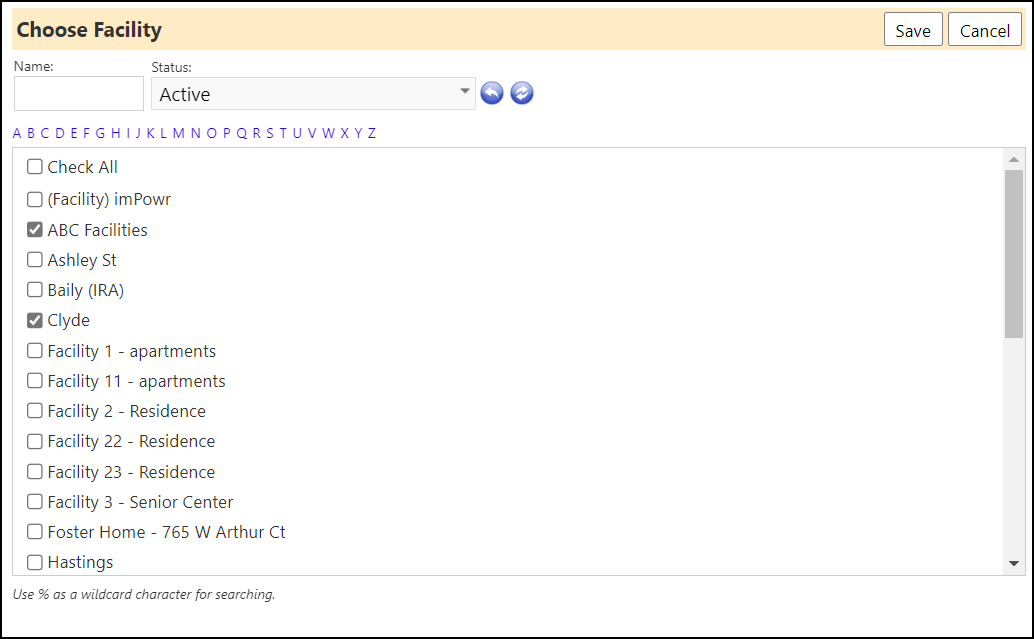
When scheduling Facility Inspections, they can also select the Facility by that status:
Single inspection:
Multiple Inspections:
Organization Enhancement - Coverage Areas Added
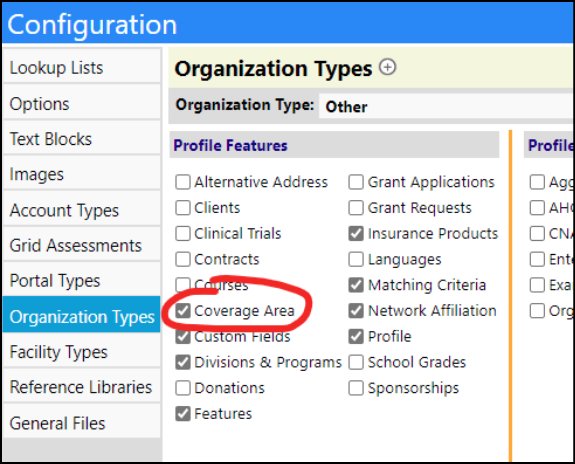
When setting up the various Organization Types, administrators can activate a panel in the Organization which allows the administrators to specific what geographic areas the organization covers. The Geographic Scope, which is used for this purpose, has been renamed to 'Coverage Area'.
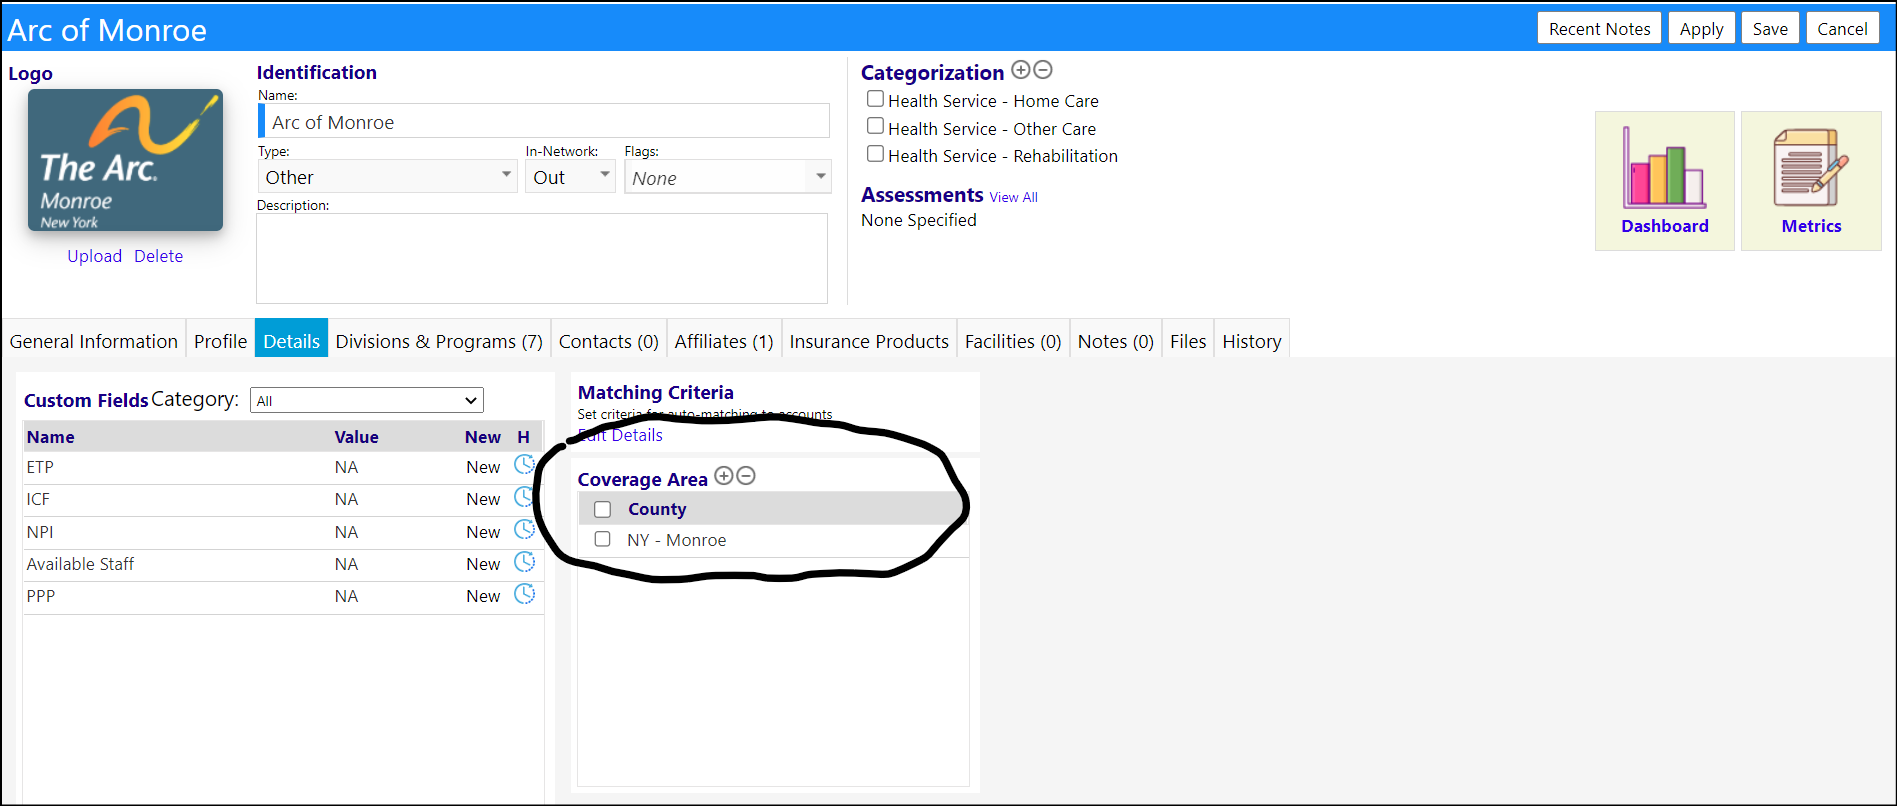
Once the panel has been setup, the Coverage Area will display on the Organization profile. In edit mode, users can add/remove counties from this section.
Provider Organization Enhancements - Multiple Changes
A new filter has been added to the Provider Organization list page. This filter will list out any county in the "Coverage Area" section of the Organization profile on any Organization. Users can also see a new column for Coverage Area for each Provider Organization.

A new flag has been added to Organizations so they can be designated as a Provider Organization.
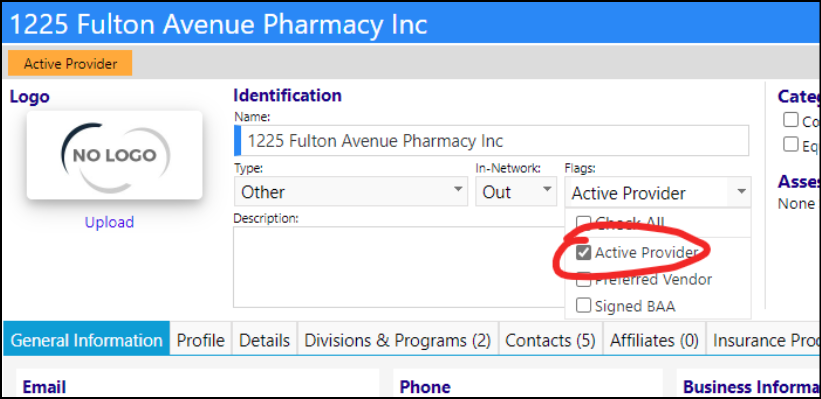
Flagging an organization as an active provider will let it display on the Provider Organization list, even if that organization is not listed as the provider for any clients. The provider list shows organizations that have served at least one client as their Provider Organization (what it did previously) PLUS it now it displays organizations with this new flag. An additional Active/Inactive filter is also available for filtering the list display.

In the Program Workflow, when users select a Provider Organization, the list of Provider Organizations will now show in a tree format based on the counties served.
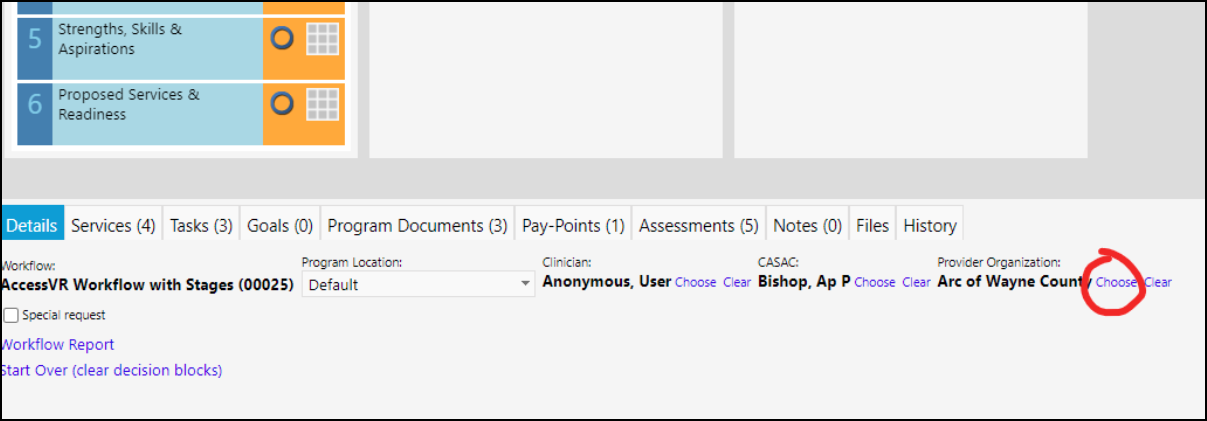
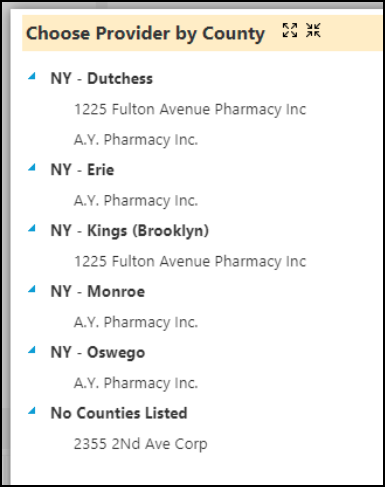
One Provider Organization can show up in multiple counties (since they can serve multiple counties). If an organization has the active provider flag, but has no counties, it'll show in the last category at the bottom. Any organization that has counties, but doesn't have the active provider flag will not show in this list.
Report Printing Enhancement
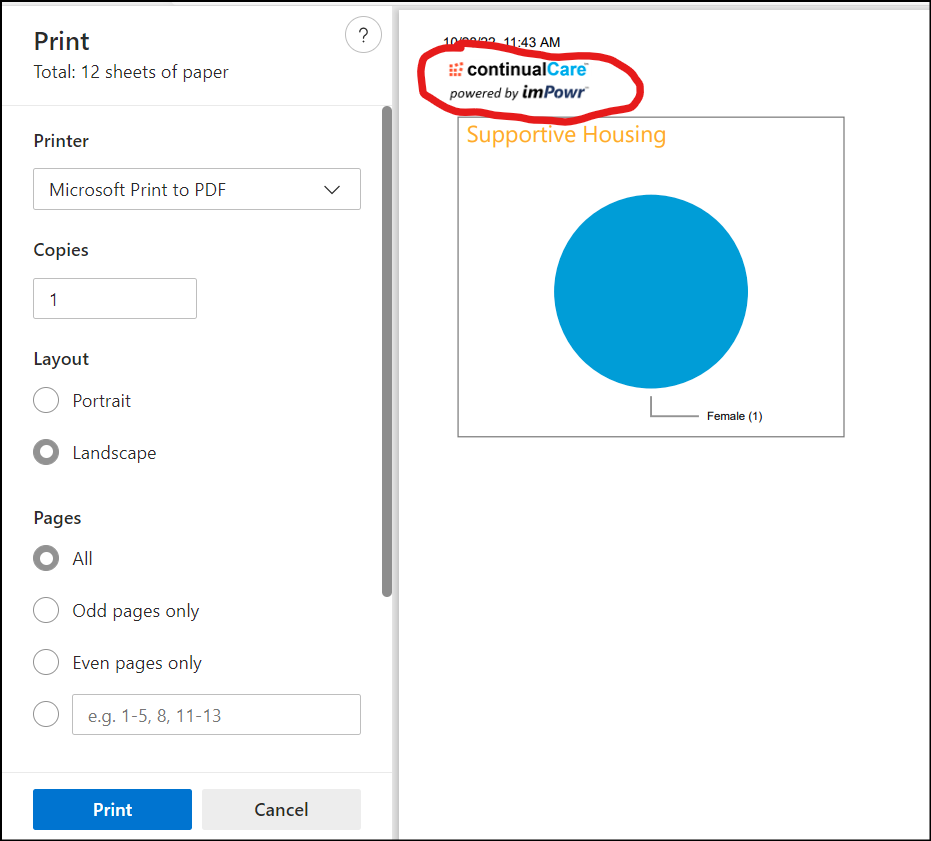
When printing pages, the customer's logo can now optionally be displayed above the tag line: "powered by imPowr".
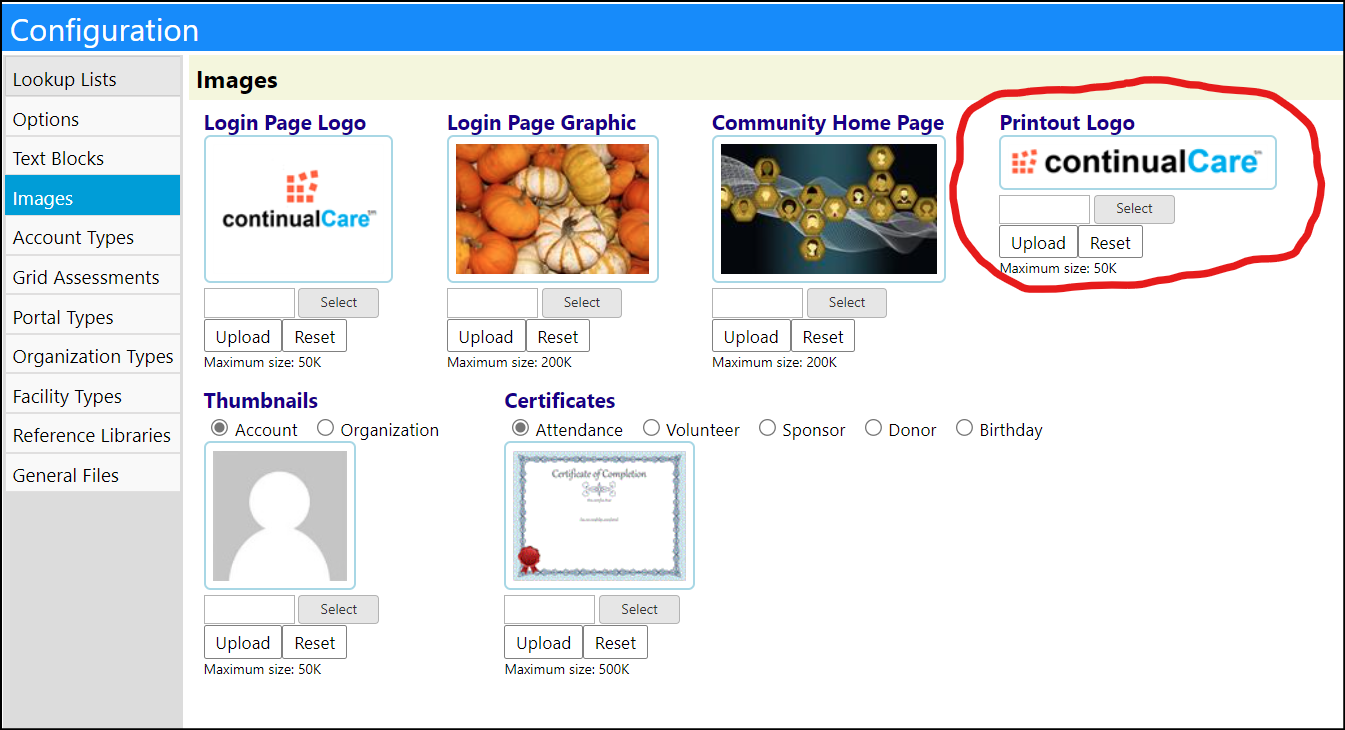
Agencies can upload a version of their logo, into Configuration Images, that will only be used when printing reports.
When printing any page in the main application (none of this applies to portals), by default users will now see the "powered by imPowr" image at the top instead of the regular imPowr logo.

Optionally, in configuration, customers can now upload a version of their logo that will show up on printed pages above the "powered by imPowr".
Vehicle Mileage Updates Enhancement
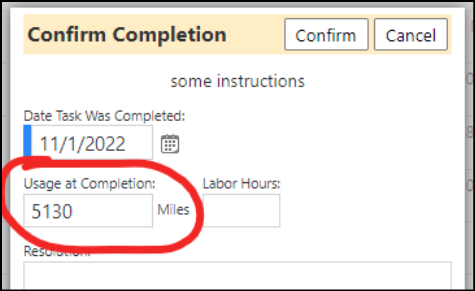
The usage at completion now updates the odometer value for vehicles. When a task is about to be completed...
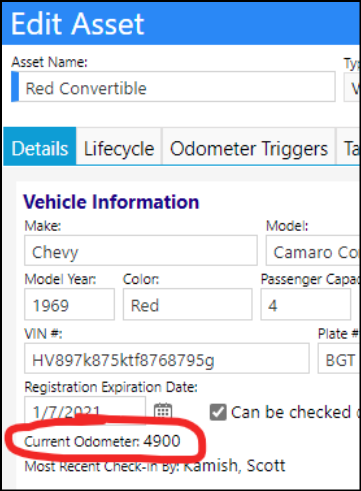
The mileage updates as the task is completed.
Since the mileage entered was higher than the current odometer, it updated the odometer value. This actually creates a checkout of the vehicle and assigns the mileage entered to it.
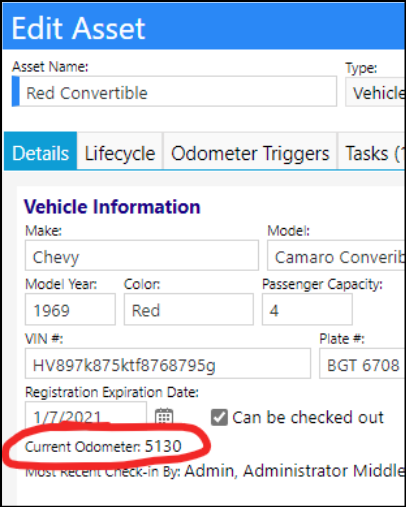

Doing this will also trigger any odometer triggers this asset has if those triggers are set to "auto" only.
Since the current odometer value is a field derived from the list of check-ins, the only way to update the odometer is to create a check-in, and that means odometer triggers occur when updating that value. Some odometer triggers automatically happen, and some have to be confirmed via a manual popup window before they can happen. Normally for manual triggers, a popup will show asking if the user wants to create the tasks listed, and the user can either confirm their creation, or skip that step and do it later. Since a user can complete a task from almost anywhere in the application, the system will act as if the user "skipped" creating those manual triggers, and the user will have to go back in and generate those tasks manually.
Enhancement to Workorders
A new option to control if a confirmation screen appears or not when submitting a workorder has been added. The setting defaults to Not providing the confirmation.
