This article will tell you how to create and modify a contract.
Creating/Modifying a Contract:
To create or modify a Contract, access the Contract screen in the Contracts section of the Community menu.
A new page will open:
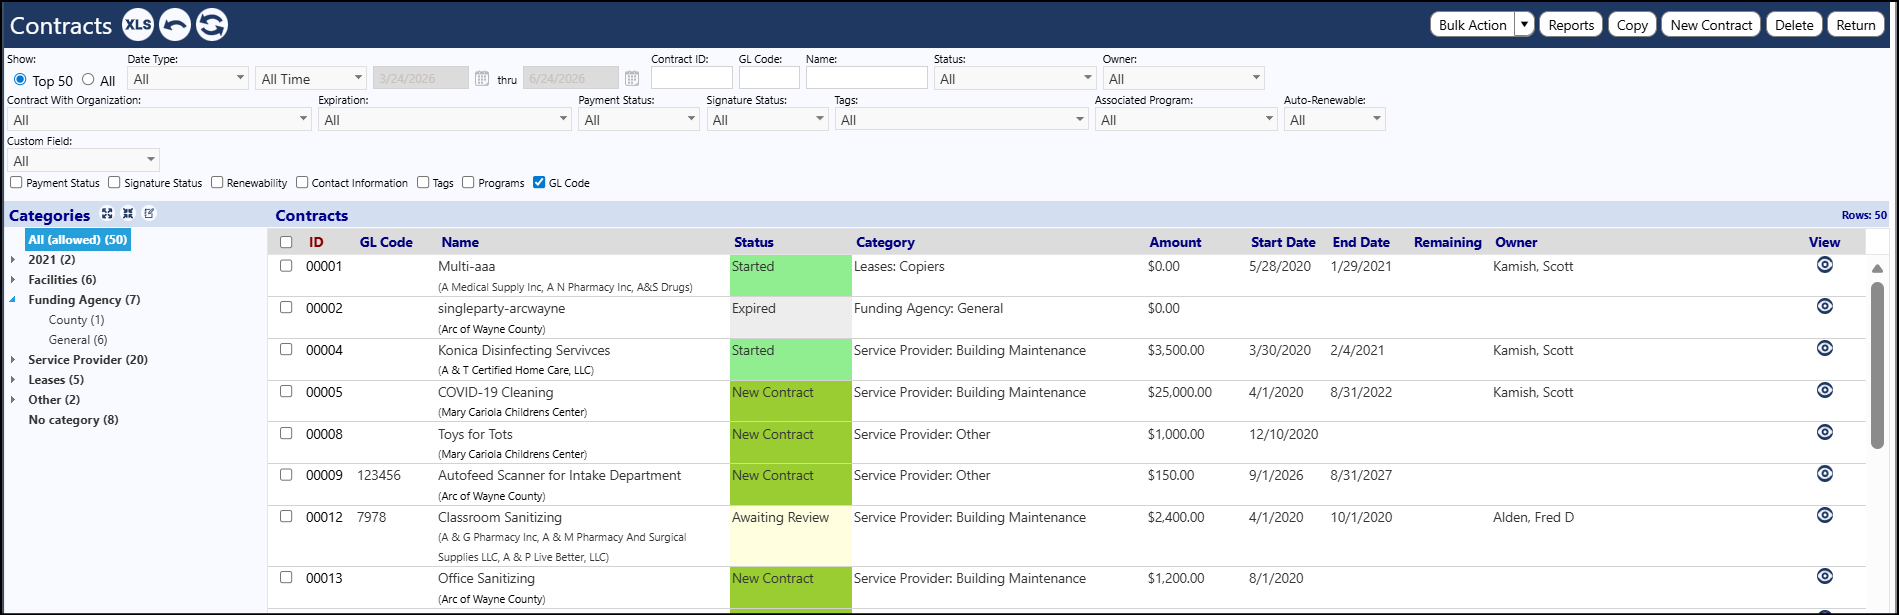
From this page, you can Copy, create a New Contract, Delete, or Edit an existing Contract.
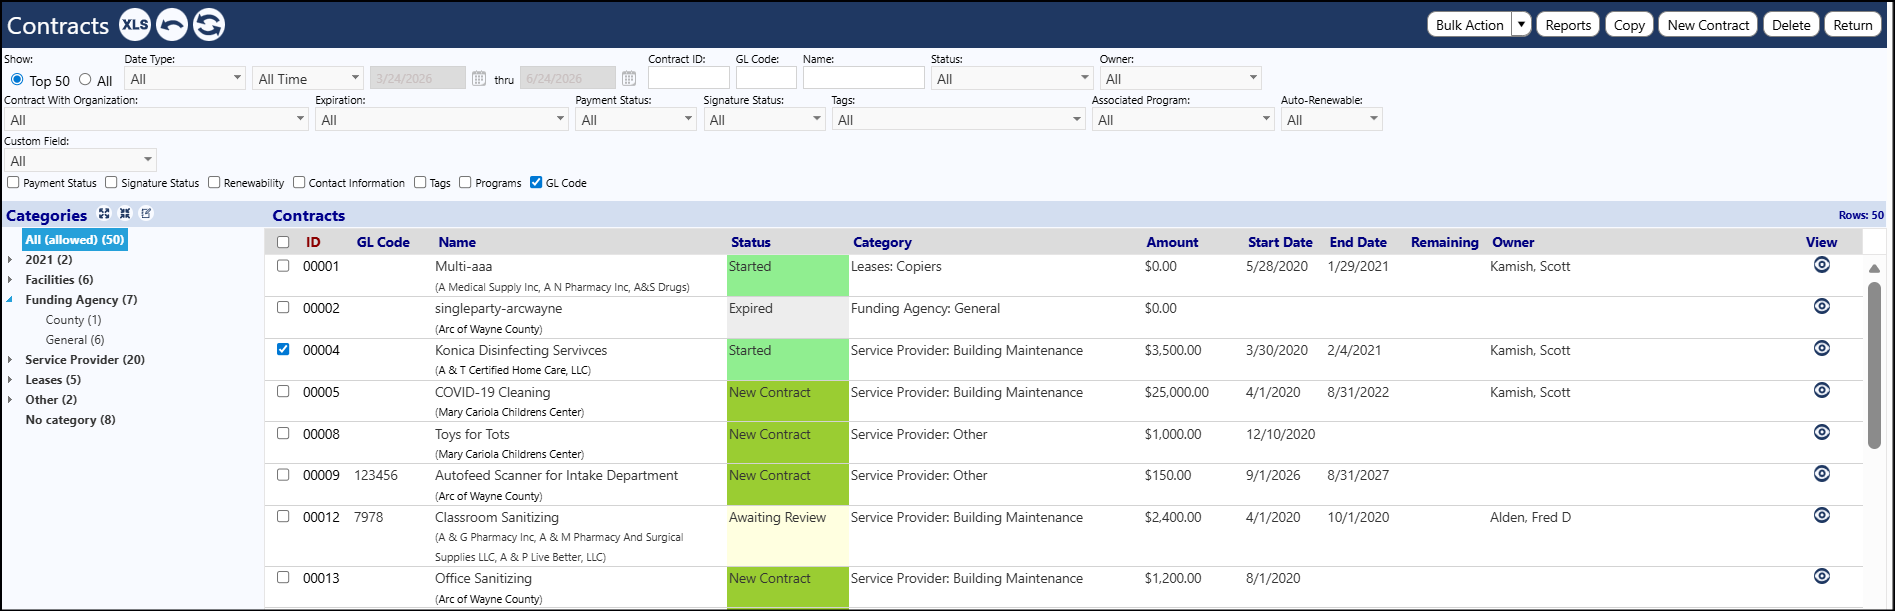
To Copy an existing Contract…
- Click on the box to the left of the Contract
- Click Copy
After you Confirm copy of the contract…
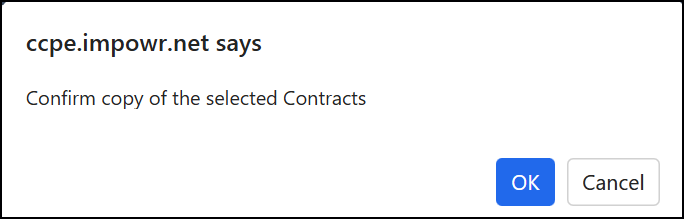
A copy of the Contract will be created:

To Delete a Contract…
- Click on the box to the left of the Contract
- Click Delete

After you Confirm deletion of the contract…
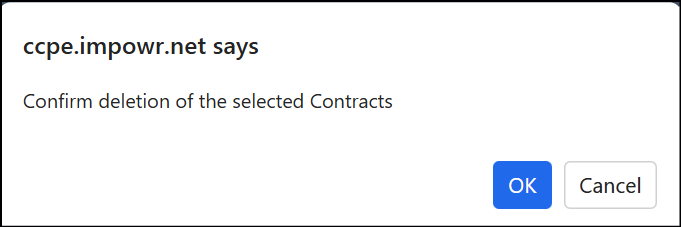
The Contract will be deleted.

To create a New Contract…
- Click the New Contract button

-
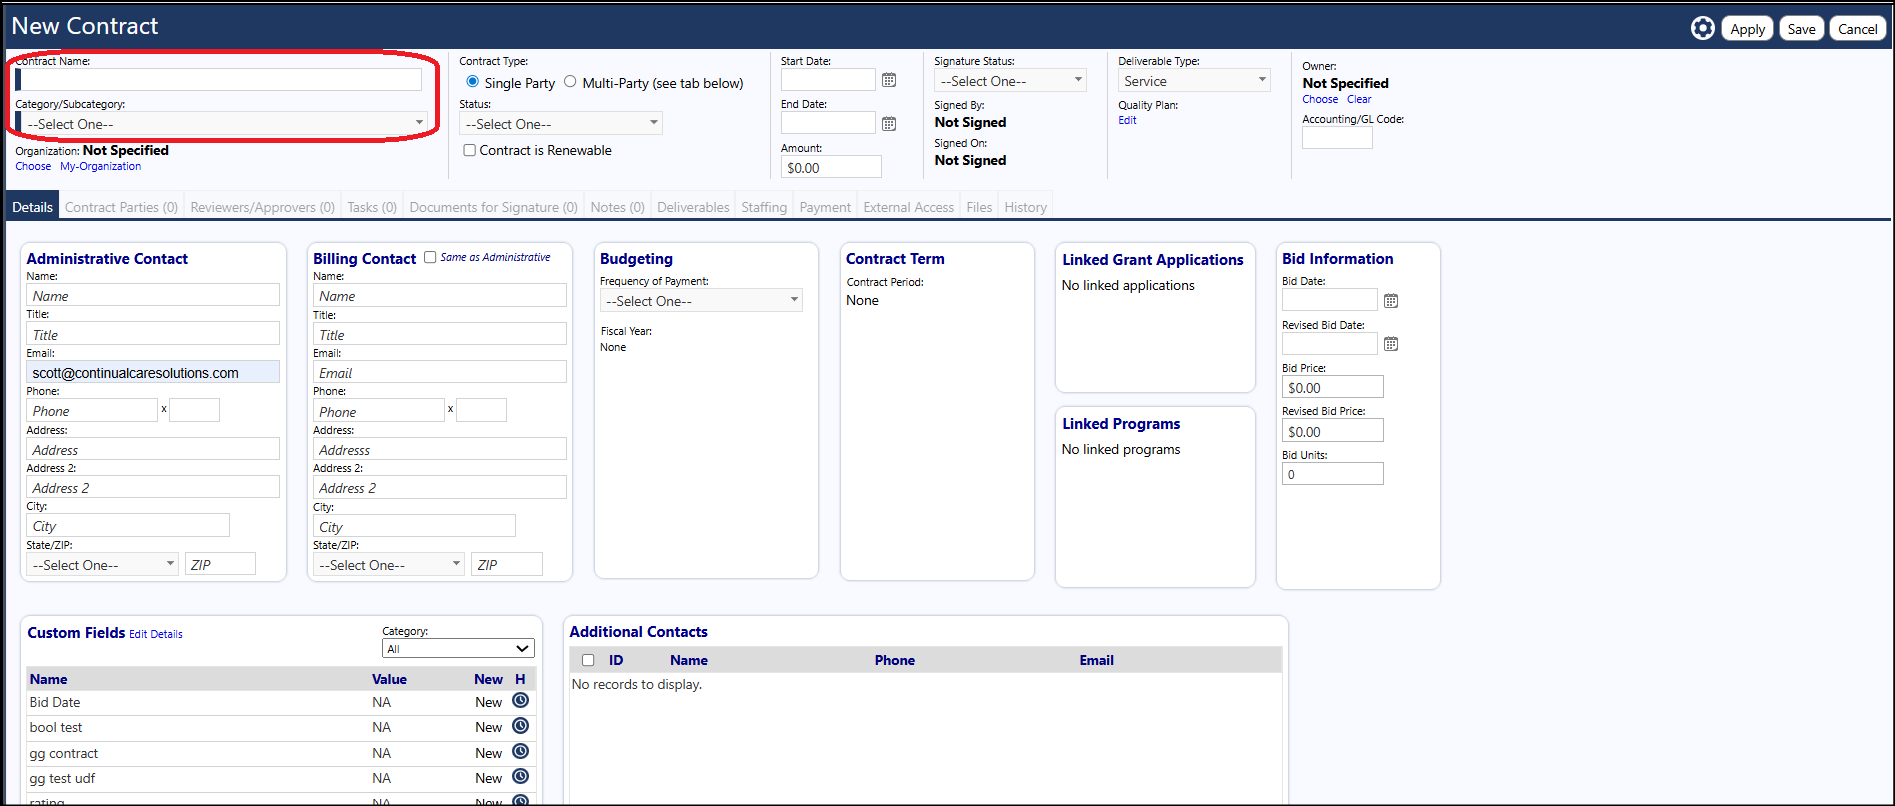
Enter the Contract Name (required field)
-
Select the Contract Category/Subcategory from the drop-down list
NOTE: the Contract Category/Subcategory is user configurable. Prior to creating a new contract, locate the Categories section of the Contracts page.
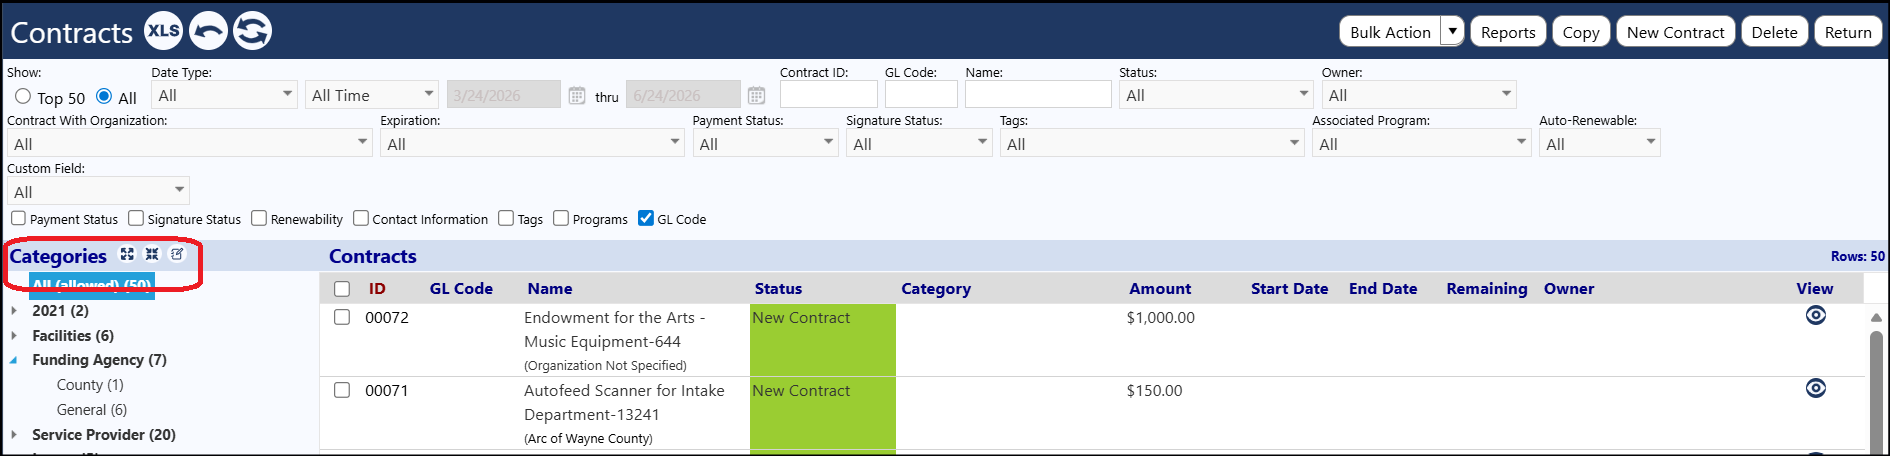
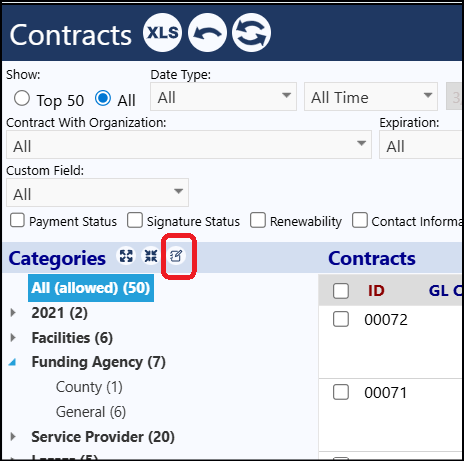
- Click on the Edit Categories icon
- Click on New Category to add categories to the list

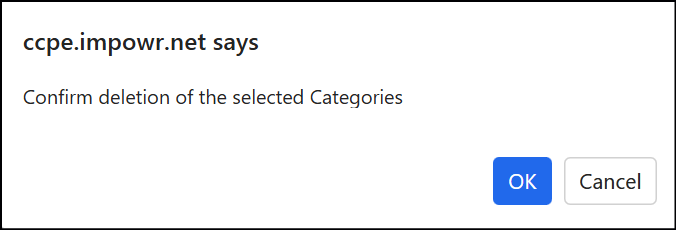
- To Delete a category, click the box to the left of the Category and click on the Delete button

- After you Confirm deletion of the Category, it will be removed from your list
- To Add subcategories, click on the ‘+’ sign in the row containing the category

- Enter a name (required field) and sort order for your new subcategory
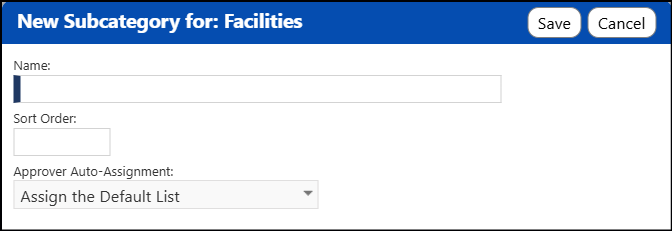
- Click on Save
Your new subcategory will immediately appear in the list
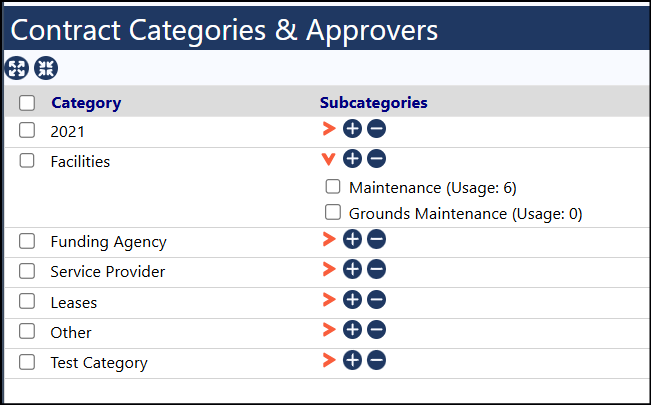
- To Delete a subcategory, click the box to the left of the Subcategory and click on the ‘-‘ button

- After you Confirm deletion of the Category, it will be removed from your list

- Click on Return to exit out of the Categories section of Contracts
- Fill in as much additional information as you can, as completely and as appropriate as possible
NOTE: only the fields with the blue lines on their left are required fields. Beneficial fields to enter are the Status, contact Start Date and End Date, Signature Status, and Organization (select by either clicking on Choose and selecting an Organization from the drop-down list or clicking on My-Organization to select the organization you are affiliated with). Note: if you select the Signature Status of “Signed”, the system will prompt you to select the person who signed the contract and enter the date of the signing.

Disclaimer: Names of people, organizations, and data displayed in this document are for demonstration purposes and do not reflect actual people, organizations, data, or situations.
- Click on Apply to save your entries and keep you on the same page, activating the tabs
- Fill in as much additional information as you can on the other tabs, as completely and as appropriate as possible
Documents for Signature:
The Documents for Signature tab is where you would attach documents to the contract, which you wish to be signed
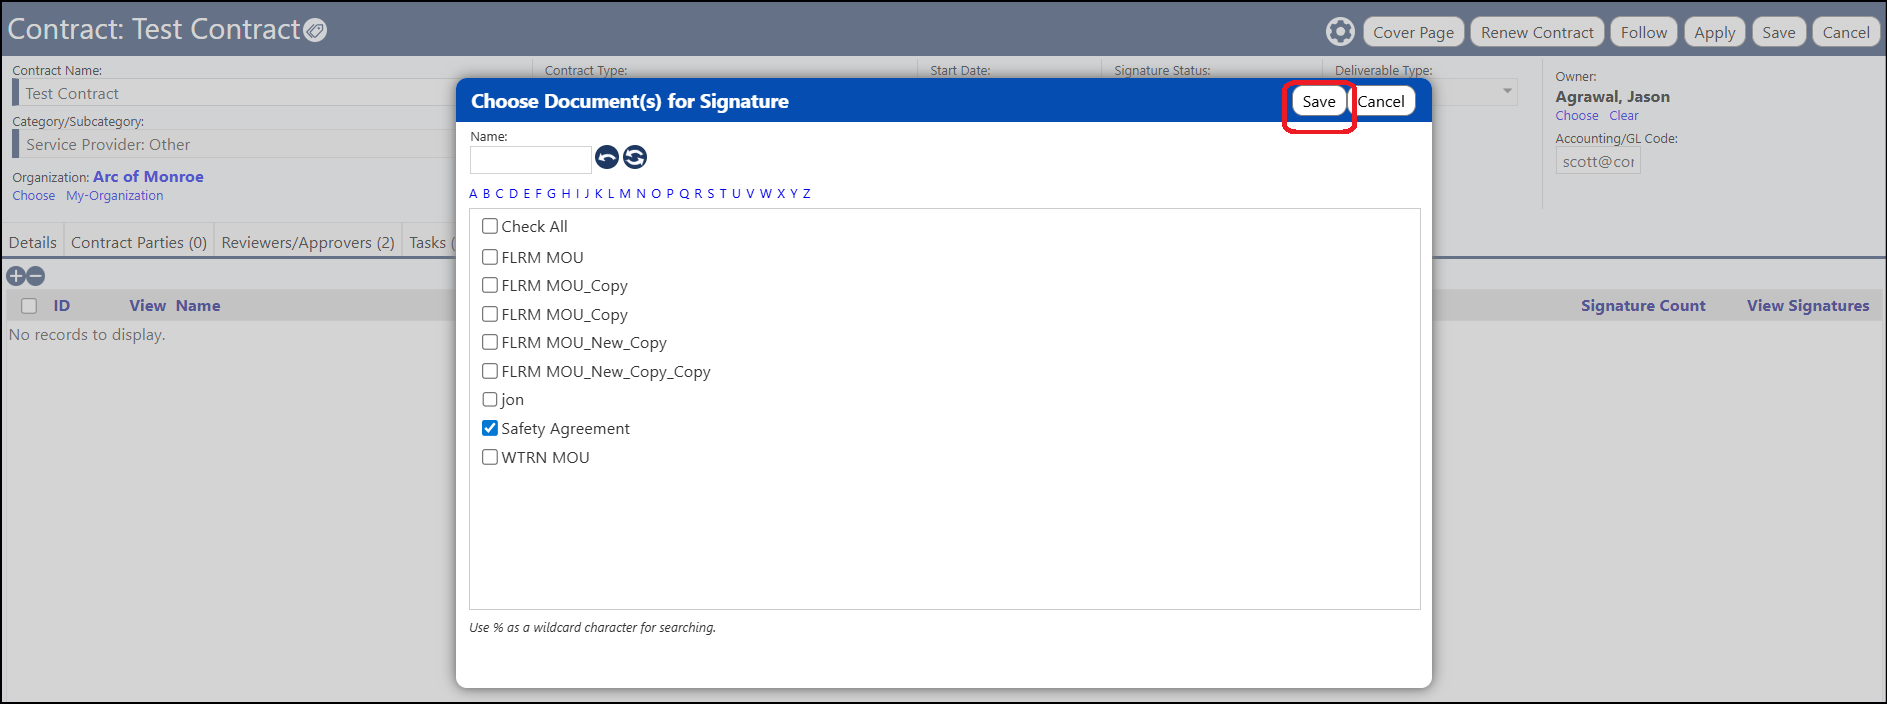
- Click on the “+” sign to Add a Contract Template

- Choose Document(s) for Signature, by checking the box to the left of the document name
- Click on Save
NOTE: these documents are the Contract Templates previously created.
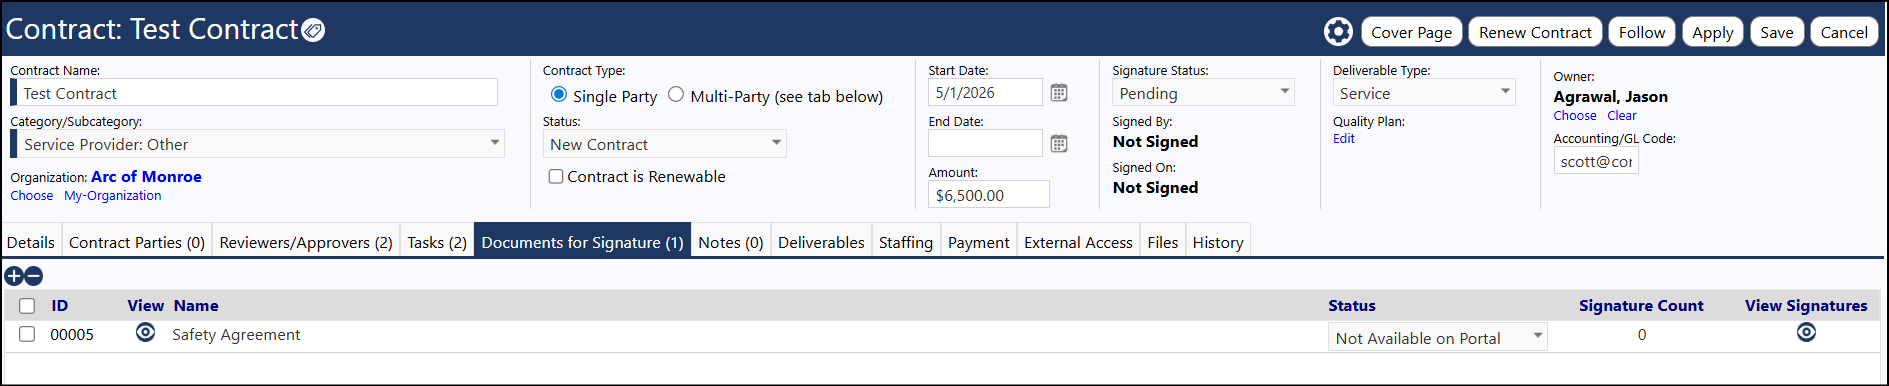
The document is now attached to the contract (note that the signature count is 0 and the status defaults to Not Available on Portal):
-
Click on View
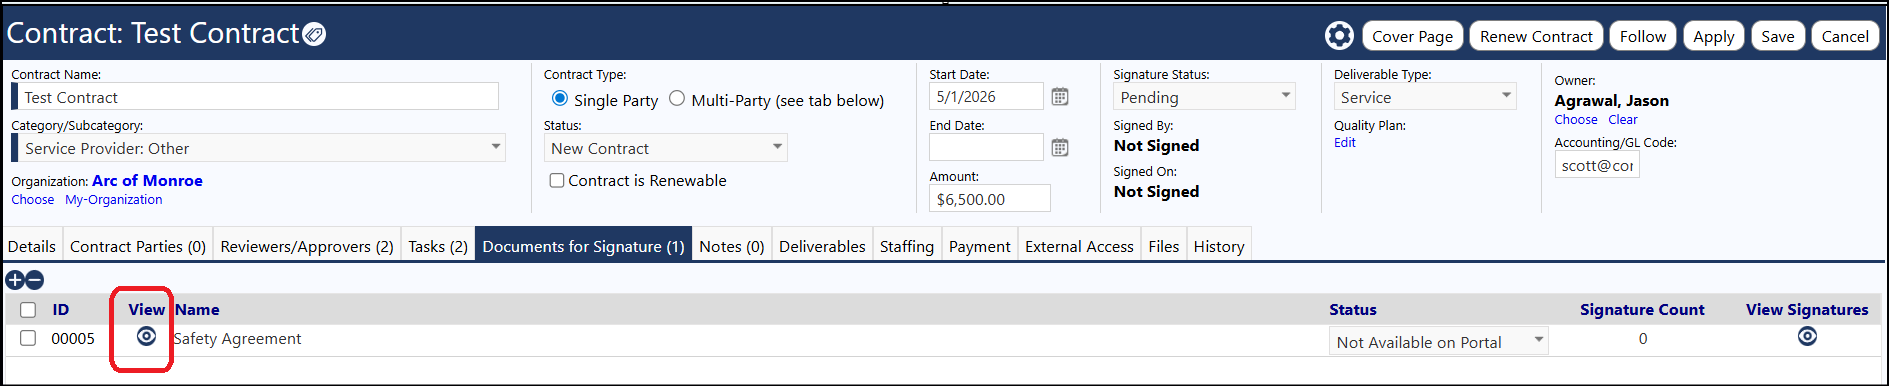 to Preview your contract document status
 -
Click in the Status field and select one of the available options:
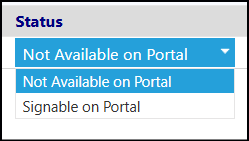
- Select “Not Available on Portal” to restrict the document to be displayed only within imPowr.
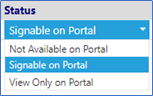
- Select “Signable on Portal” to enable the document to be signed on the Partner Portal.
NOTE: right now, the option to View Only on Portal is not implemented. It is either displayed and made signable or not. We do not currently distinguish between view only and signable. When the Not Available on Portal status is selected, users can only sign the Contract Document from within IMPOWR. When the Signable on Portal status is selected, users can sign the Contract Document from the Partner Portal OR they can sign the document from within IMPOWR.
For the purposes of the remainder of this document, we will assume the status of Signable on Portal has been selected.
- Click on Save when you are completed with your changes.

The document will now appear in the Partner Portal, for signature.
In order for a user to sign a document on the Partner Portal, they must:
- Have an Account set up in IMPOWR
- Be Affiliated with an Organization (the one for which they will be signing the Contract Document for)
- Have a Management Role in that Organization
- Be assigned an Account Role which will allow them access to the Partner Portal