This article will explain how you can link an exam to a course.
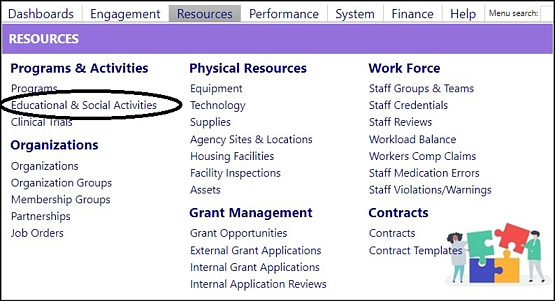
Access courses by clicking on Educational & Social Activities in the Programs
& Activities section of Resources.
- Select a course from the list of courses, by clicking on its Course ID.

- Click Edit.

- Click on the '+' in the Course Exams & Assessments panel, to add an exam.

- Pick (the) Exam(s) you wish to link to this course, by clicking in the box to the left of the exam name.
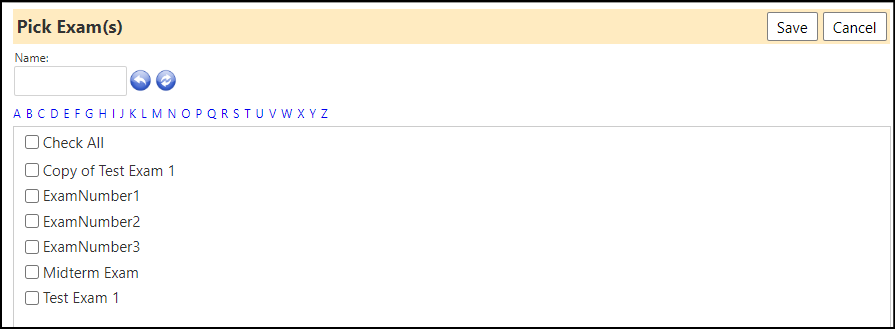
- Click Save.
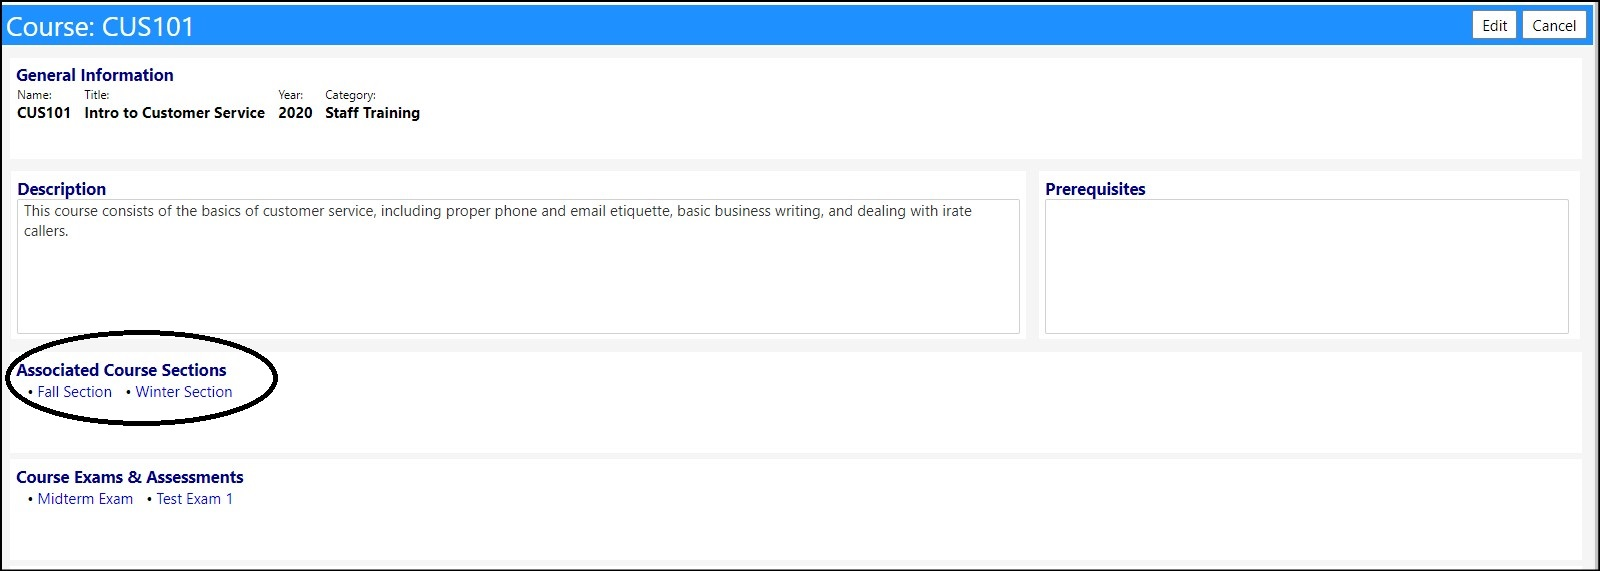
The exams will now be displayed and will be linked to the course:
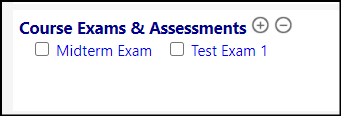
Remove linked exams by clicking in the box to the left of their name and
clicking on the '-' button.
- Click Save to save the exam/course links you created.
Viewing the exams
- Click on the exam Name to view the exam.
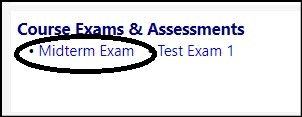
- Click on Cancel when done.

Confirming the exam is set up for the course
- Click on a Course Session.
- Select the Students tab.
- Click on a Student's Details button.

- View the exams set up, waiting for student scores.
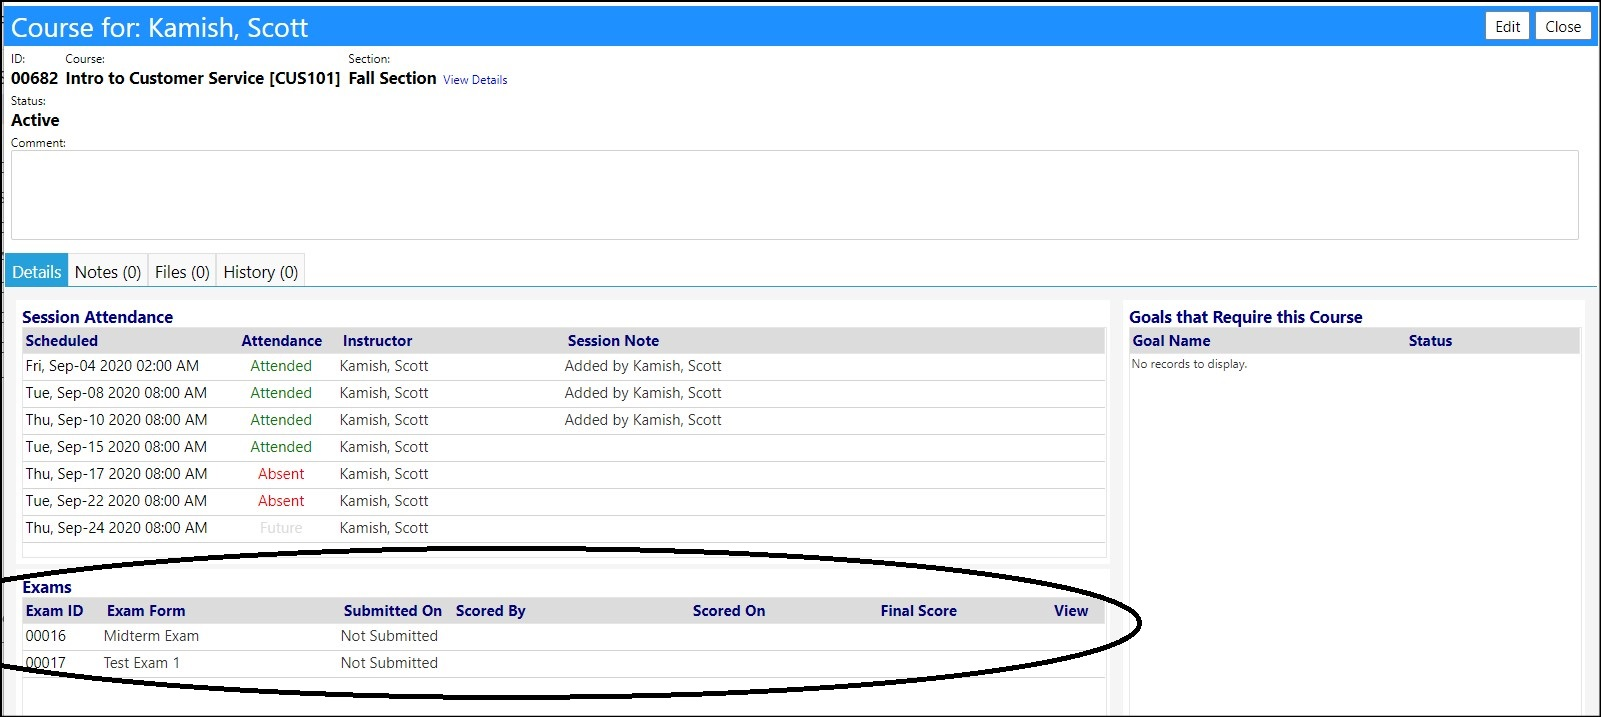
Click Close to exit out of the screen.
NOTE: As the exams get taken, their scores will automatically be displayed in
this screen. Instructors will be able to access the manually scored questions
to populate those scores. Instructors will also be able to view the date the
exam was submitted, the student responses on a per question basis, along with
the points earned for each question and for the exam, as a whole. The
instructor will additionally be able to add any comments to the exam, as
needed.